Photoshop Tutorial: Adding An Ombre Gradient + Stroke to Customize Your Alpha
Well friends, I am bringing you a layout today with the new Flower Child collection that actually breaks my heart, but the sad things need documentation too.
Last week on Monday, we said goodbye to my Soul Dog, Abby after 15 years together. As someone who processes grief through creation, I waited a few days to let my emotions process and then went ahead and made a page in remembrance of her beautiful soul using the first photo I ever took of her and the last.

The obvious comparison of 15 years of life on my beautiful girl pulls at my heart strings, but I so love that her memorial page is made with this beautiful collection I actually created just for myself in colors and themes that I love. It feels so perfect and natural.
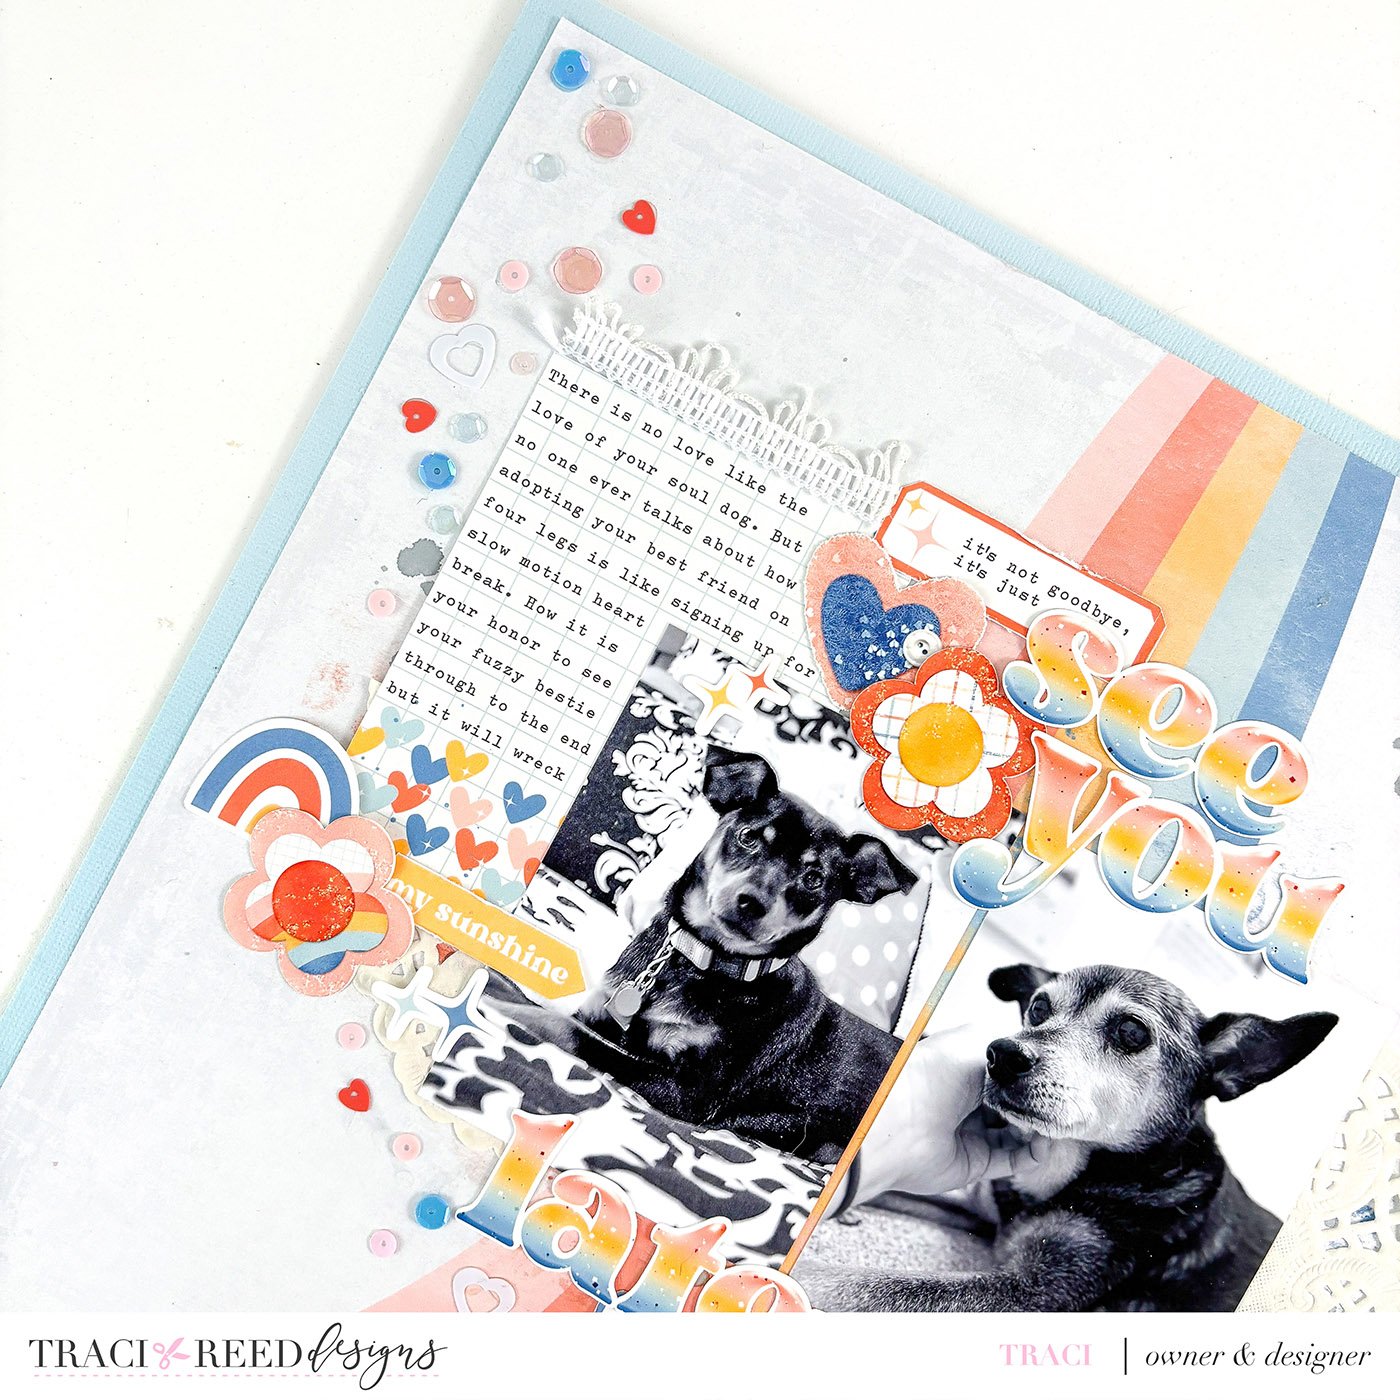
I separated my journaling out onto two of the same journal cards so that I could frame her photos with my words and then went to town with all the beautiful embellishments in the Flower Child collection + doilies, sequins and lace from my stash.

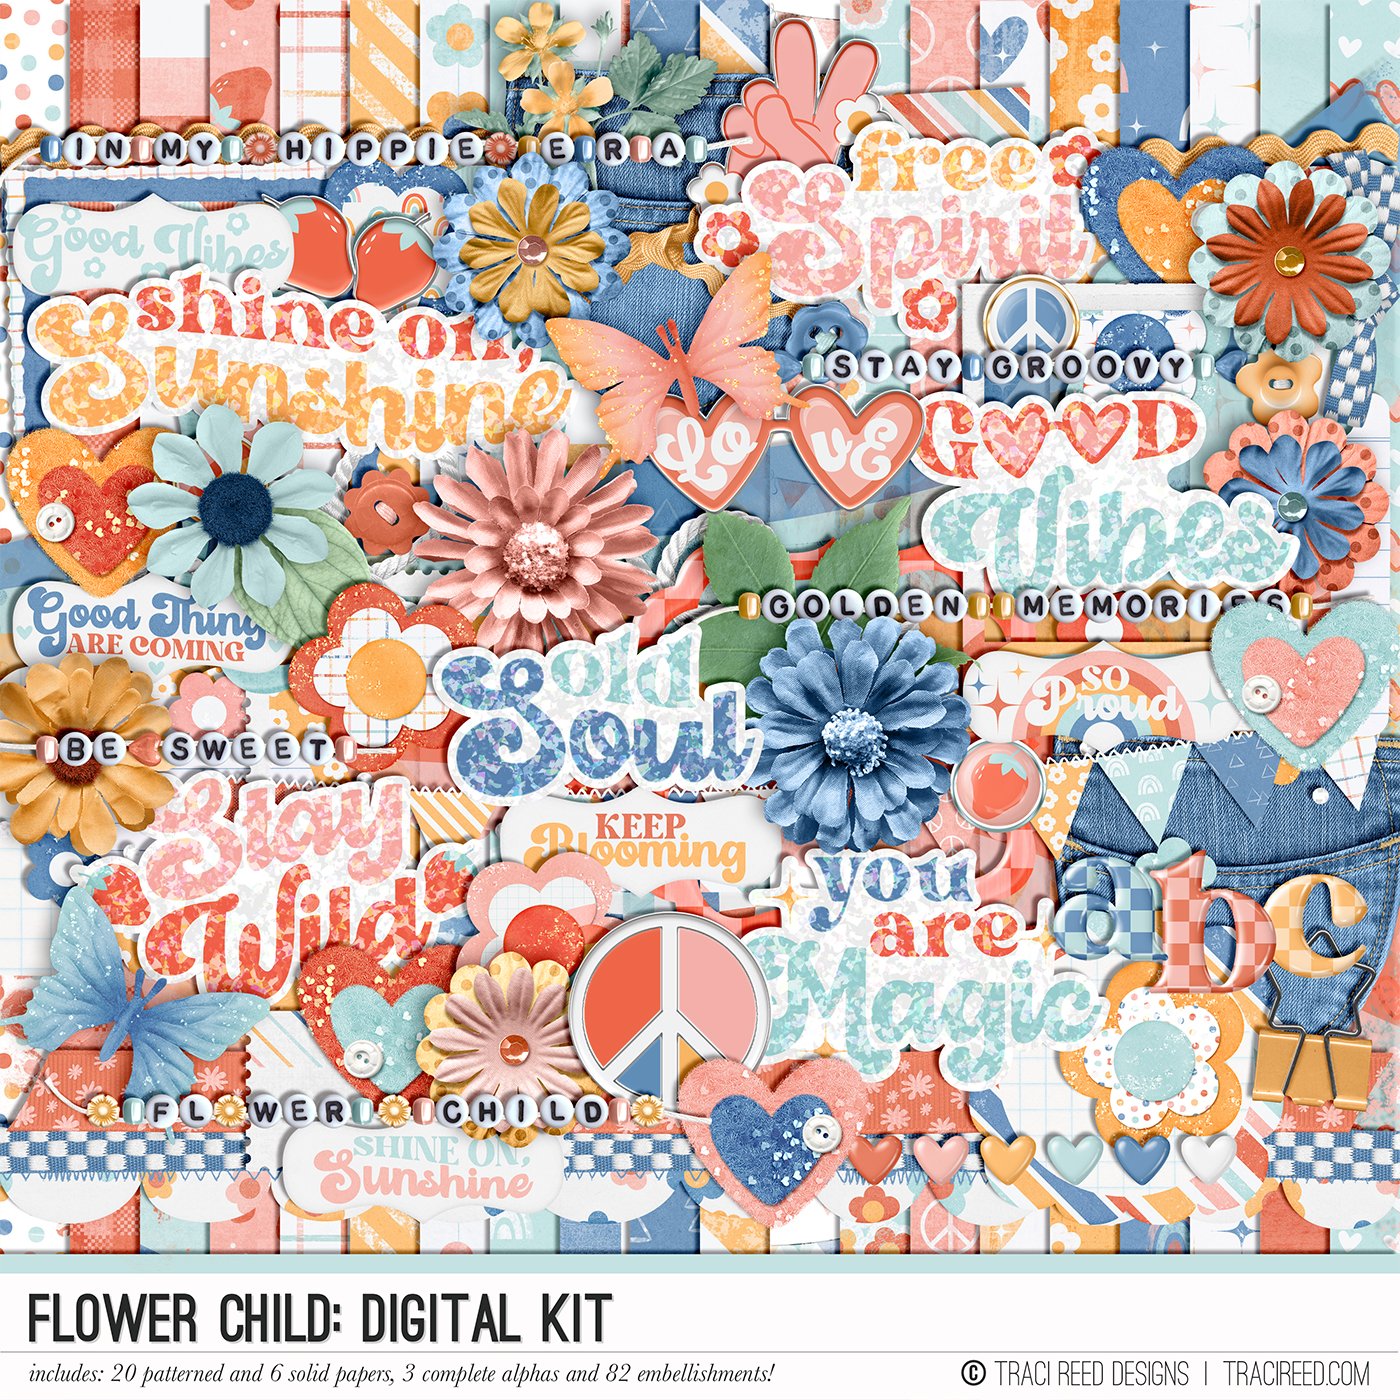
But what I really wanted to show you about this page was how I took the alphabet from the Flower Child collection and actually changed it up to more closely fit the vibe of this page. The alpha comes in 3 color variations of checkerboard, but that didn’t vibe with this page, so instead I changed the letters to ombre with a white stroke around the edges so I could print them as full words and not have to piece the letters back together.
The full tutorial is below, and you can also watch it as part of the process video.

Tutorial
Open all the letters you wish to use and arrange them in words, making sure the letters are aligned and close together so that when you add the white outlines they will be touching (don’t worry you can adjust these later still.)
On one letter, double click the layer in the layers palette to bring up the “layer style” dialog box and choose “gradient overlay” via the “fx” symbol at the bottom.
Choose the gradient you would like to add. I have already chosen an ombre from red to blue that matches the flower child collection, but if you need help choosing colors, you can click on the color square you would like to edit and can sample colors from a paper that has the colors you would like to use! Just make sure it’s already on your canvas.
For this gradient, I chose a -90 degree angle so that the color cascades from top to bottom so that all my letters will match gradients.
Next, add a 10 pt outside stroke in white to your letter via the “fx” symbol at the bottom to create the “sticker” outline
Hit OK to accept your styles, then right click on that same layer in the layers palette and select “copy layer style”
Select all your other letter layers by holding down shift and clicking them in the layer dialog box, then right click on any of them and hit “paste layer style”
They should now all have the same gradient and stroke applied.
Zoom in on your letters and space them so that the stroked outlines are touching securely. When you have your letters in one word all situated, select all the letters in that word by holding down shift and clicking on them, then CTRL E to merge them. Repeat with the rest of the words!