Planner Set Up: Two Ways!
Hi everyone,
I’m excited to be here on Traci’s blog today and I’m bringing you something a little different. I’m a Memory Keeper and usually I work with Traci’s products on a variety of scrapbook projects - from 12x12 layouts, Traveller’s Notebooks and pocket pages. But I also work with them each month in a very different way … to decorate my Planners!
I have two planners that I work with through the year … a Law of Attraction planner (very similar to a Passion Planner) and an A5 Filofax.
Here’s how I decorate each one each month…
A5 Filofax - Dashboard & Dividers
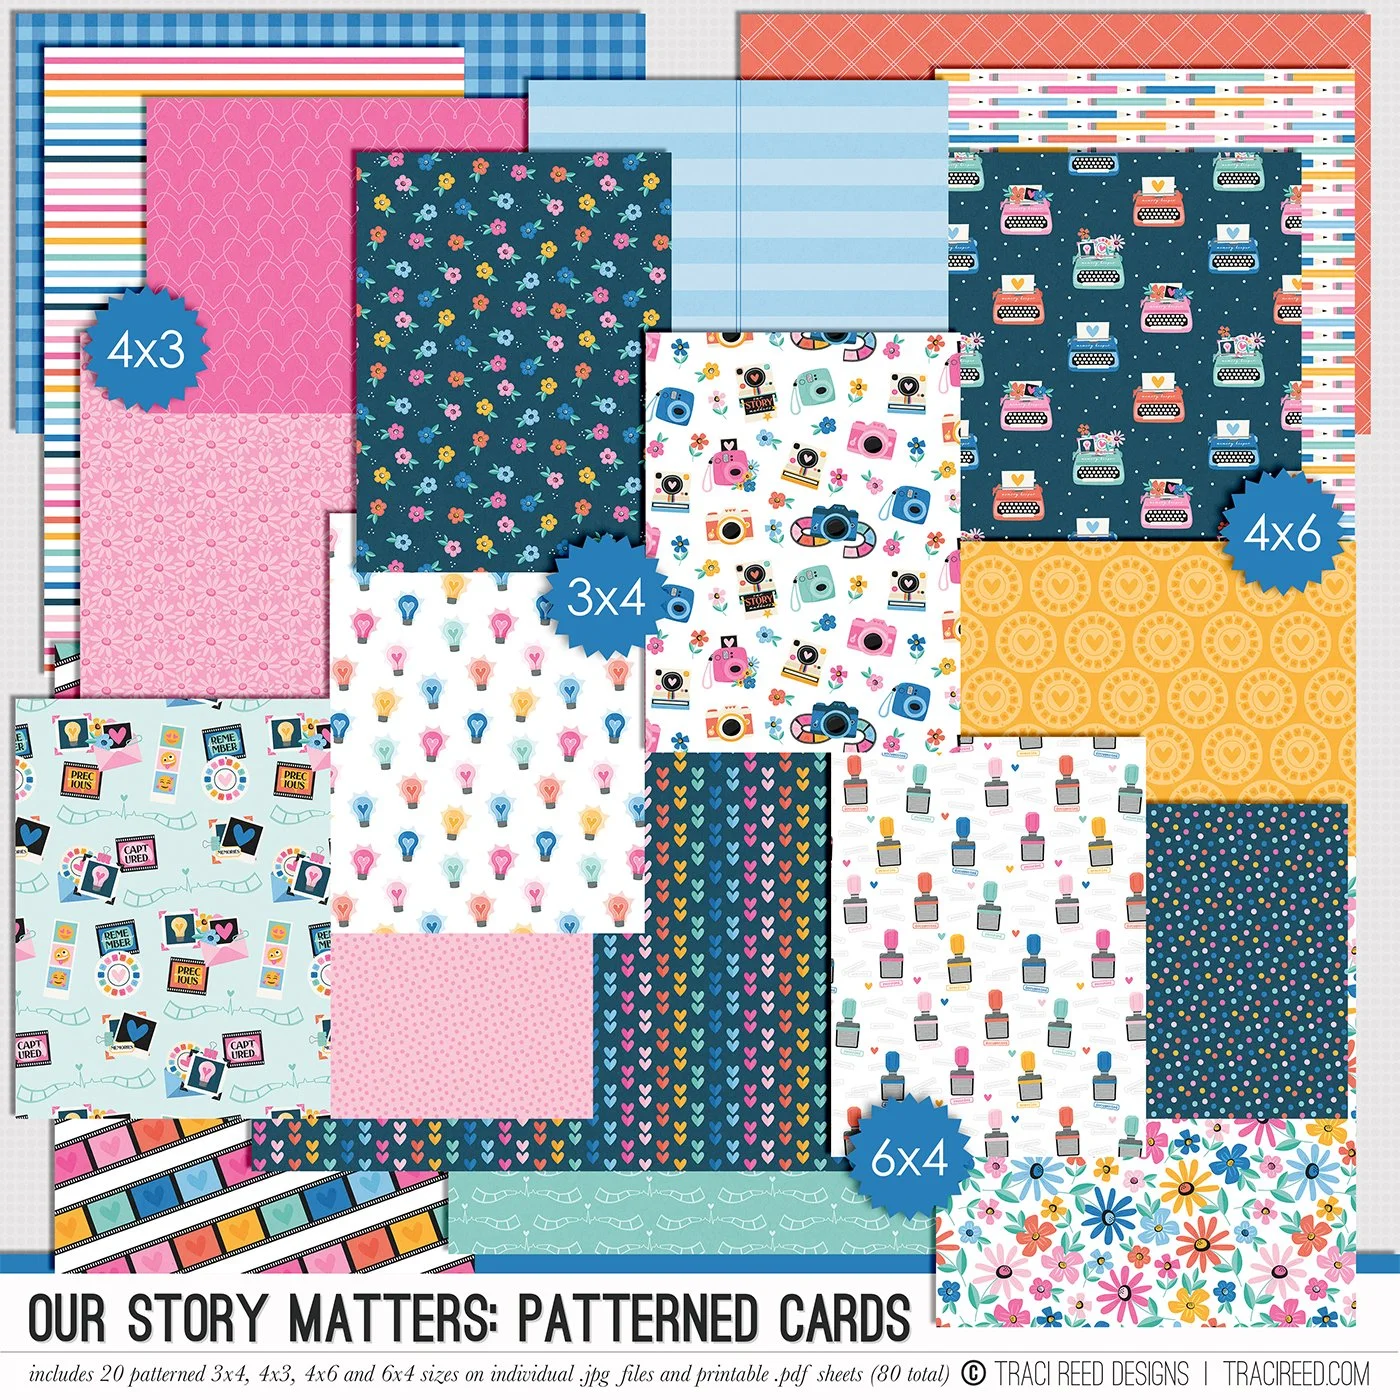
I like to keep my filofax fresh and pretty by creating a new transparency dashboard and dividers every couple of months. The patterns in “Our Story Matters” are so pretty and perfect for a shift of season in Spring.

Step 1 - At my computer
I like to work with my favourite papers from a collection for my dividers. In this project I decided to work with 8 papers - using a bold pattern on the front of each divider and a more subtle pattern on the back.

n Photoshop Element (but this can also be done in Canva) I created my papers - sized at 6 inches wide by 8.25 inches tall. You will see that I have layered titles from the digital kit on to the papers before printing so I didn’t need to fussy cut or get my Cricut out

Step 2 - At my craft desk
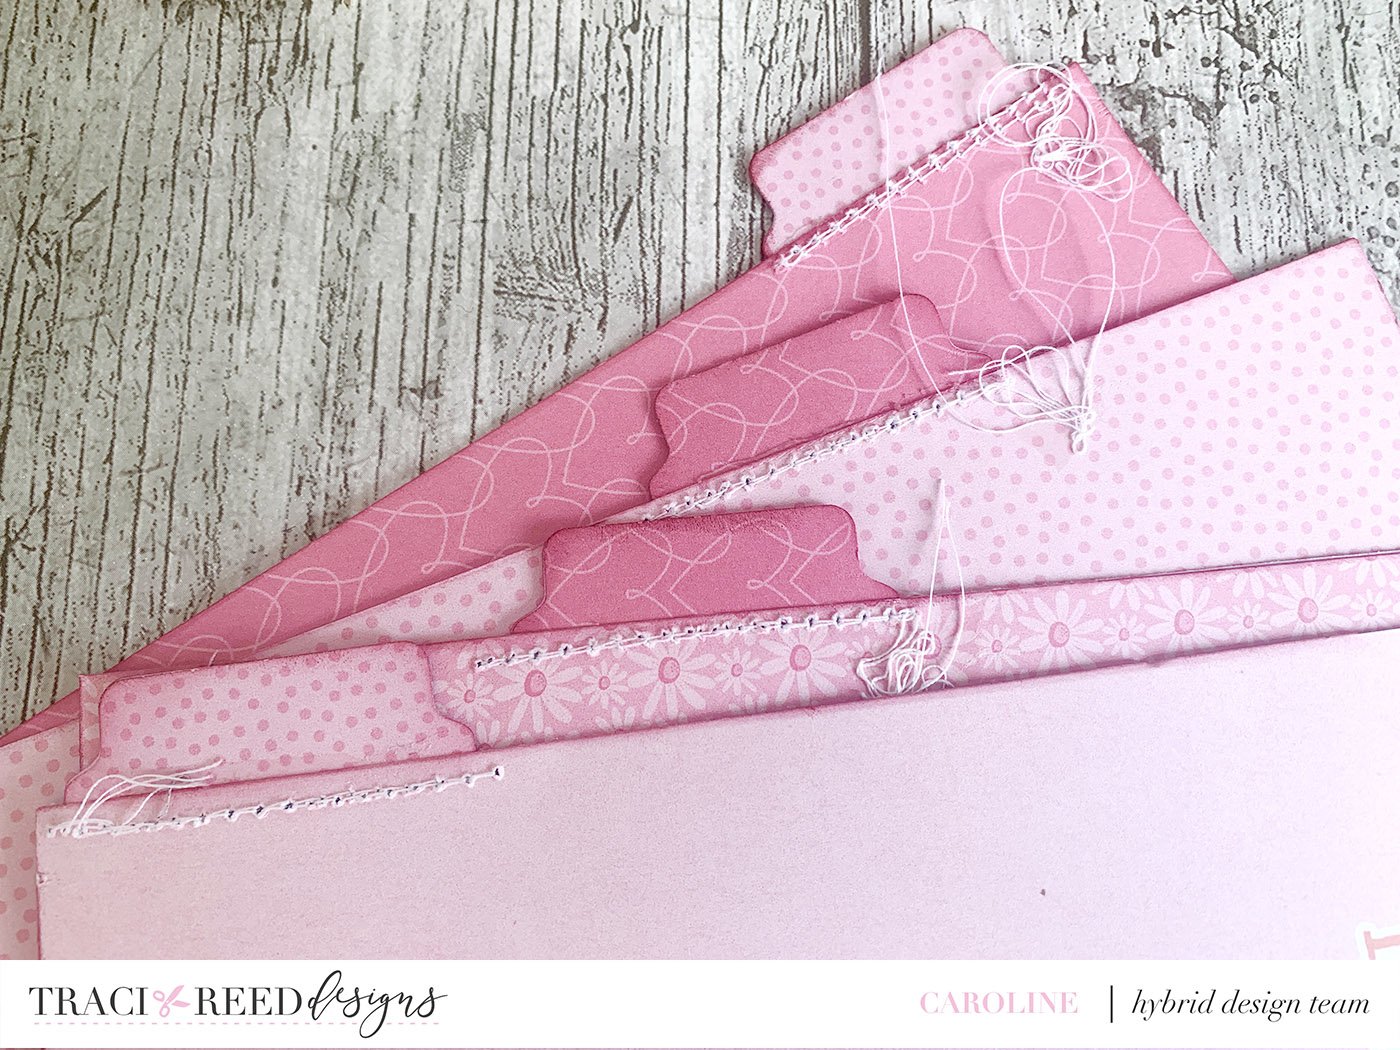
After cutting out all of my papers, I next used my tab punch to punch out 8 tabs in different & matching papers from the collection.
***TIP - make sure that patterns sit correctly when punching so that the back side of tabs aren’t upside down!***

Next I adhere the tabs to they are double sided but leave the papers as they are.I like to finish the edges of my dividers with ink. Using a sponger applicator I ink the edges of all papers and the tabs for a really finished look.
***TIP - Aged Mahogany & Stormy Skies are a really good fit for this collection ***

Next I adhere the tabs to the papers, and the papers together. I stagger the tabs along the edge of the papers making sure they line up nicely.
I opt to only use 4 dividers in my Filofax but this technique can easily be used to create more. A good way of layering more is to fit the top and bottom tabs to their dividers first, then the middle one, and then layer so the additional tabs/ dividers are equally spaced in the gaps that remain.
Step 3 - At the sewing machine
I love to add additional texture to my dividers by stitching over my tabs. This step is really for decoration but it does make sure that the tabs are extra secure as they do get handled alot through the month as I flip from section to section.
Step 4 - Back at the craft desk
I now trim any excess patterned paper from the edges if they were slightly wonky after I adhered them. If I do this, then I make sure to ink any fresh edges I cut.
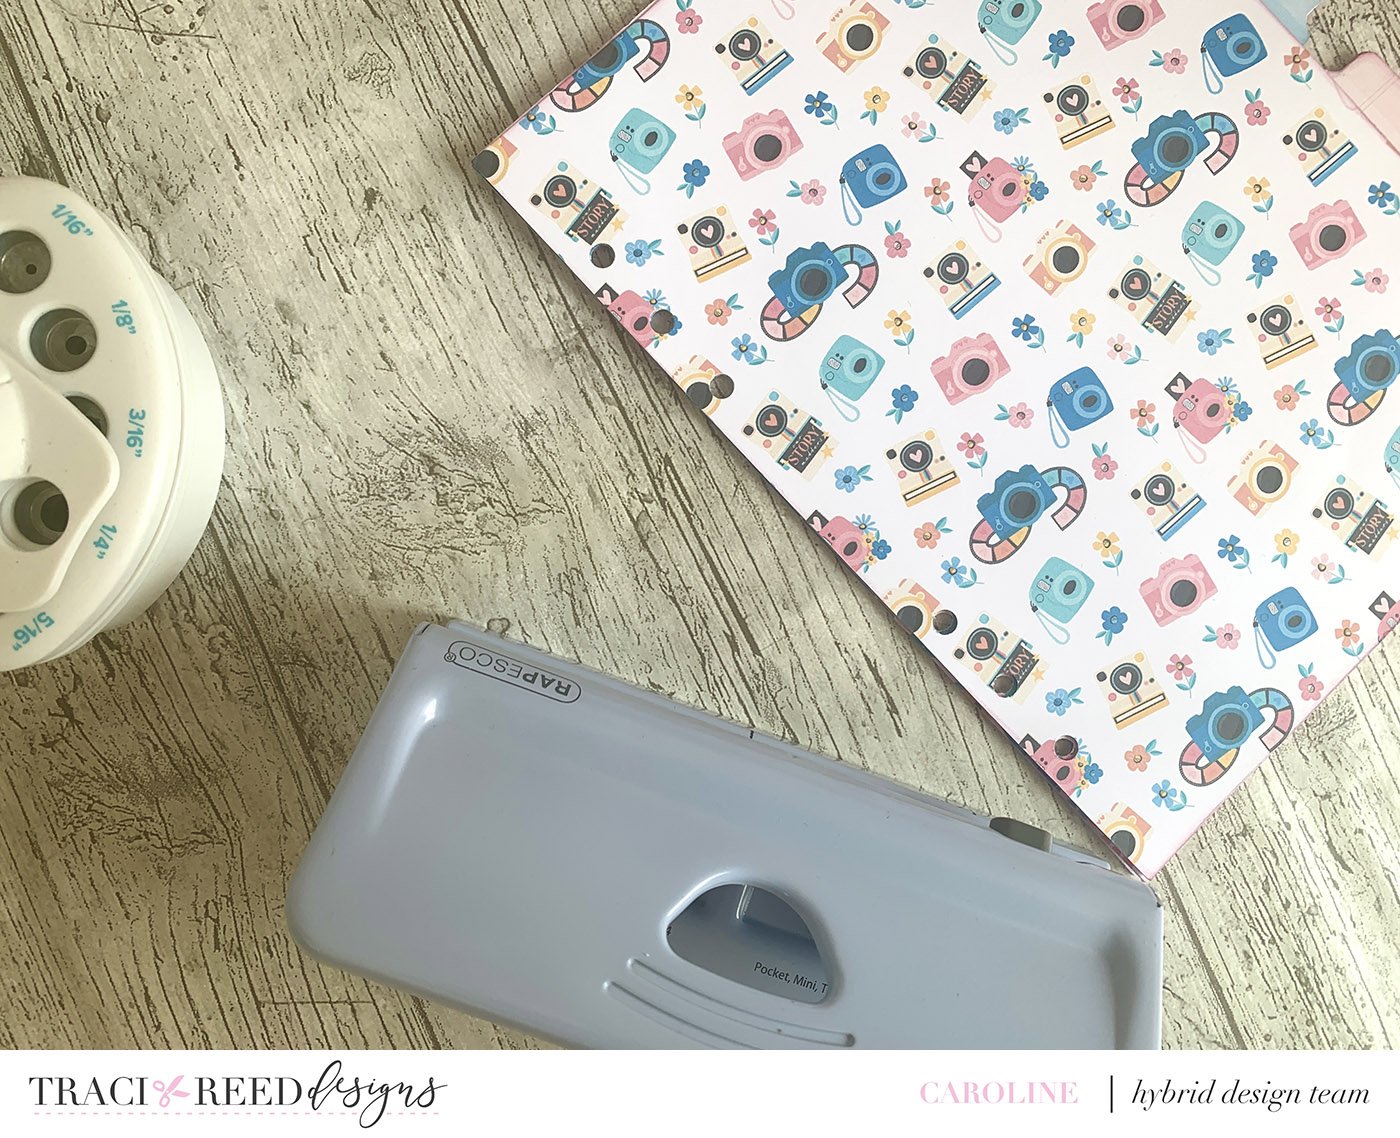
And finally I use my 6 hole punch to finish off the dividers.
***TIP - Make sure to test where to punch your holes on a scrap piece of paper first – just to be sure - as in the past I have made an error at this step and had to punch extra holes!!!
Finally I add the dividers into my Filofax. I also always add in a dashboard as the very first element. This will always be one of my favourite patterned papers from the collection printed onto transparency. I often add a 3x4 sentiment card to the front and back of this for additional cute-ness!!!

LAW OF ATTRACTION WEEK PER VIEW PLANNER
I like to decorate the month of the collection with all of the stickers from the collection. I print these onto Matt Sticker paper and then run them through my Cricut on a vinyl setting to it cuts through the paper but not the backing - giving me sticker sheets.

I then head over to my Craft Table and just have fun! Sometimes I go week by week and mix the stickers, sometimes I go with a loose ‘theme’ in my mind like I did this month - for example in the week below my theme in my mind was camera, hearts & florals

I absolutely LOVE having my planner all set up at the start of the month and enjoy how pretty it looks with super simple and quick creative time!
I really hope I have inspired you to have a go at decorating your planner or diary with elements & papers from “Our Story Matters” - or from ANY of Traci’s collections. It's so easy to do & really makes the whole month bright and cheerful whilst being coordinated and cute too!