Creating Patterned Shapes + Borders in Photoshop or Photoshop Elements with Donna
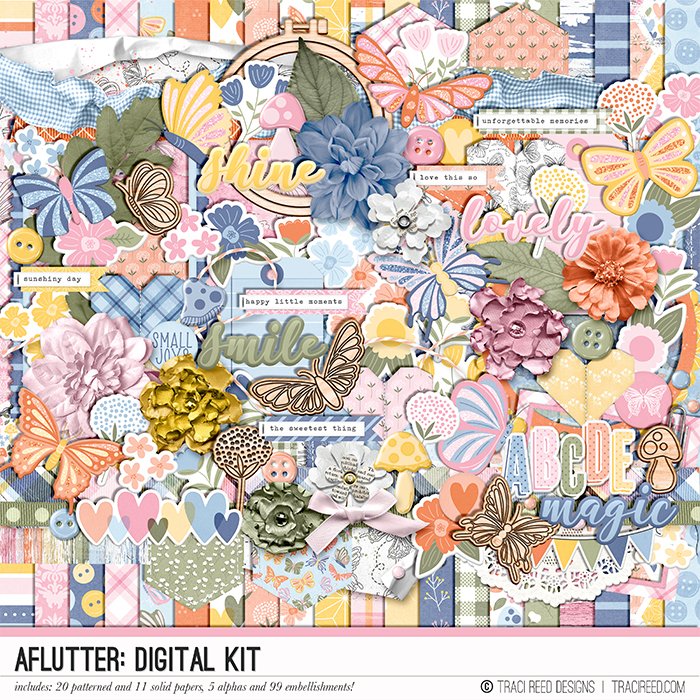
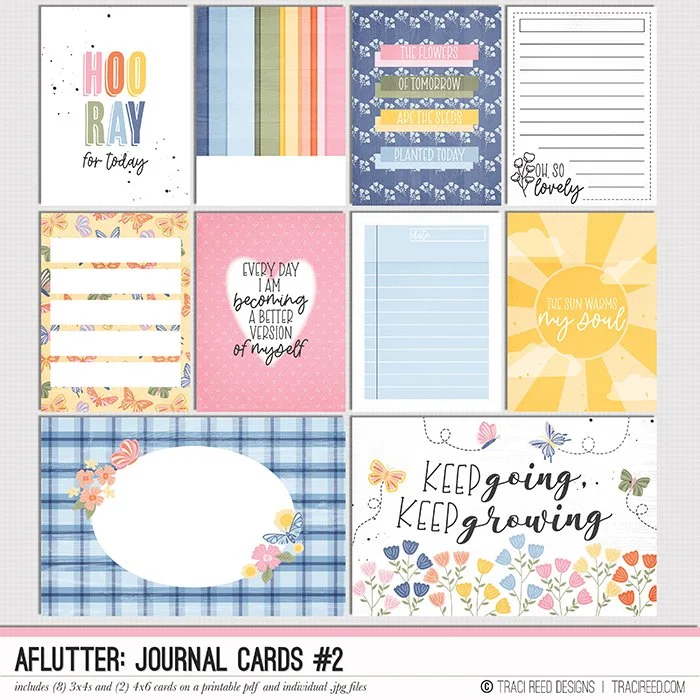
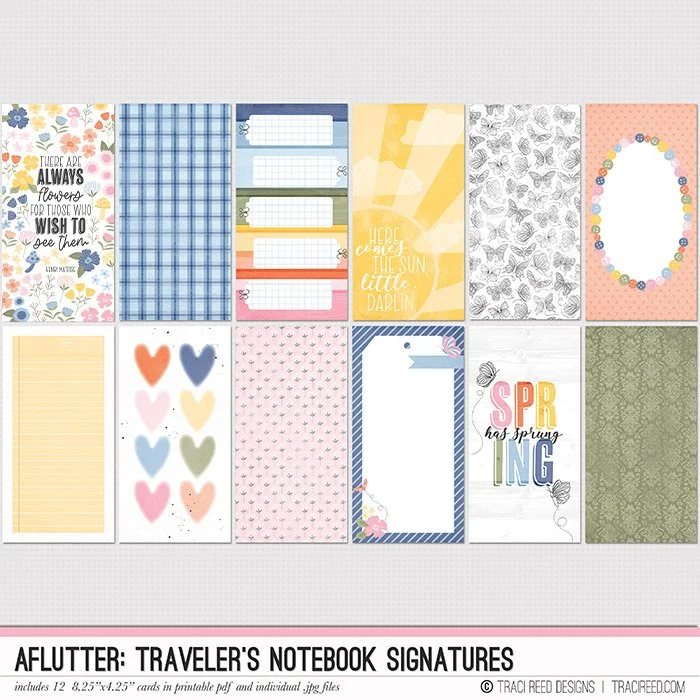
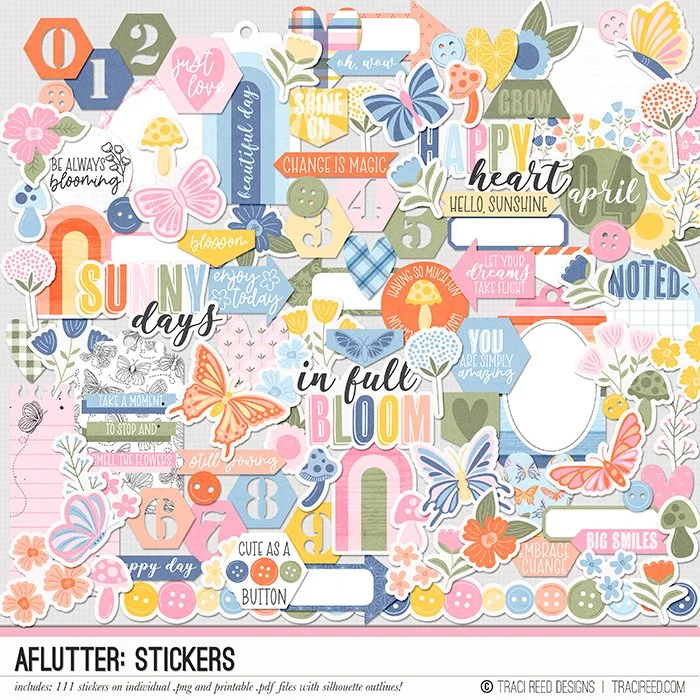
Hello, everyone! Donna here sharing how created these two nesting octagonal mats with patterned borders for this page using the Aflutter collection:
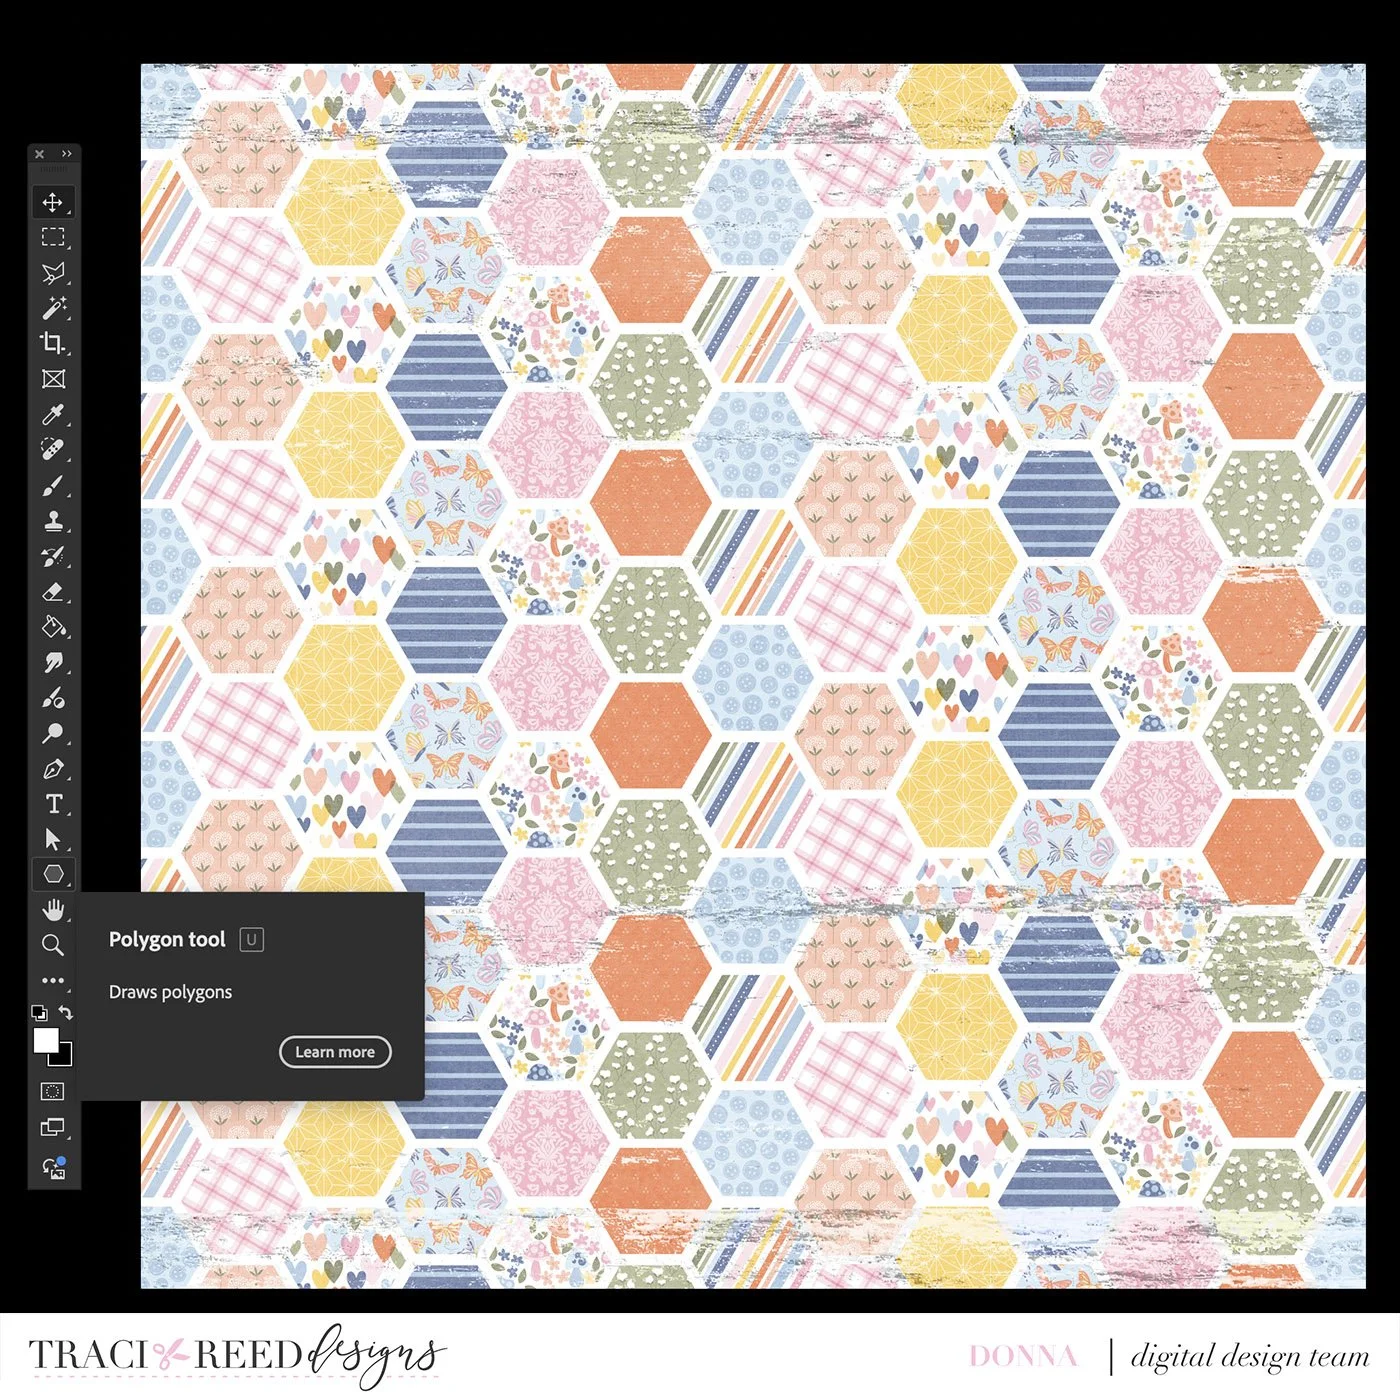
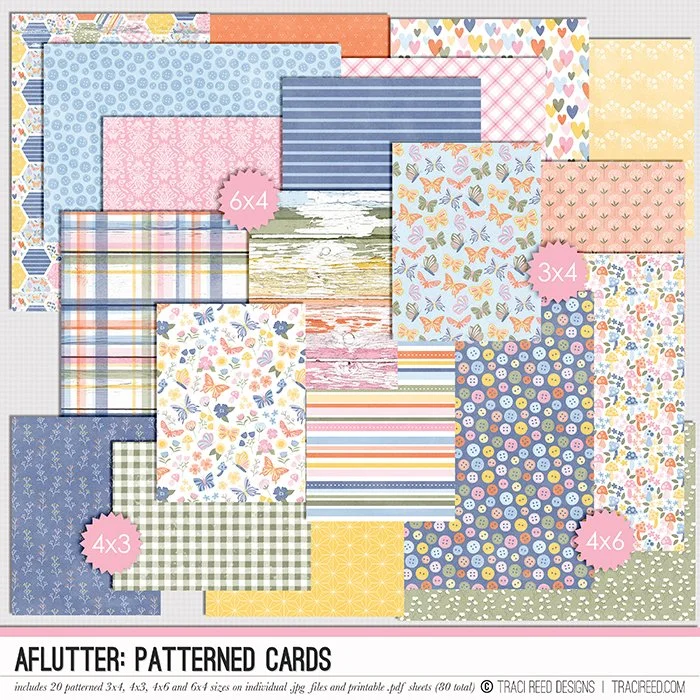
As I was choosing which digital kit to use, The patterned hexagon paper in the Aflutter collection caught my eye. Just like, stripes and plaids, hexagon is one of my favorite shapes to use on my layouts.
To begin, I used the Polygon Tool to create the foundation of the layout design. Double click on the tool to bring up the options dialogue.
I actually used an Octagon rather than a hexagon for my layout, so I chose 8 sides with a star ratio of 100% to create an Octagon rather than an 8-sided star. The width and height are irrelevant because we will be clicking and dragging on the canvas to create our own shape.
Once we have the octagon drawn and centered on our canvas at the size we’d like, we now need to duplicate it to create the patterned outline.
On this new duplicated shape, make sure you have the polygon tool selected, and then on the top tool bar, choose no fill and a decently thick stroke so that you can see the patterned paper when it is applied.
Now you should have two shapes, one filled and one with a stroke. To make the concentric octagon look like on my page, I then selected both layers in the layers palette and duplicated them.
Then clicked and dragged them to make them smaller than the original shapes. The size of the stork outline for the smaller octagon will remain the same because we have a set 75px stroke on this shape.
From there, I clipped the patterned papers I wanted to use to each shape!
Now, I can embellish and add photos!


