Tutorial: Creating a Stamped Background Using Digital Stamps with Danica!
Not sure what to do with digital stamps that come with some of Traci’s collections? I’m here to show you a way to incorporate them into your projects! In my layout I created a coordinating stamped background paper. This is a fun technique than can be done easily and quickly. I’m also going to show you how to make some stamps of your own if a collection doesn’t include stamps.
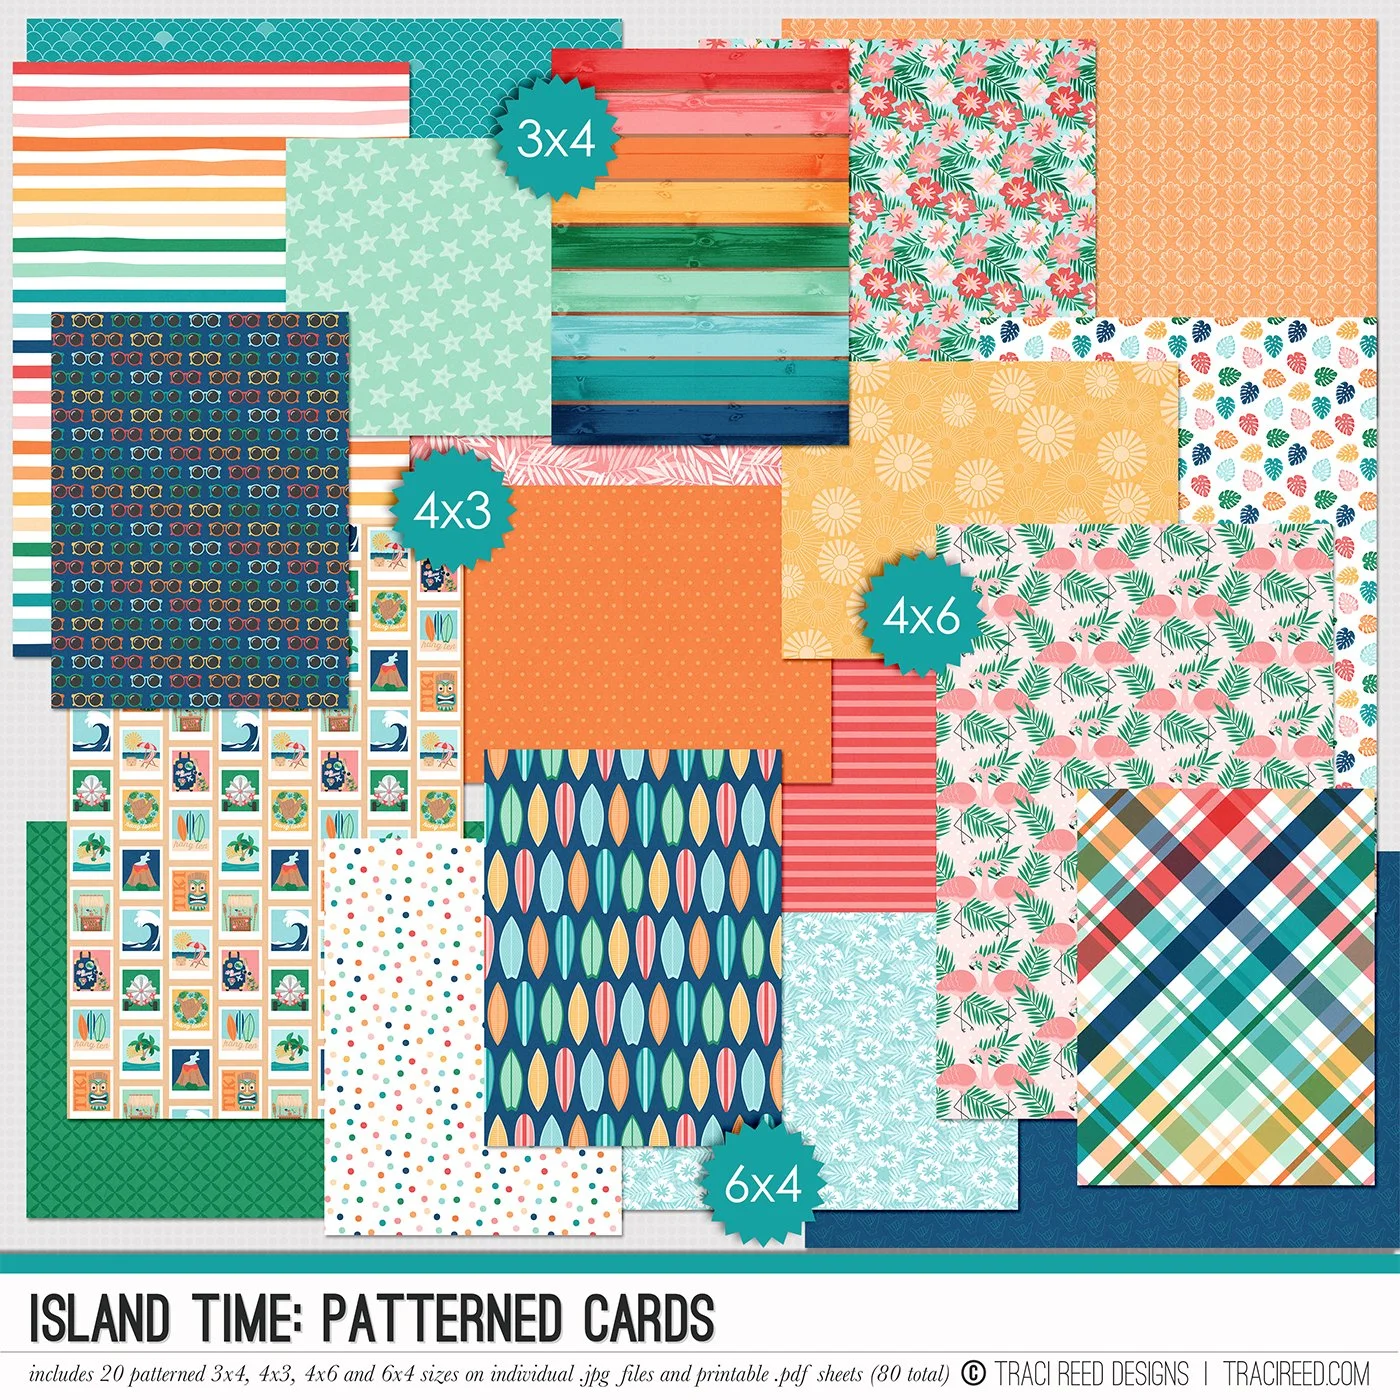
For my layout, I used Traci’s newest collection Island Time. Sadly there weren’t any digital stamps included with this collection so I made some! I looked through the stickers to find one or two I thought would look good as stamps. I chose the palm tree for one. I used the magic eraser in PSE and deleted the stroke around the palm tree. If you don’t have this type of tool in your program you can always erase by hand by zooming into the image. I then created a second layer above the palm tree layer and filled it with black. I then merged the layers which created my stamp.
I also wanted a phrase to use with the image. I really liked the phrase “island time” but it was part of a sticker. I cropped the phrase out of the sticker.
Next I used the magic eraser tool to erase everything but the phrase from the sticker repeating the steps I used for my palm tree stamp to create my phrase stamp.
Once you have your newly created stamps, or stamps included in the collection, it’s all a matter of putting them on a solid background of your choice. Turn on the grid view and create a pattern of stamps over the background making a new layer for each time you stamp. The reason behind this is so that you can easily move a particular stamp if you don’t like the placement.
Once I was satisfied with the placement of stamps, I merged all the stamped layers together but NOT the background layer. I saved this as a png so I could reuse it later for a different project. I then clipped the same paper to the stamped layer that I used for the background layer.
Then I used: Enhance-adjust color-color variations-darken. This created the muted pattern on my paper. I then merged all the layers.
From here I just built my layout using a template from Pink Reptile Designs called Happy Days, as well as Traci’s Island Time Collection.
Thanks for following along with my tutorial. I hope that I was able to teach you something new that you may be able to incorporate into your digital scrapping. Until next time, happy scrapping!


