3 Fun Ways to Customize Your Own Journal Cards For Project Life Templates!
Hi friends, it’s Theresa here with some great ideas for your next Project Life layout! Recently I have decided to use templates for my albums from 2024 and this year that venture away from the Design A and allow more flexibility for stories and photos. I thought I would share three ways I’ve been customizing journal cards so they fit into the non-standard pocket sizes. Let’s do it!

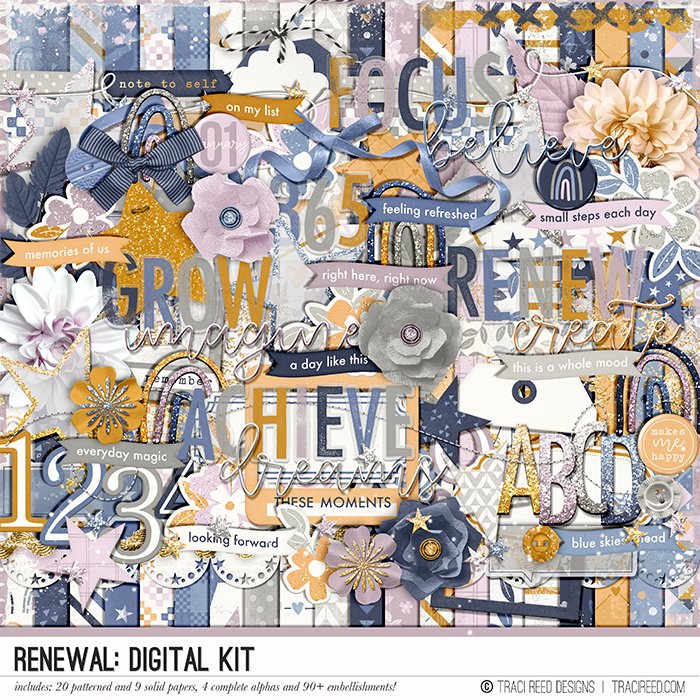
I’ve been working with a set of templates from Erica Zane: Weekly Templates v.1 . For this layout I chose the Renewal Collection for its dramatic but soft color palette – specifically that purple floral and the fabulous word art that signifies new beginnings. The photos I am working with are from January 2024.

The first technique is to add digital sequins or scatter mixes to your journal card. For the This Is Your Moment and Keepin It Real Cards I’ve added the star sequins just to the top and bottom of the cards. They also were blue on top of a blue background so in order to help them pop off the page, I also added the yellow frames. The stars feel like magical skies at night, don’t they?!

The second technique is adding a simple text box to a filler card. The Celebrate Everything card is perfect on its own, but one of my own priorities in Project Life is to try to get as many words as possible onto my pages. This is great real estate! And it was as simple as adding a text box, creating the rectangle behind it so the text would be easier to read against the purple grid, and adding a few tiny embellishments. Those tiny hearts add just a bit of color and help the card tie in with the rest of the layout.

Third technique is actually using patterned papers to create your own journal card. The blocks I am filling here are particularly oblong, and so instead of having a super long text block, you might want to break that length up a bit. Here I have added a label with my journaling along with the ribbon, word art, and star. You can also add just a regular text box with a plain white rectangle behind it, just making sure your text is easy to read.
More details of the layout:

Process video with more detailed Photoshop tutorials:
I hope these have given you some inspiration for your Project Life layouts this year, whether you are digital, hybrid, or physical! Have fun creating!