Pretty Prints With Chantal - Hybrid Process from Print to Page
Hi, I’m Chantal, a member to TRD hybrid design team for a year now and love it. Scrapbooking is my hobby and addiction and I’ve been doing it happily for more than 20 years now.
Never had I ever looked at and tried digital projects in all those years until a friend of mine showed me Traci’s website. There were so much amazing collections and this girl likes to try new things so I purchased a few items and gave it a go. At first I was overwhelmed with the printing and cutting all the products. There were so much possibilities but soon I found my way around and got hooked really quick. Even so much that I applied to the team and got an spot.
Working Hybrid can be a bit overwhelming in the beginning but if I can do it so can you! In this blog post I will take you along in my process.
On my computer I have collected quite some digital collections over the last year. My process usually start with looking true the collections and find a collection I want to work with. For this blog post I choose my all-time favorite collection Anywhere But Here.
After choosing a collection it’s time to pick out a photo. Most photo’s I will take on my phone so I will scroll true my camera roll and choose what photo I want to use. In this case I can’t get enough from summer so I picked a picture from our vacation to Italy last summer.
Sometimes a photo needs a little touchup and I do that with Lightroom, also on my phone. For printing my pictures I use my Canon selphy printer.
While my photo is printing it is time to get on my laptop. First I start with the papers. I print what I think I will need on some 160 grams paper. The convenience of digital kits is you can always print extras if you need them. For Traveler Notebook spreads I will make some layering before printing for other project I print each paper separate.
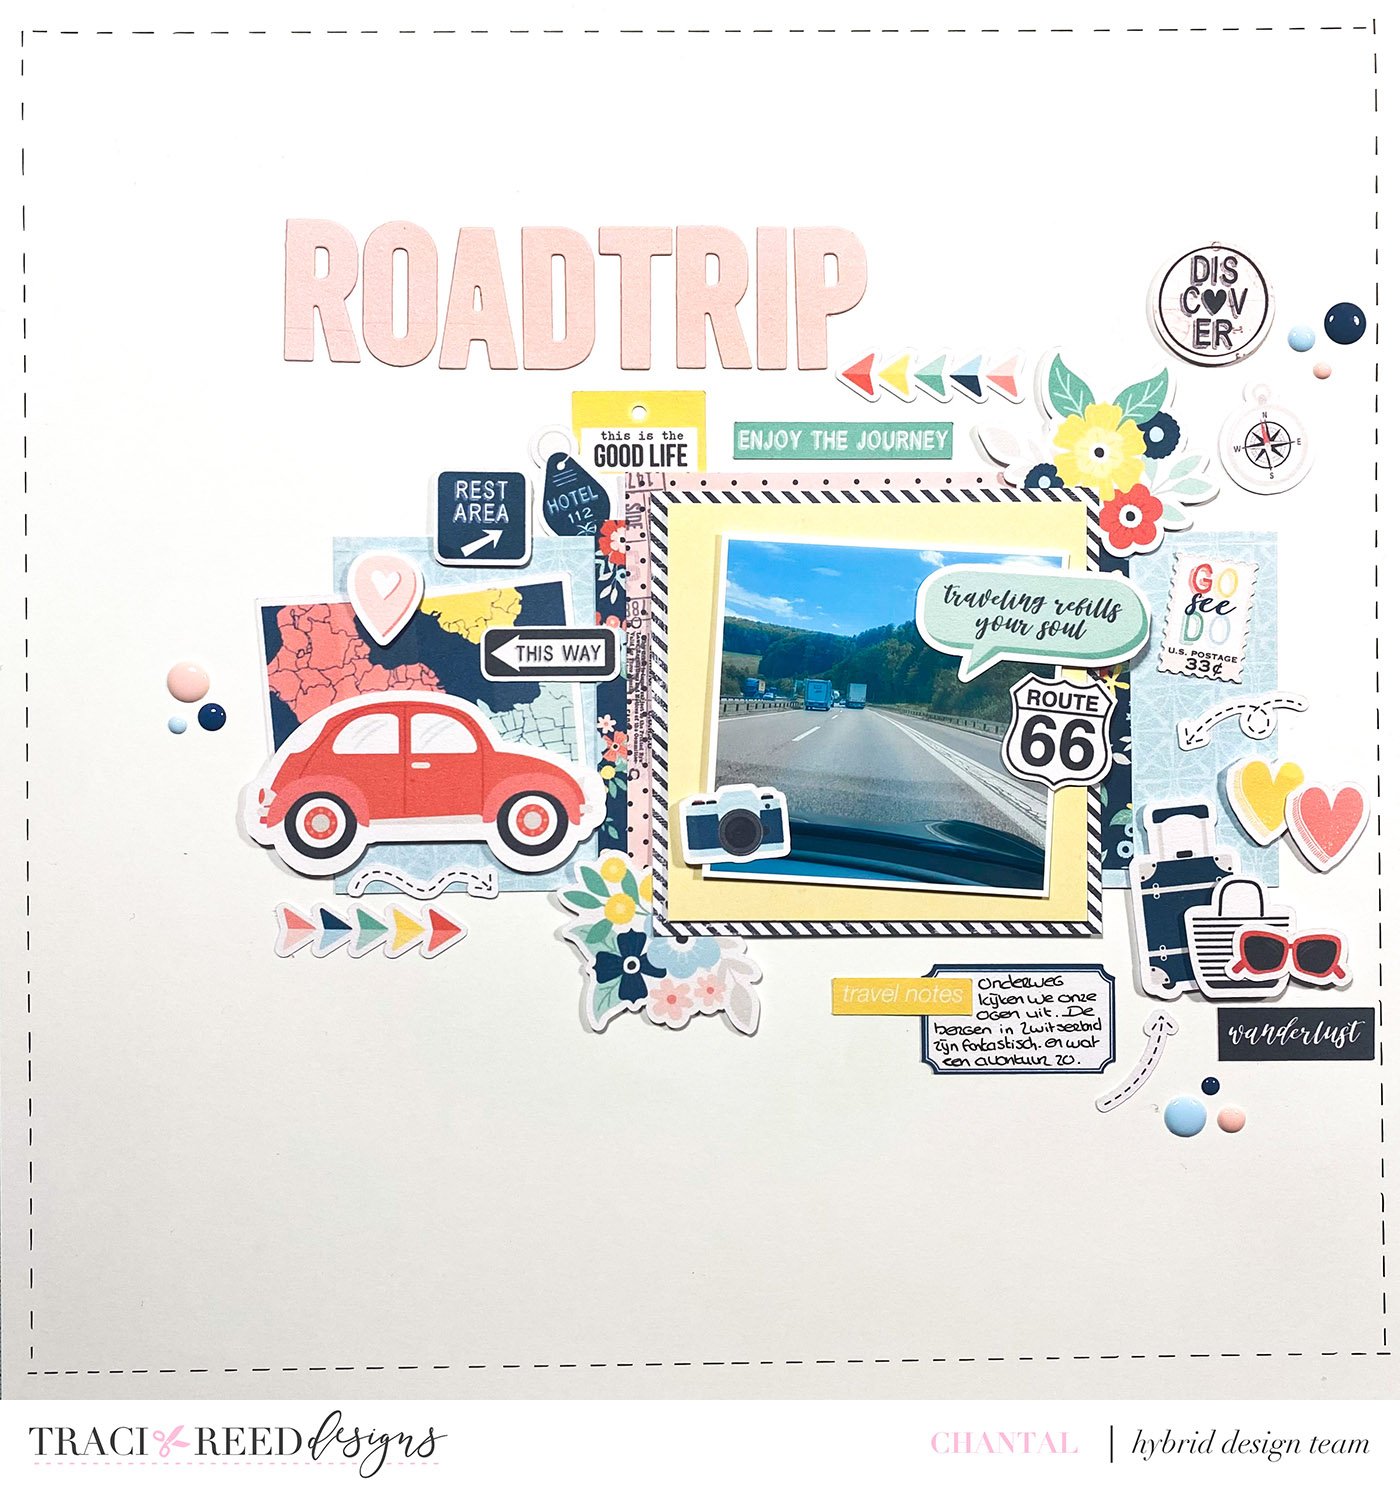
After papers it’s time for embellishments. I make an png file in photoshop with all the embellishments I want to use and always put on some extras like branches and flowers. You can never have enough little pieces to spice up your page. A nice little extra feature when printing your own embellishments is you can size them any way you want. For this page I enlarged the map and the car a bit to make it stand out more.
To cut my embellishments I use my Cricut maker. You can easily upload the PNG file to cricut design space. I save it as an print and cut file and run it true my printer and maker.
Now its finally time for the fun part… the actual scrapbooking. Before printing everything I usually have a design in mind and now its time to test it out.
In this step I also start with my papers. Cutting, arranging and sometimes die cut to my liking.
The design I had in mind doesn’t always work like I want or I find something I like better when I have actual products in my hands.
Now we can play with embellishments. I work a lot with the visual triangle. That means placing 3 embellishment clusters in some sort of triangle on your page. This way your eyes will be guided over the whole page. It's not something I think about very much, but this almost always happens automatically.
I’m addicted to foam-tape! To give your page dimension you can pop up some parts with foam-tape.
At this stage I will add some lines around my papers if I want to or write some journaling to help me tell the story.
This is also the point where I will add an title if needed. In most collections there are pieces you can use as an title but sometimes I make one with dies or my cricut.
Almost done … just one last check. Do I like everything? Do I need to add some little extra’s anywhere? An extra embellishment, a little die cut or a enameldot can do so much at this point.
If you never tried hybrid scrapbooking I hope I’ve convinced you to try it. It’s really not that hard. And If you already use hybrid products in your scrapbooking maybe you learnt something or at least enjoyed reading about my process.
Lots of Love
Chantal


