Tutorial: DIY Cut Files from Digital Embellishments in Photoshop and Silhouette Studio!
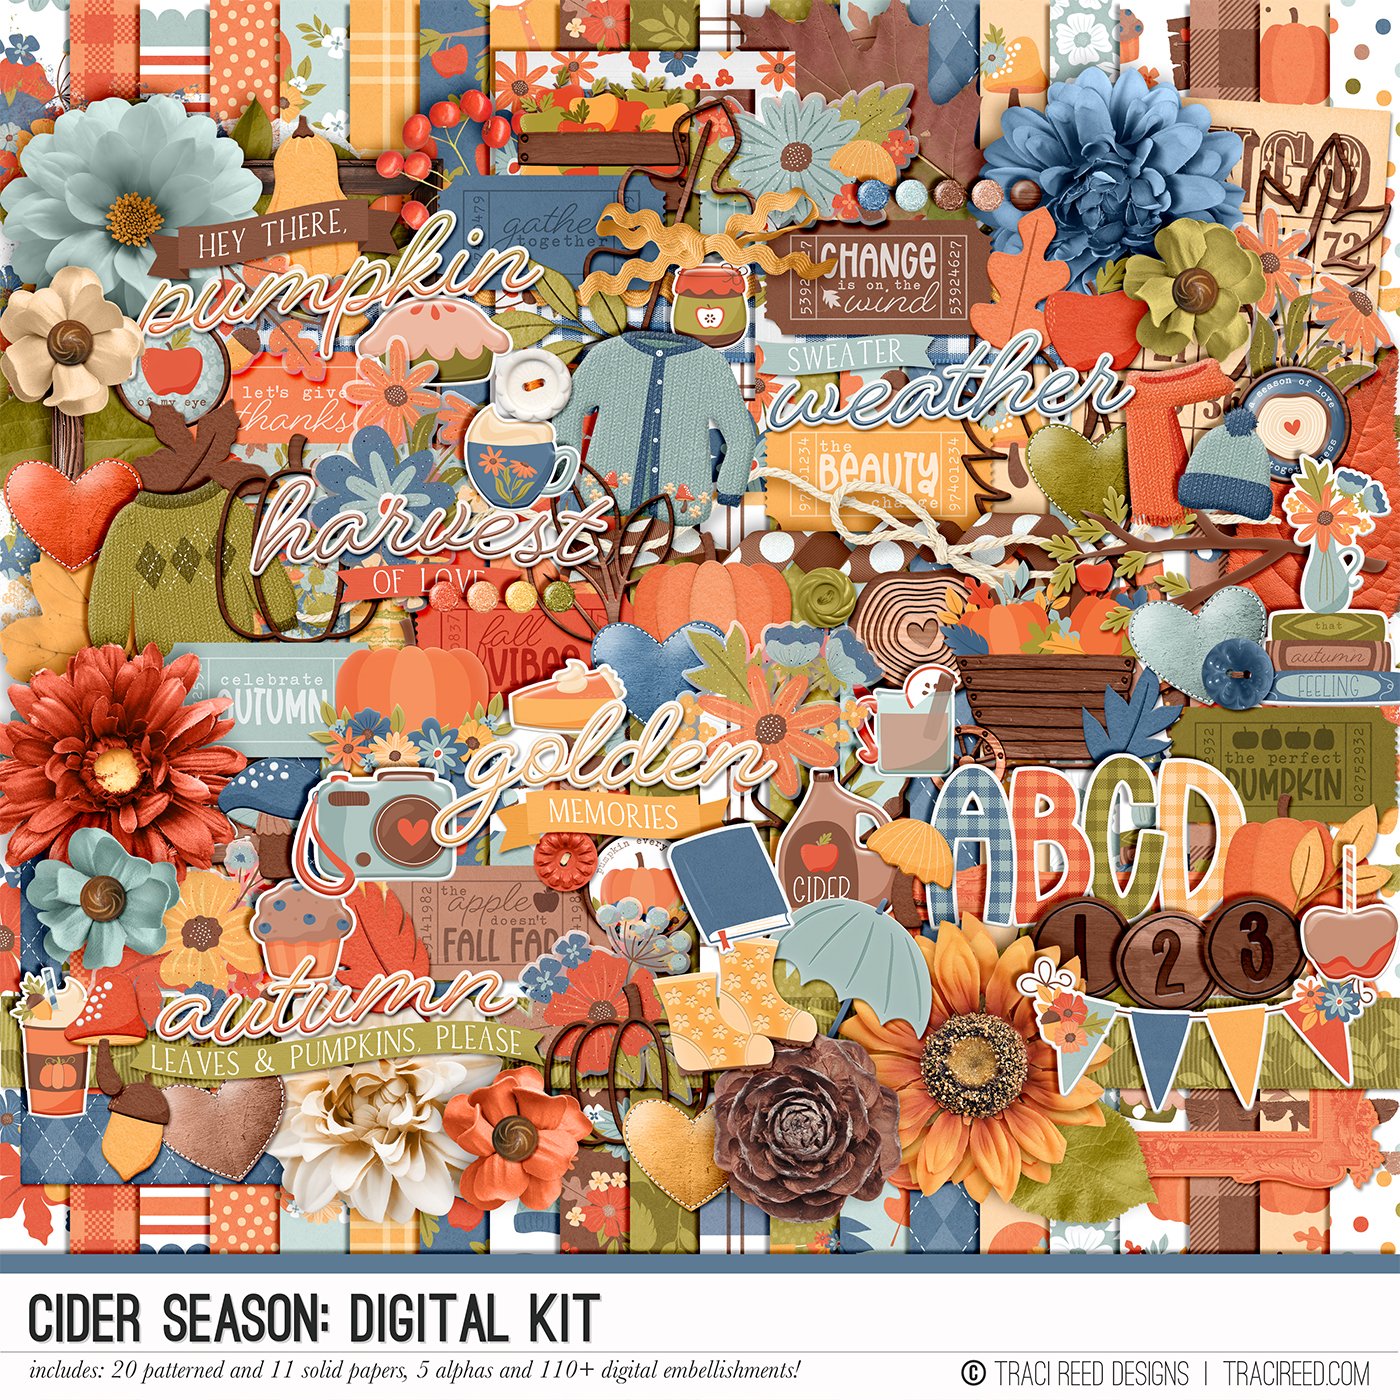
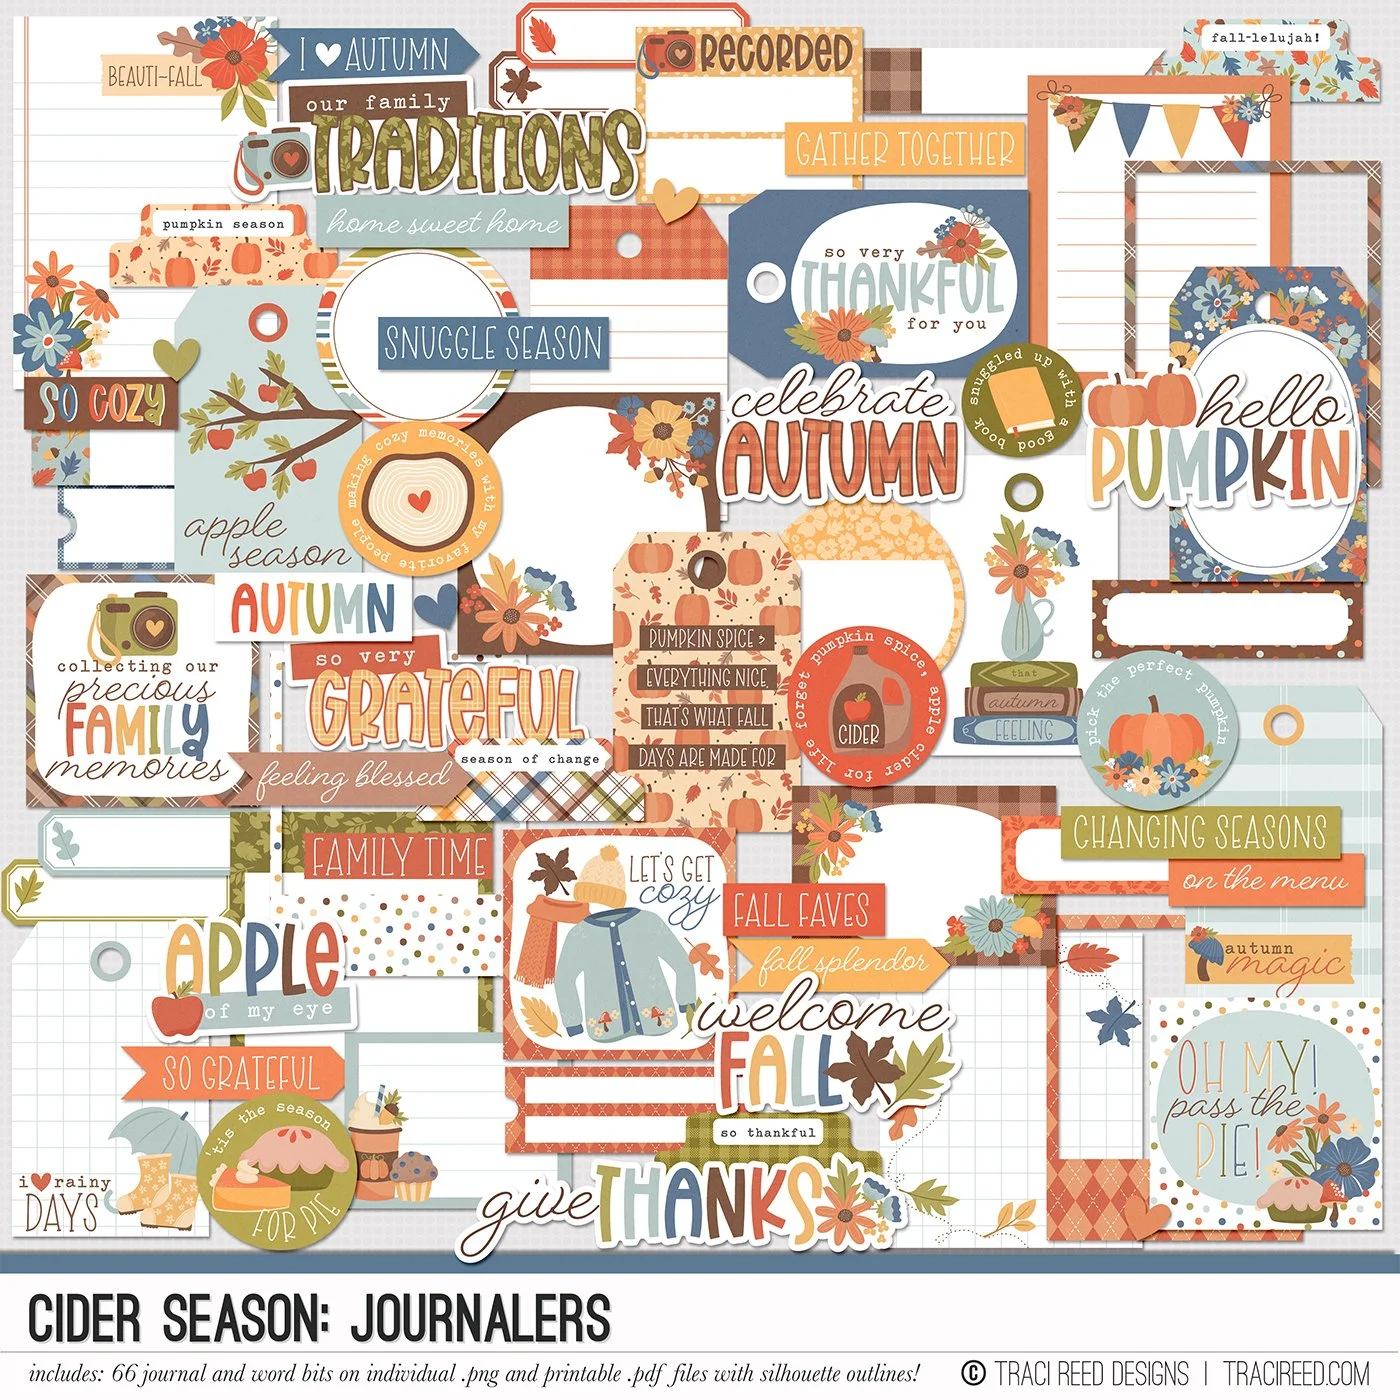
Hey everyone! Traci here with a tutorial on how I made these adorable pumpkin cut files from the wood veneer embellishments in the Cider Season digital kit! I have a tutorial for you in Photoshop AND in Silhouette Studio, plus a video tutorial at the end!

Photoshop Tutorial
Open the file you wish to make a cut file from in photoshop and resize larger as necessary. If you resize an embellishment too much larger, it will get blurry and pixelated so we will combat that by creating a path.

Cmd (CTRL) + click the layer thumbnail in the layers palette to select the layer and get the marching ants around the outline.

In the paths palette, select “Make work path from selection”

This creates a path around your embellishment that is smoother than the pixelated version of the embellishment. You can now use the direct selection and various point editing tools to smooth further if needed.
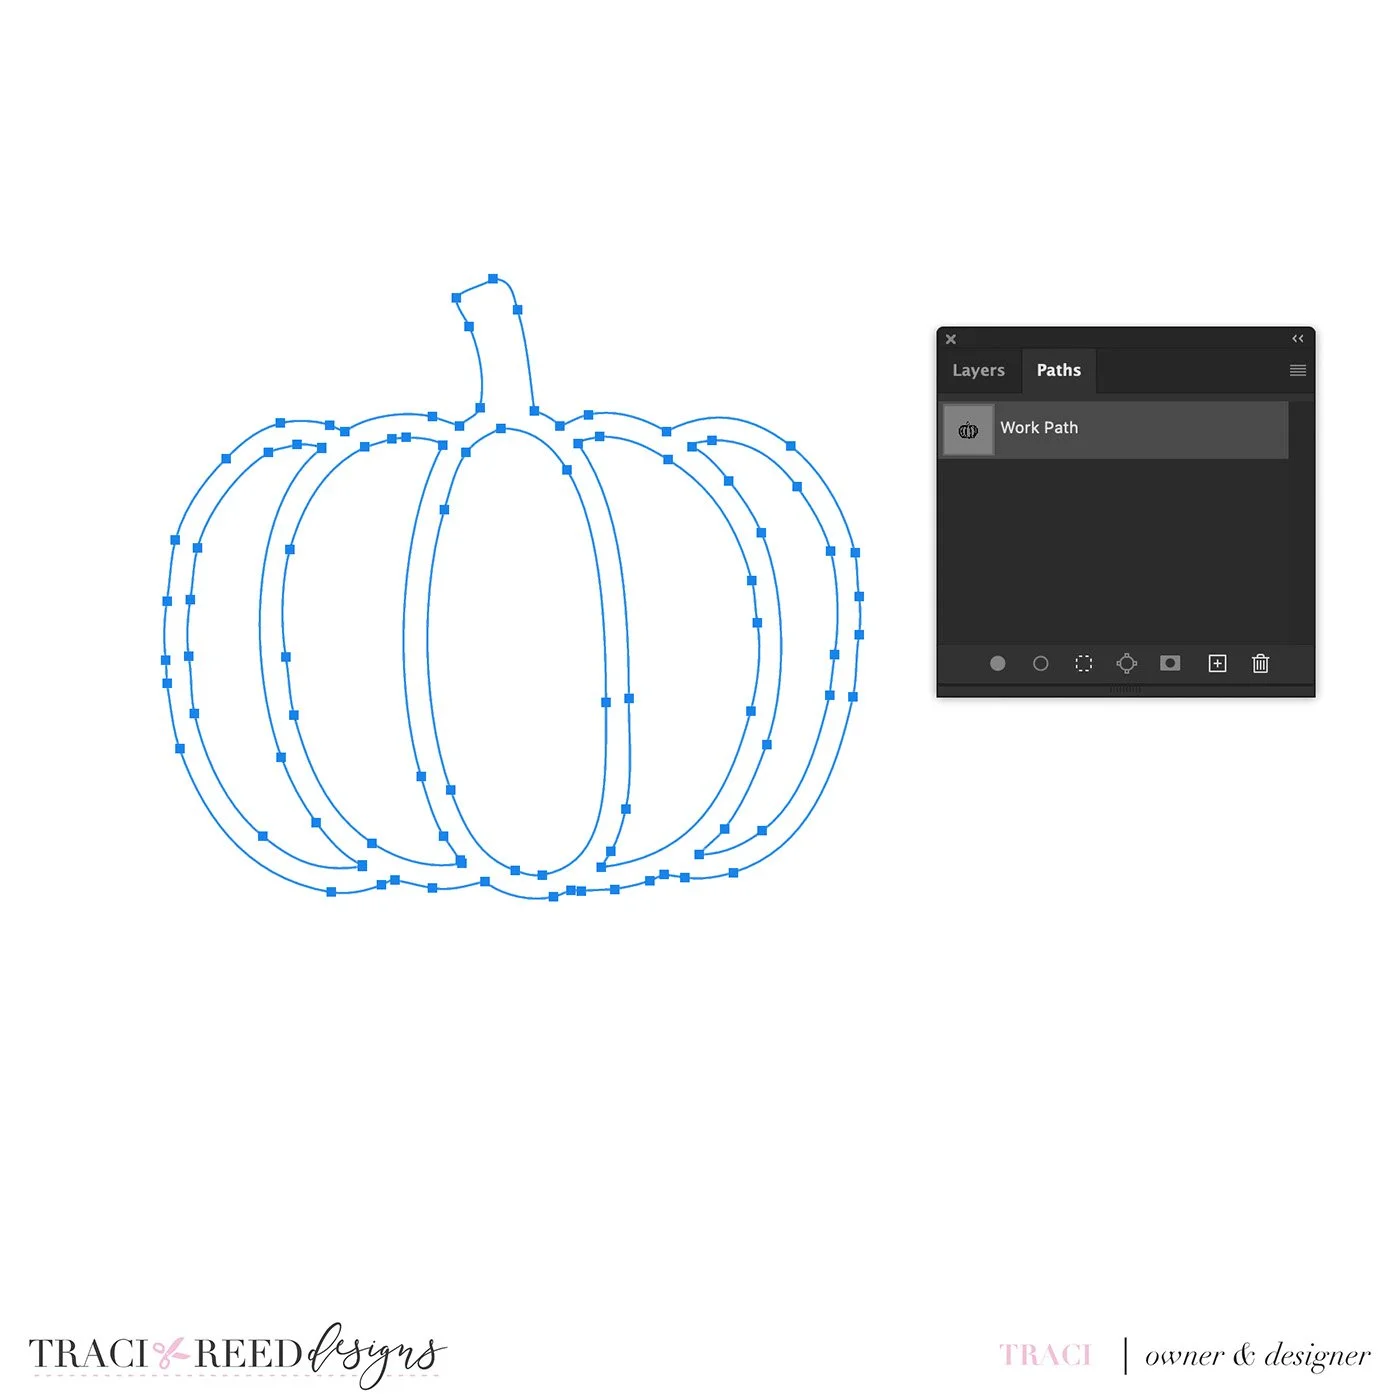
On a new layer, fill your cut file with a solid color by clicking “fill path with foreground color” at the bottom of the paths palette. You should now have a filled in path in the color of your choice

Using the magic wand, select inside each of the empty spaces you would like to fill with pattern in your cut file, then on another new layer, fill those selections with the paint bucket tool and you should have two layers like shown below:

You can now clip any paper you like to the inner layer and outline layer if you like.

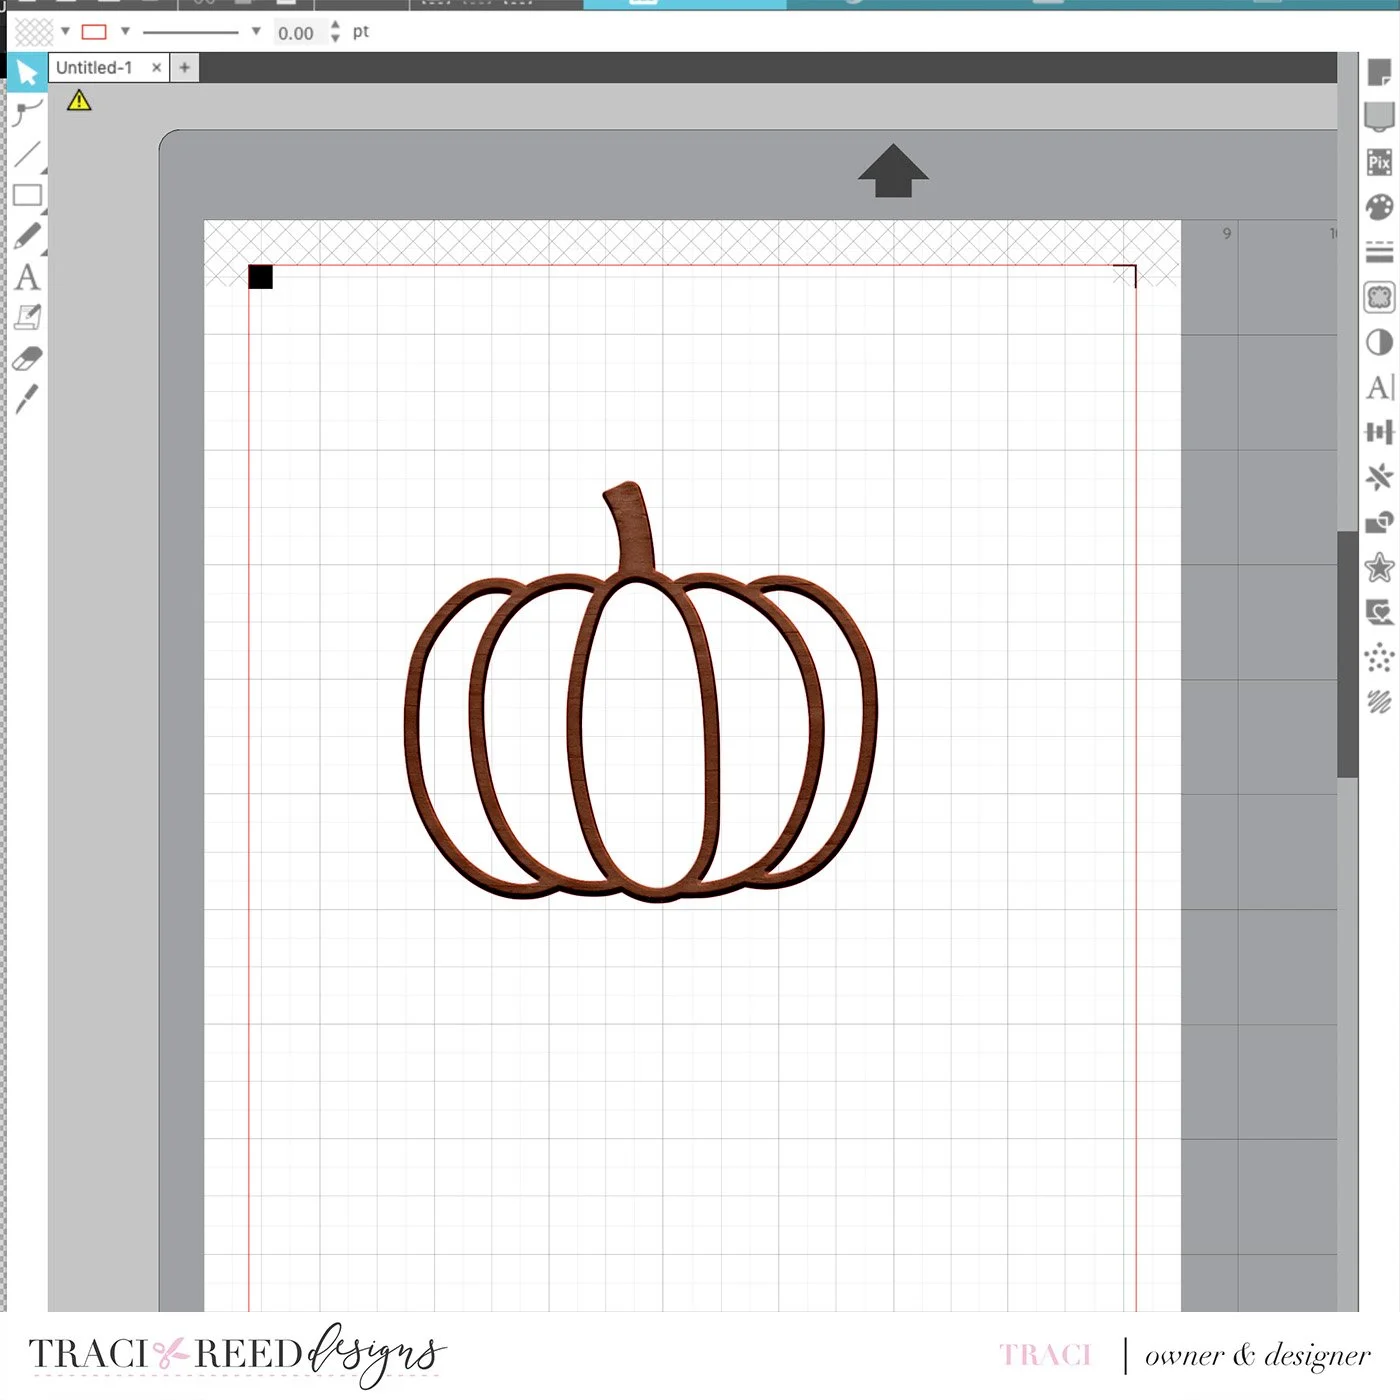
The file is ready to be saved as a PNG to go to the print and cut feature on your cutting machine, or you can print and cut by hand or use this file digitally!

Silhouette Studio Tutorial
Open the file you wish to make a cut file from in Silhouette Studio and resize larger as necessary. If you resize an embellishment too much larger, it will get blurry and pixelated so we will combat that by filling with a solid color instead of the faux wood veneer.
Right click on the embellishment and “release compound path” this will create a separate editable layer for each portion of your cut file.

Drag the outline down and away from the inner portions of the cut file, then select just the inner portions and copy. Ctrl+z to put the outline back.

With just the outline selected, choose the color you would like the outline to be in the fill panel

Select all portions of the cut file and right click and choose “make compound path” this puts the cut file back together to cut properly.

Now, right click or hit ctrl (cmd) + v to paste the inner portions of the cut file we copied earlier

You can now drag and drop patterns from your preferred digital kit into the individual pieces

Adjust the size of the pattern using the sale percentage in the pattern fill window and voila! You’re ready to print and cut!

You can watch the video tutorials at the end of this video.
Photoshop Tutorial begins at 11:25
Silhouette Studio Tutorial begins at 16:05