Creating a Custom Vellum Insert for your Traveler's Notebook Spread with Caroline!
Hi everyone, Caroline here and I am really excited to be here on Traci’s blog today to walk you through how I created a cute, interactive Traveller’s Notebook spread with a custom vellum insert.

First, choose which papers you would like to work with for each side of your Traveller’s Notebook. I like to choose contrasting papers so tend to have a brighter or busier pattern on one side, and a calmer or more neutral pattern on the other. At this stage you want these papers to NOT be adhered into your Traveller’s Notebook!

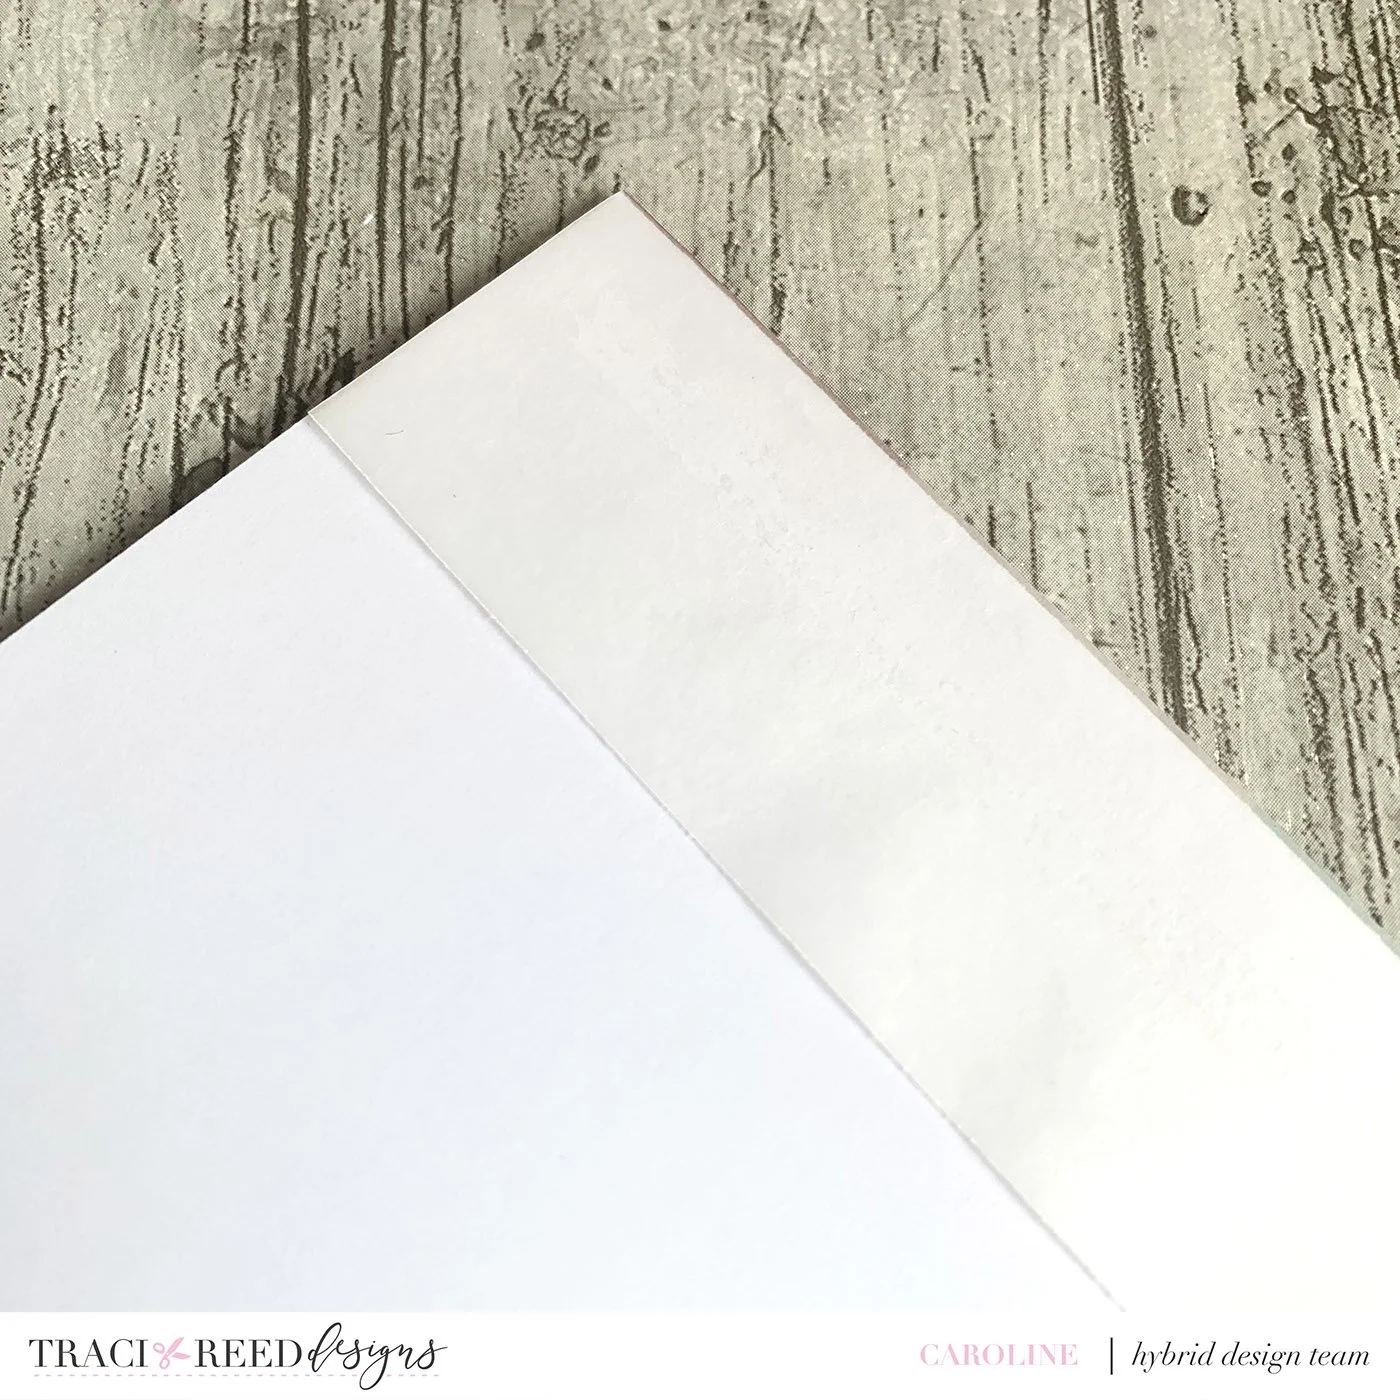
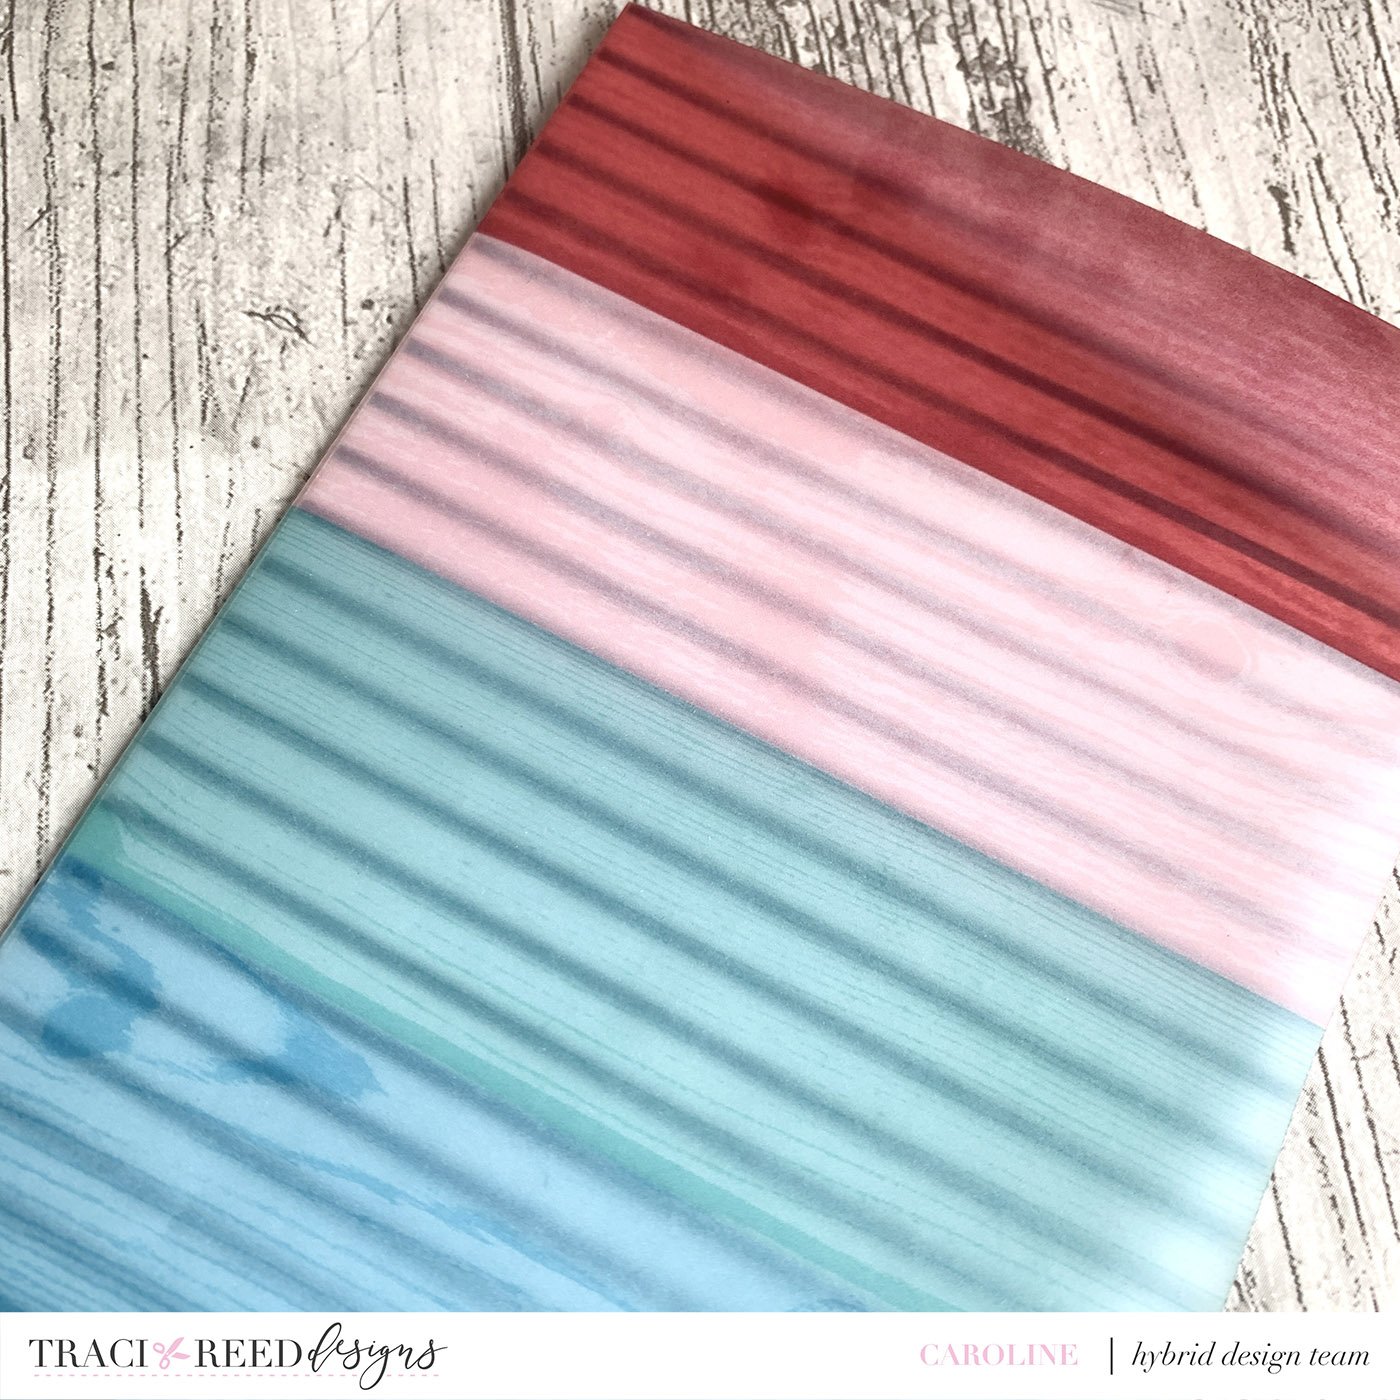
Next print two copies of the paper you want as your insert on vellum. Make sure you give it plenty of time to dry! This process will work with any of the papers from the “True North” collection (or in fact any of Traci’s collections) I prefer to do it with brighter papers if I want to ‘hide’ the page behind a little more.

When you cut the pattern from your vellum leave an additional amount of vellum to create a fold with. I kept about 1.25” to create a fold. Once you have this fold, tuck it behind the paper you will be using for your right hand page and adher it down.
Have fun working on the paper pages in whatever way feels right to you. I opted to add my photo and some journal spots to the right hand page (so they would sit behind the vellum) and to use the left hand page as a title page. I really wanted that “Love is our anchor” die cut to be focal on the page as my title piece.

Once I had both the left and the right pages adhered down (with paper layers, diecuts etc) I paused a moment and could have stopped here as that custom vellum page is so cute just as it is!

I really wanted to add more interactivity to the page though and that is why I printed two copies of the vellum paper. I next cut down some of that vellum to lay on top as a vellum pocket - so basically there are two layers of vellum adhered together to hold a journaling tag. I chose to adhere mine with red line tape as the pattern I used means you can’t really see the tape through it. Another option would be to stitch this pocket down. If you want to do that I would recommend you assemble the vellum pocket page insert before you adhere the vellum page to the right side.


I then created a tag with journal cards and embellishments from the collection to pop into the vellum pocket to hold additional journaling.
Once this was all complete I added some enamel dots and then finally adhered these pages straight into my Traveller’s Notebook so that they sit within the bound book. That vellum insert is now a vellum page inside the book and as you flip through it looks as though the book was bound with that page in place! Magic!!


If you prefer to work in a disc bound TN then you can follow this technique and simply punch and add your vellum insert between the two pages rather than needing to adhere it to the right side.
If you don’t work in a TN at all but would like to play with custom vellum, try creating flip ups for your pocket pages or even flip ups over photos and journal cards on your traditional layouts.
I hope you have lots of fun creating your own custom vellum with Traci’s collections. It is one of my favourite things to do!


