Convert the Bookish Book Trackers into a Bookmark with Shayla
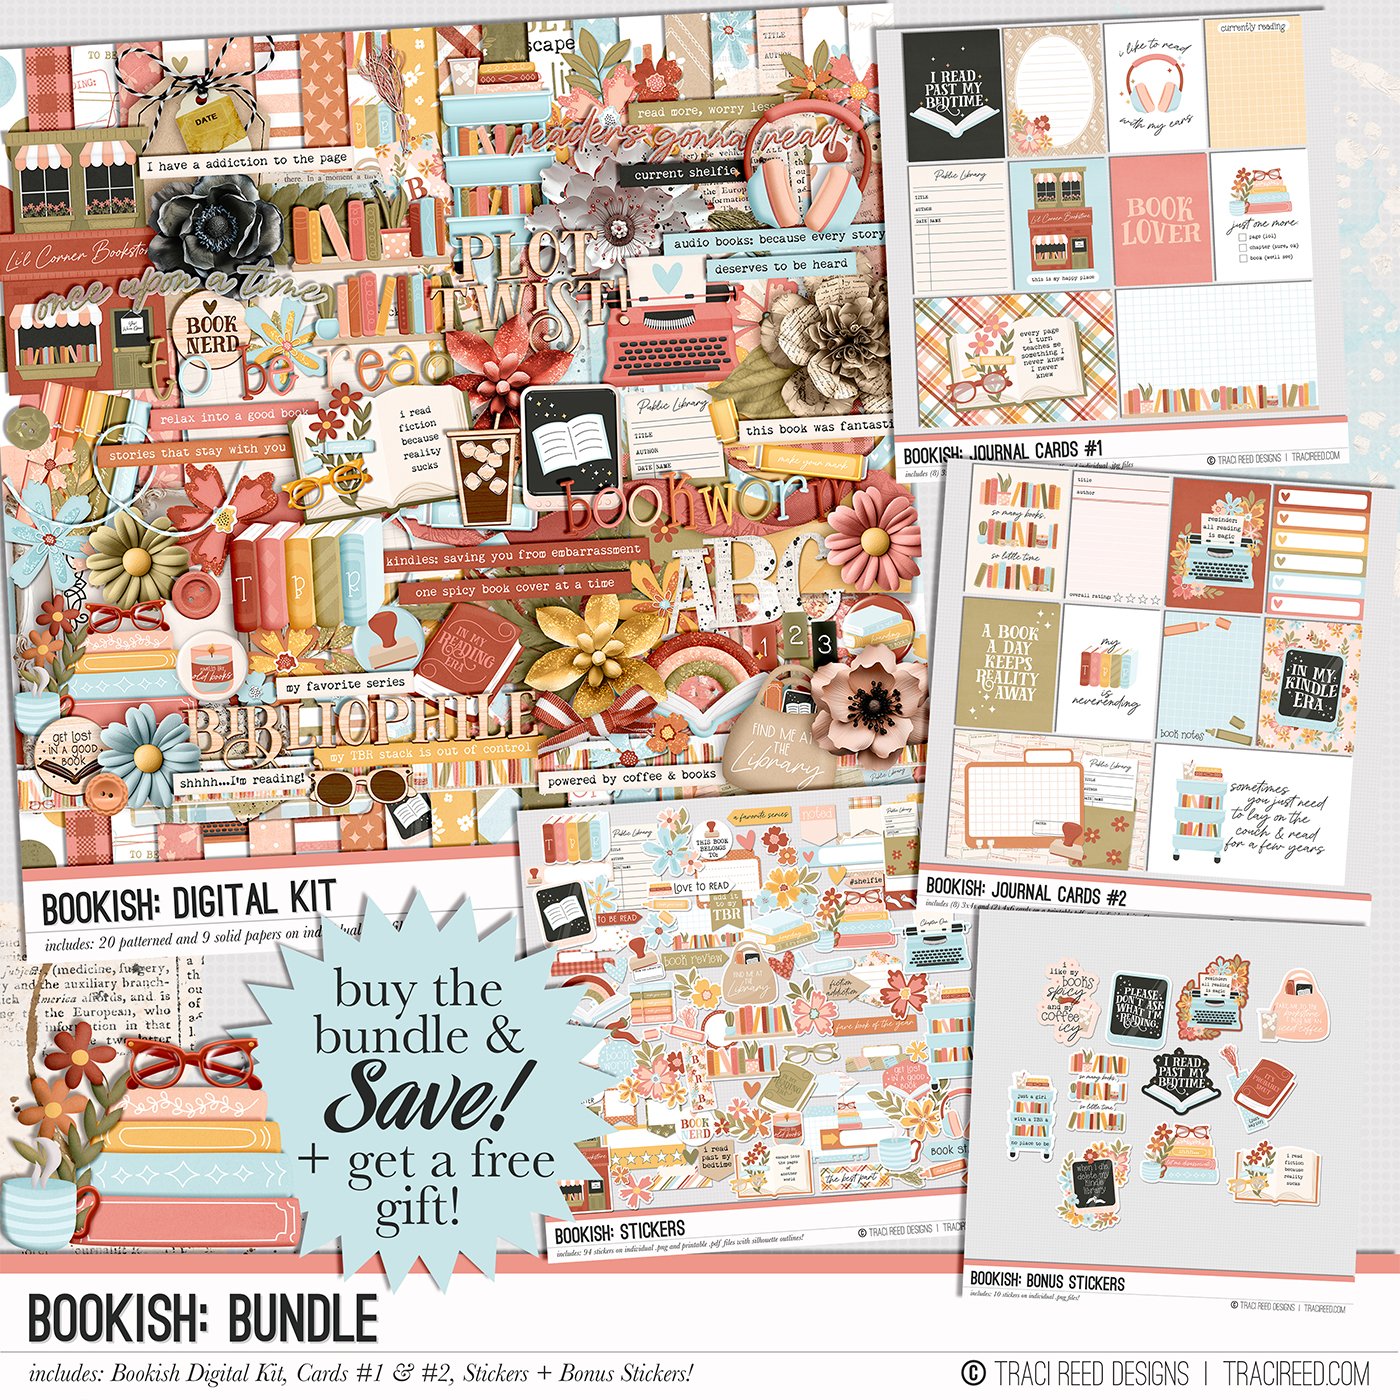
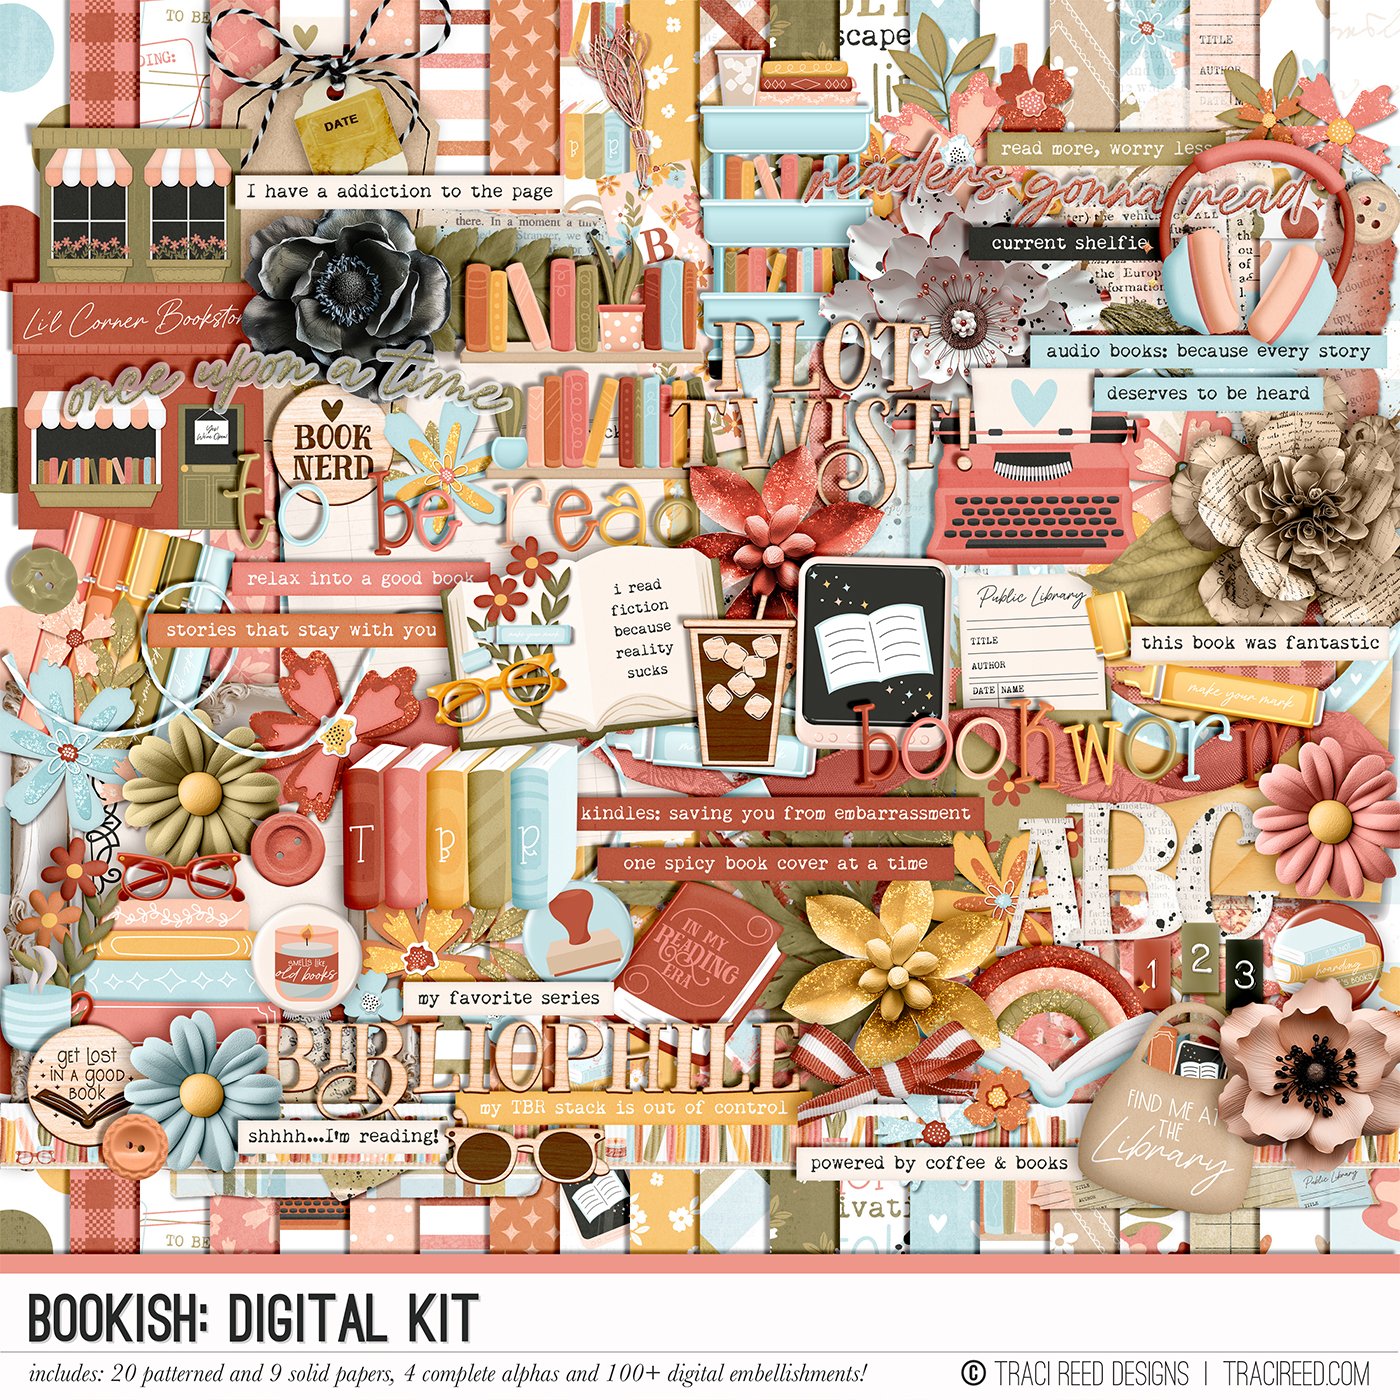
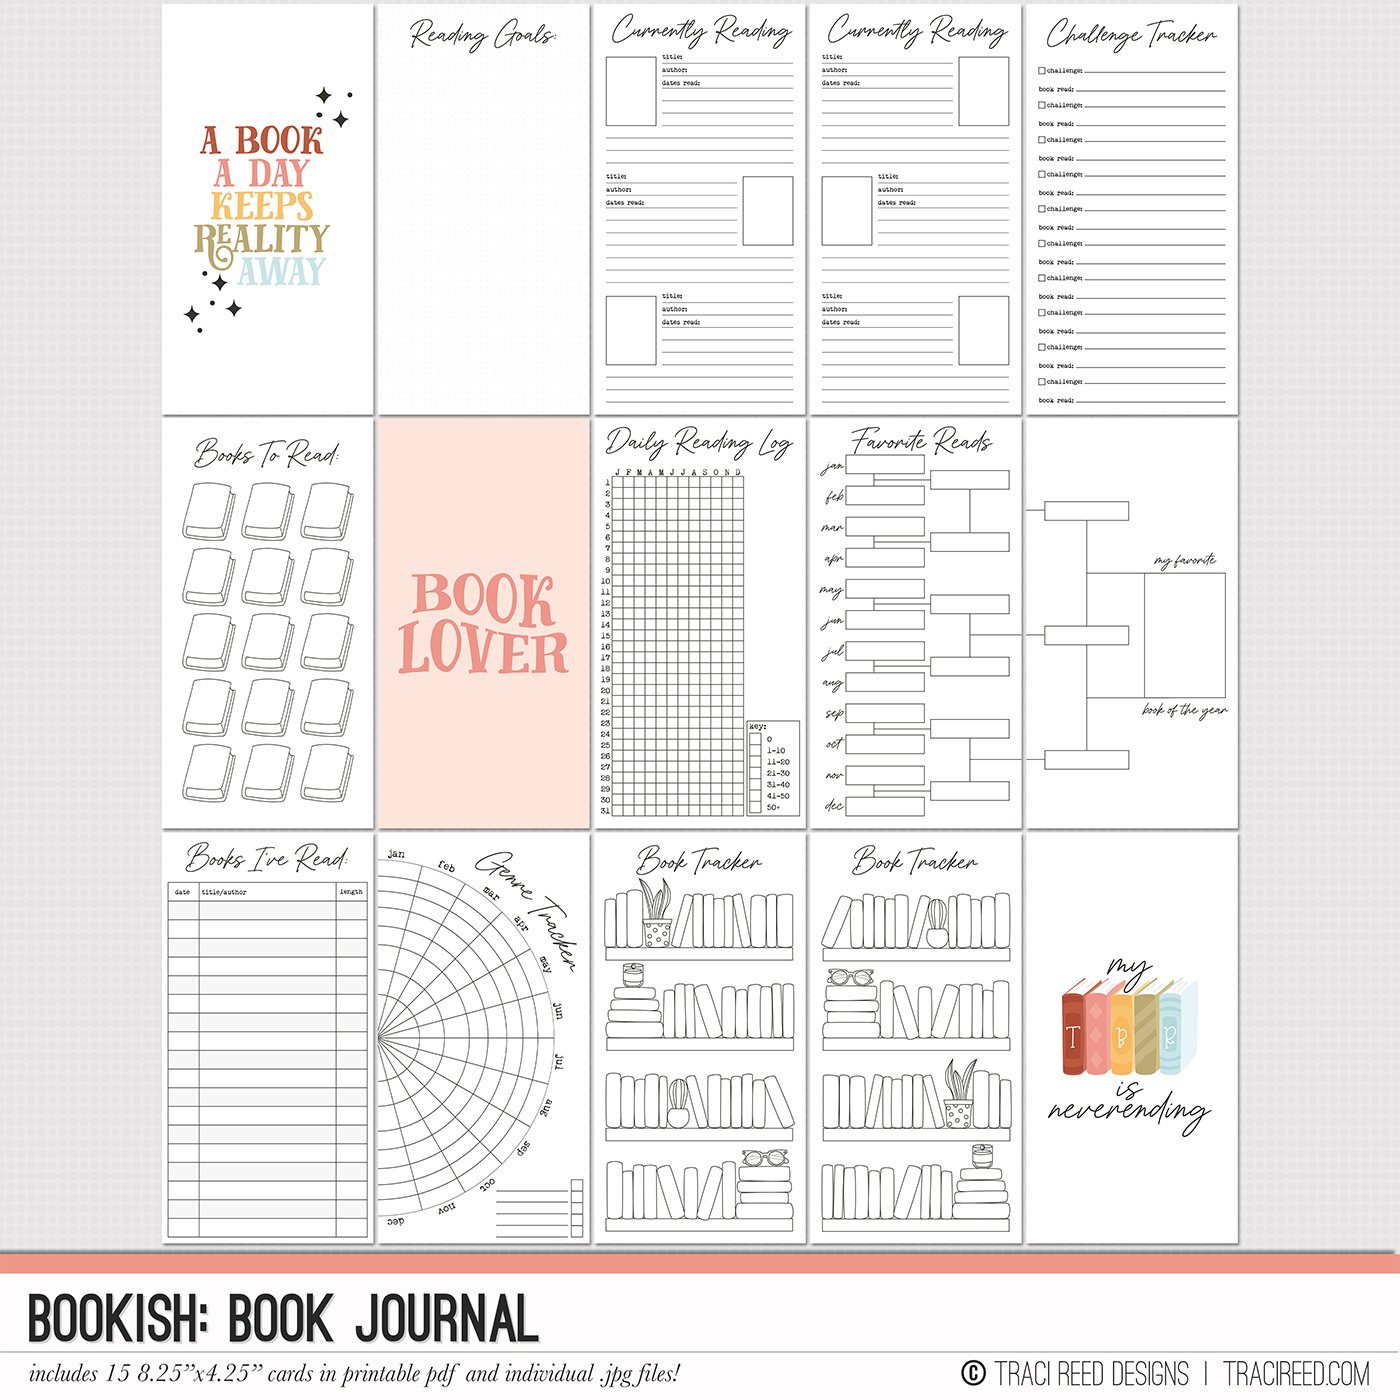
When I saw the book tracker pages that Traci created I knew I needed a portable version to keep with my books.
I used the GoDaddy Studio app on my iPad to create the front and back images for my 2”x7” bookmark.
I opened a document 2100px by 4200px and chose the bookshelf version of the book tracker templates.
Because I wanted to be able to record even more books, I duplicated the original tracker image and cropped close to the shelves, then layered these images together to add two more shelves to the size of the tracker.
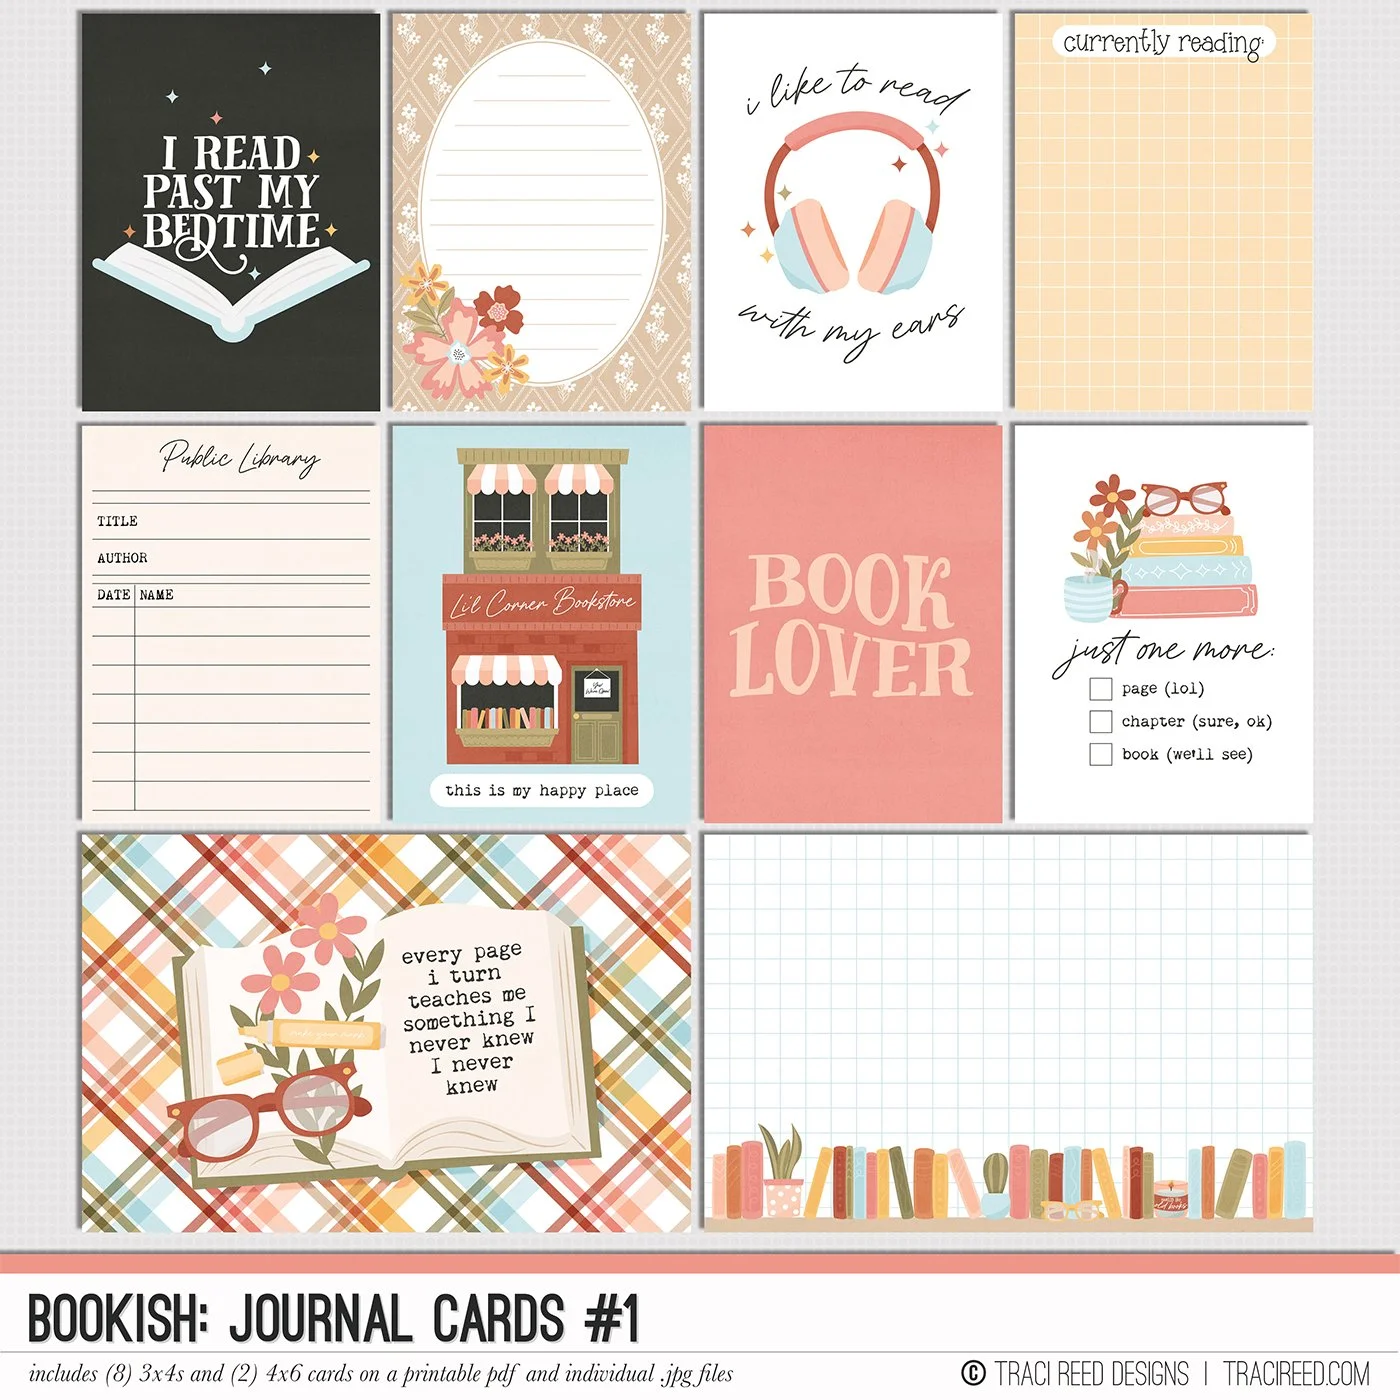
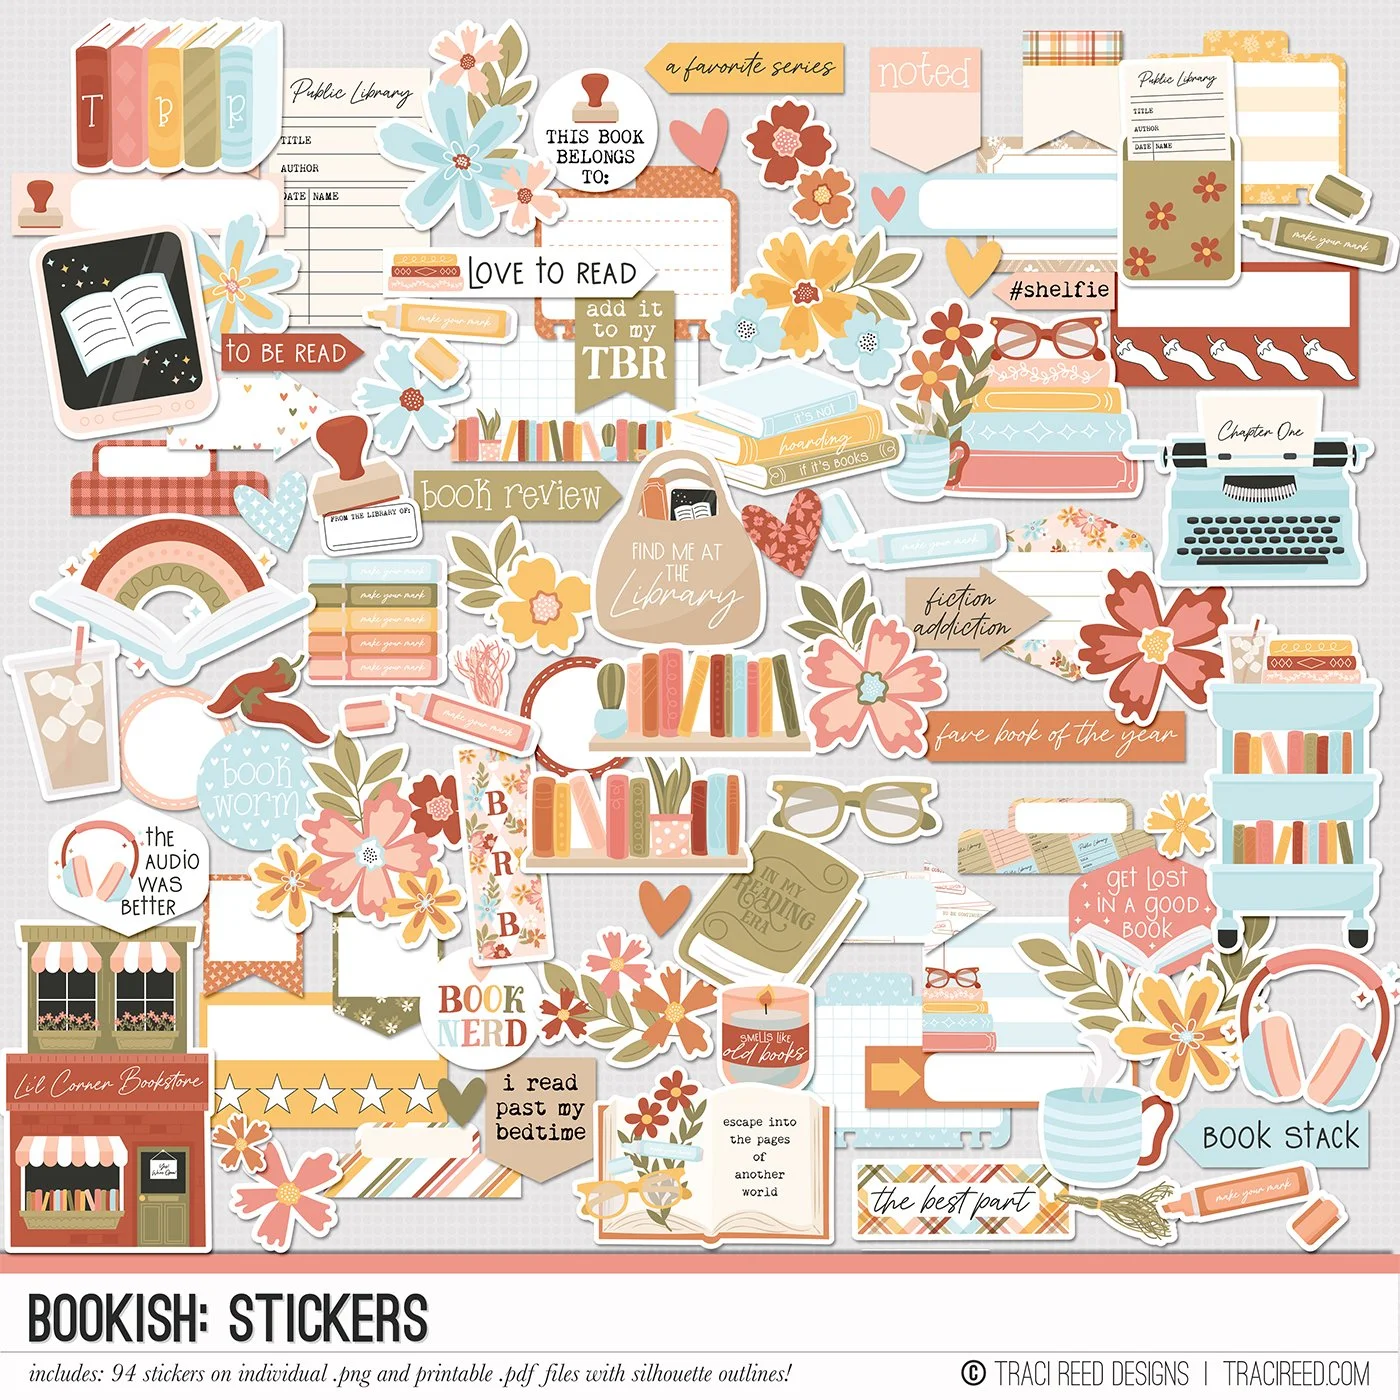
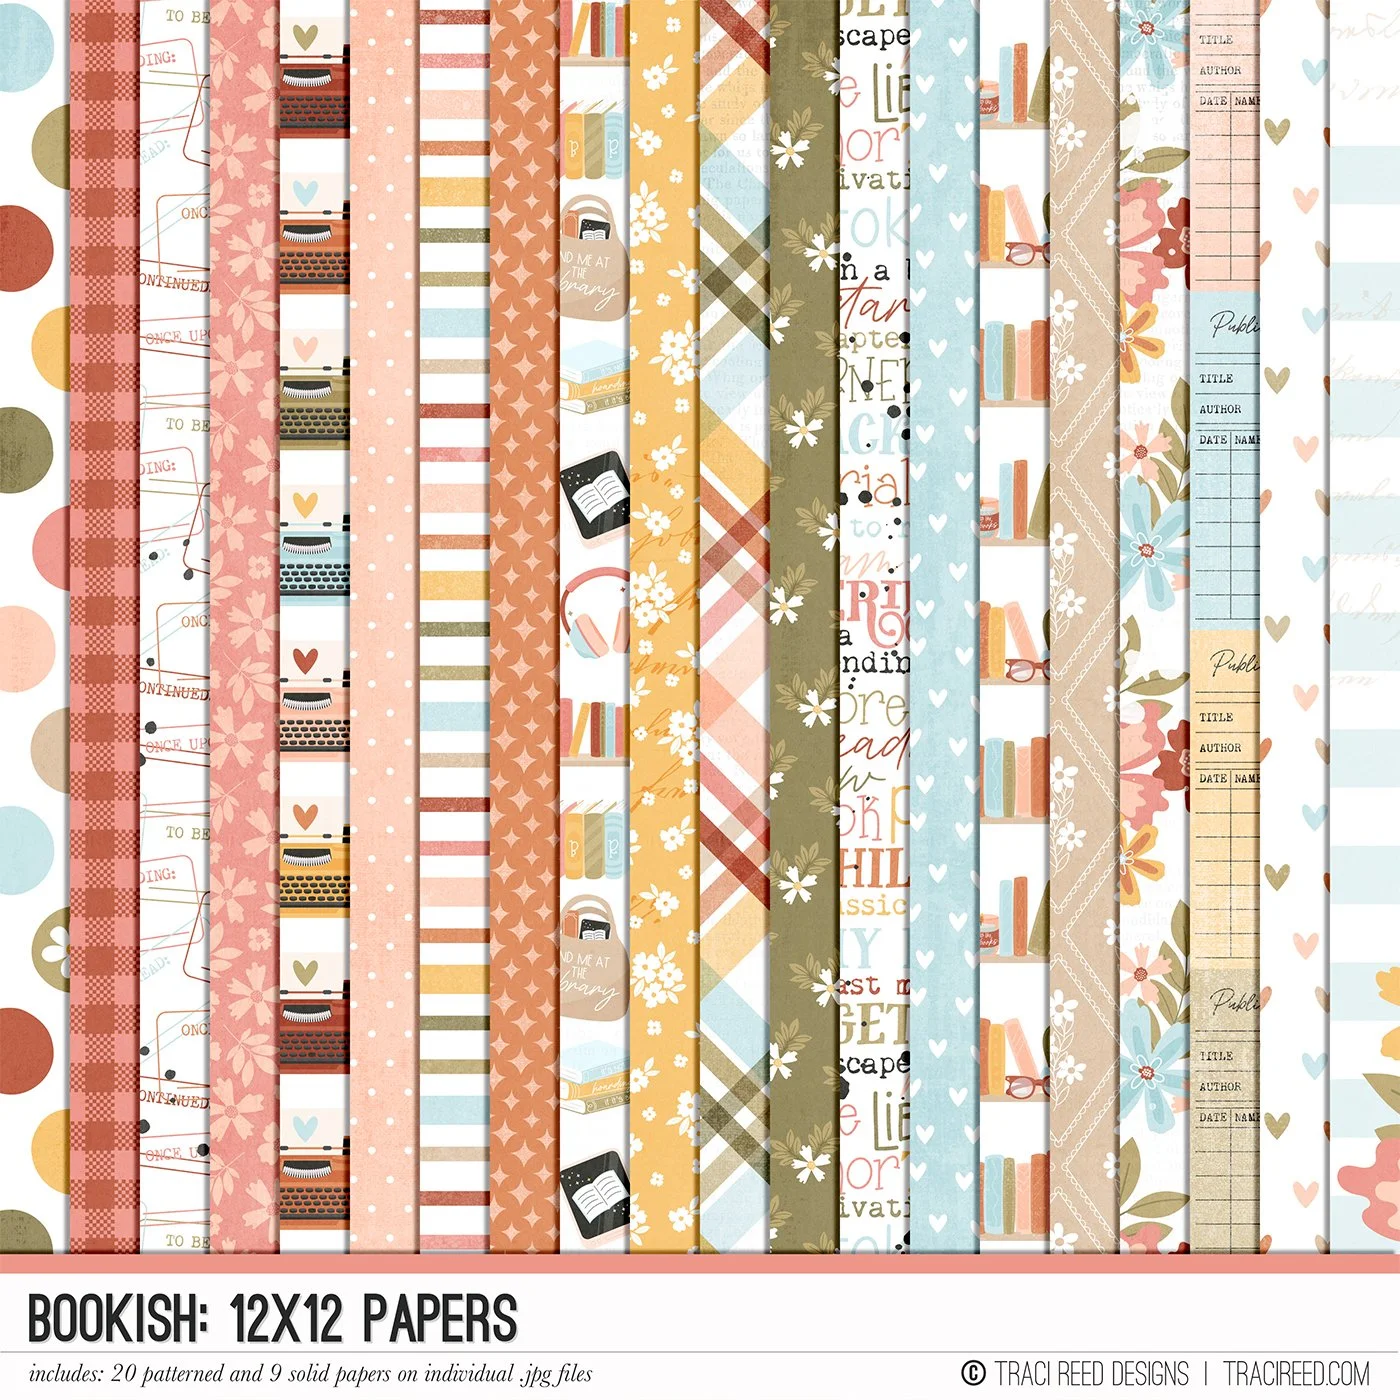
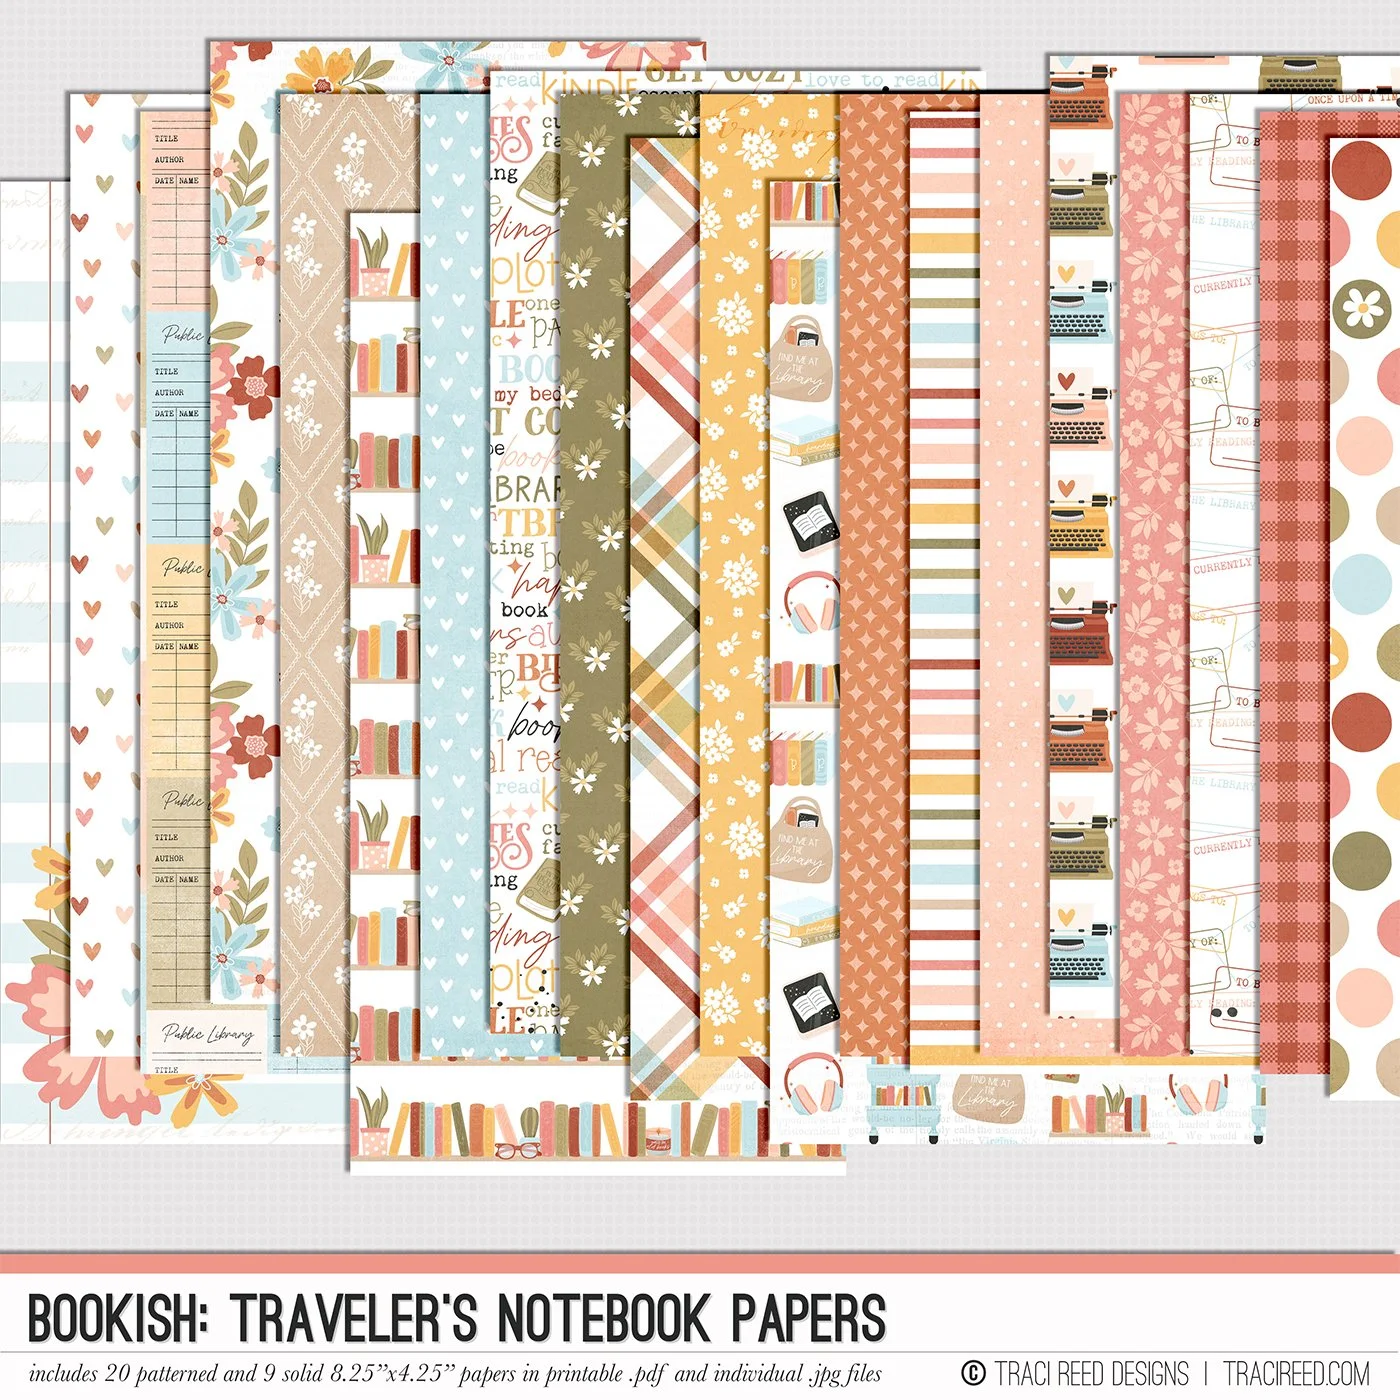
Then I added a background paper to the top and this adorable “I read past my bedtime” sticker to the top, covering up the original “Book Tracker” title.
Next, I used a second background paper to create the backside of my bookmark. If you’re an ambitious reader, you could repeat the first design to cover both sides of your bookmark and have even more shelf space to track books.
I brought my two images into an Apple Pages document and added borders to facilitate cutting. I double checked under formatting that my images were the correct 2”x7” size. I chose to duplicate the images so that I can print two bookmarks at once, one for me and one for a friend!
I used white 65lb weight cardstock to print my document out and then used a paper trimmer to cut out my images.
Next I used plain white glue to stick the front and back side of my bookmark together. I used a small hole punch at the top of my bookmark and added a tassel with a bead to finish the bookmark off.
Each time I finish a book, I plan to use my pencil crayons in a matching colour to the book’s cover and fill in another book on the bookshelf.
Finally a book tracker I won’t forget to use because it will be front and centre with my books!
Thanks for joining me in my crafting project today. Happy crafting and happy reading!


