Tutorial: Creating a Cut File from a Digital Embellishment with Theresa!
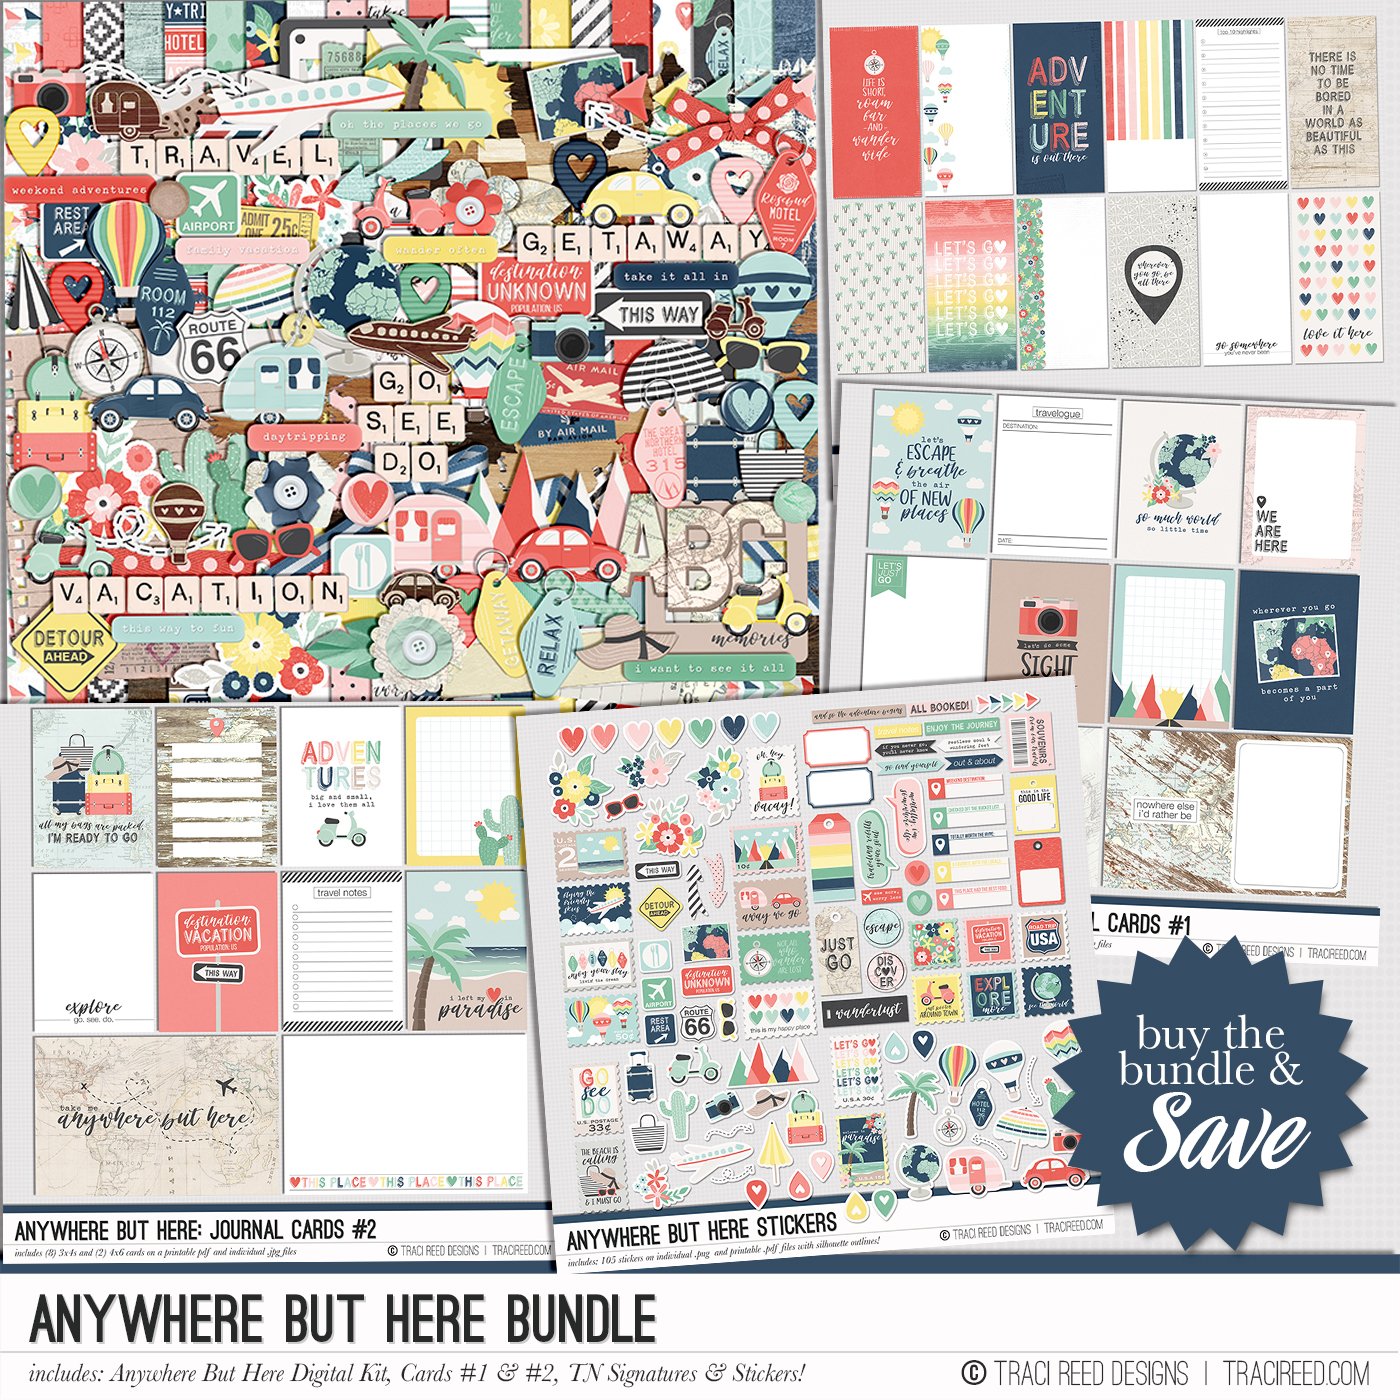
Hi friends, Theresa here to share a super fun Silhouette tutorial with you! Sometimes a collection just inspires you - ok well ALL of Traci’s collections inspire me! Sometimes you just see a digital embellishment and you want it in a cut file! So today I am going to show you how I took one of the hot air balloon embellishments in the Anywhere But Here collection and created a cut file from it. This is a bit of an advanced technique, but stay tuned because at the bottom of this post I will share a full process video that includes a detailed tutorial.

It’s been Prom season, and recently our River attended their Junior Prom. They chose their own unique outfit and accessories, and of course I had to take snaps! This layout isn’t necessarily Prom themed, because I really wanted to emphasize how I feel like River is soaring high these days with grades and friends and so that is why I chose the hot air balloon! Let me give you detailed written instructions how I did that:
Open the hot air balloon embellishment in the Silhouette software. It will open at a larger scale, and we are going to leave it at the large size. The Silhouette will give you a resolution warning, but it is ok because we are not printing this embellishment. We are using it as the base for our cut file.
Use the Trace tool to trace around the balloon. Bump up the threshold until you get good lines that look like they will make good cut lines. I ended up bumping it up to 75% for this embellishment, but your mileage may vary. Click the Trace button and then move the hot air balloon out of the way.

At this point you will need to do a bit of clean-up. Keep your original embellishment open on your screen because we will need that again in a moment.
You will see some cut lines especially at the top and bottom that we don’t really want. Click on the Edit Point Tool to show all the points that make up these lines. You will be able to simplify, delete and move those lines to create our cut file.

Delete the points to create smooth cut lines at the top of the balloon. You can move your lines as you need to, you can also make them flat or curve within the Point Edit Tool.
At the bottom of the cut file I deleted the lines that hold the balloon to the basket and simplified the basket so it was more simple, like this.
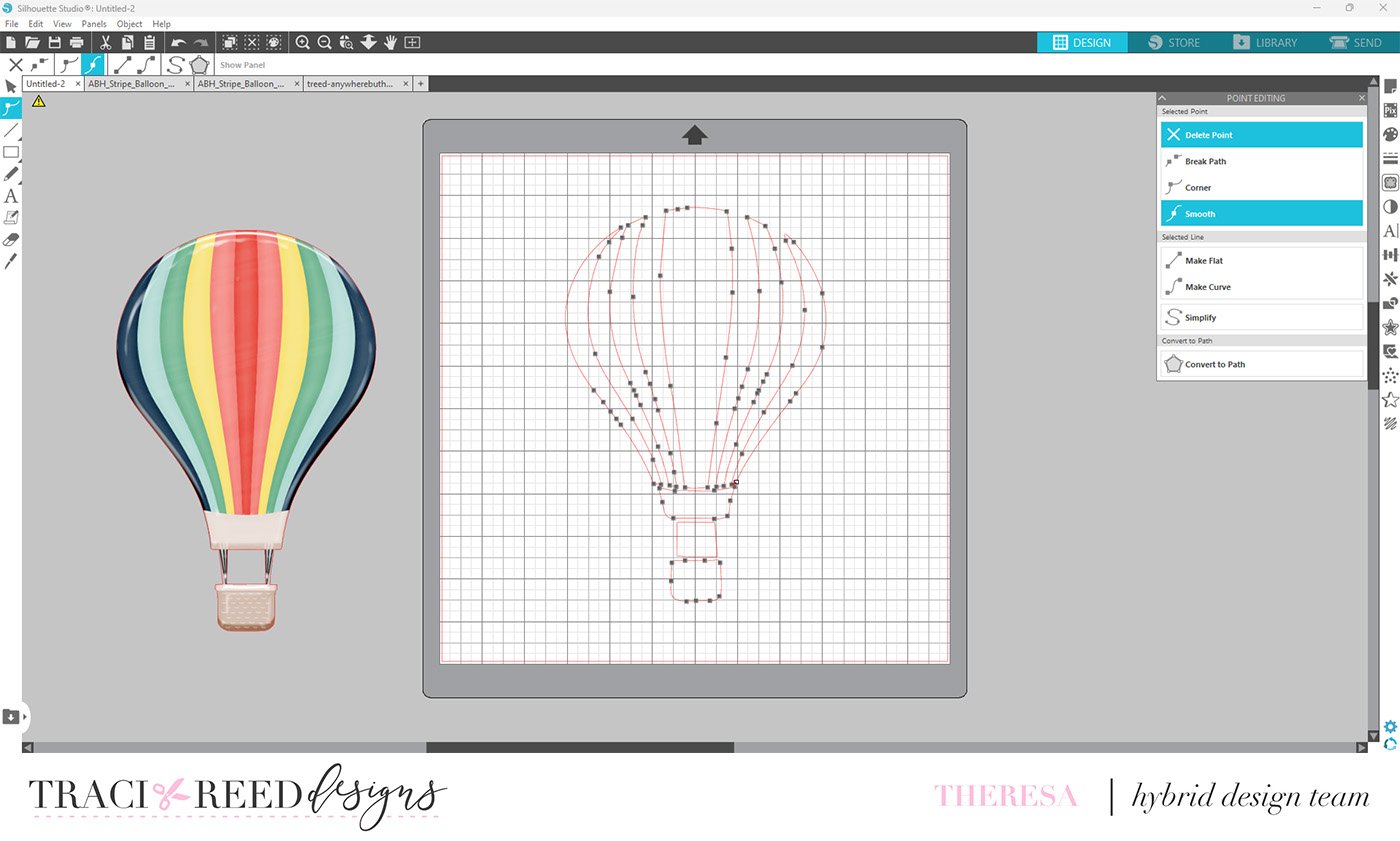
At this point our cut file is beginning to take shape! You will want to bring the cut lines within the balloon closer together so that you have a consistent cut width.
Trace your original balloon once more, and bump up your Threshold to 100%. This time just click Trace Outer Edge to give you the outermost cut. See the traced outline to the left in the image below.

Now, if you drag this outer cut over top of the balloon inner cuts, you will notice that it is exactly the same size. No worries, select the outline cut lines and go into the Offset tool.
Select the Outer Offset and then adjust the Distance to match the width that you made your inner cuts. I’ve used 0.185 for this cut.

One more step, and that is to drag your offset cut line that you just created over the inner cuts.
Go over everything one more time and make adjustments so your cut lines are consistent all the way around and then you are ready to cut your card stock!

See how beautifully the cut file turned out! One of the things that made this work so well is that this particular balloon has very simple lines already, and the Trace function picked up the contrast enough to create those great curved lines across the balloon! You will notice I also added the little rectangles to the basket of the balloon, to make it look like basket weave. That is simply small rectangles, repeated in the pattern and cut from a separate backing piece.

My last step was just to glue everything down, using the striped patterned paper from Anywhere But Here. I’ve added photos and embellishments of course, and then to create even more motion, I added the rounded title (alphabets from Cocoa Daisy) and those super fun puffy arrows (BoBunny).

See the full process video here:
Thanks so much for following along with me today! I hope you have a great time creating your own hot air balloon cut file from the Anywhere But Here balloon embellishment.
~Theresa