Create a Stunning Interactive Fold-Out Layout with Tara!
Do you ever have an event or a vacation that you have taken hundreds of photos for? Would you like to scrap them all? I know that I do! I recently went on a scrapbooking cruise with about 30 friends. What happens when you have that many scrapbookers on a cruise? Why you share all of your photos on Google Photos, of course! With the sheer amount of photos that I have available to me, I really wanted a way to showcase some of them. Today, I am going to create a 12x12 fold-out layout.
I started by choosing the Sunkissed collection and printing some of the papers double-sided. I knew that I wanted the inside of my layout to be the same print on both sides so, I only printed three patterns. I printed all of the patterns on a lighter weight cardstock than I normally use to print because I was trying to avoid too much bulk. I used white 80lb. cardstock. My next step was to use my score board and score both sheets of paper at the 6” mark.

I folded the first paper in half, with the diagonal stripe side up and adhered it to another piece of 80lb white cardstock.

I did the same with the second piece of double sided paper-floral side up.

Here’s what it looks like now when I open it. It will open up as if it is a 12x24” double page layout.

Now that I have my base, it’s time to start building my layout. I wanted to use something fun for the opening of my layout and add a photo that begins the story I wanted to tell. In the digital kit, there is a cut and print cutfile of a sun. I chose not to print the cutfile with the design on it because I knew it would get lost with my hand-stitching, so I cut it with 80lb white cardstock at 10”, using my Cameo. Once I had the cutfile, I used one of my ink pads to ink the white cardstock.

I printed one of the tie dye patterns and used it back my cutfile after it was inked using the Release Compound Path function in Silhouette Studio Designer Edition. This created a very cool effect!

Next, I used my paper piercer to start poking the holes for hand-stitching. When you have a design with angles, such as this one with triangle for the sunrays, you poke the holes at the angles and tips FIRST. Then you fill in the rest of the holes. I eyeball placement so no measuring. I also made sure that the first holes I poked for the center circle lined up with the angle of the rays below.
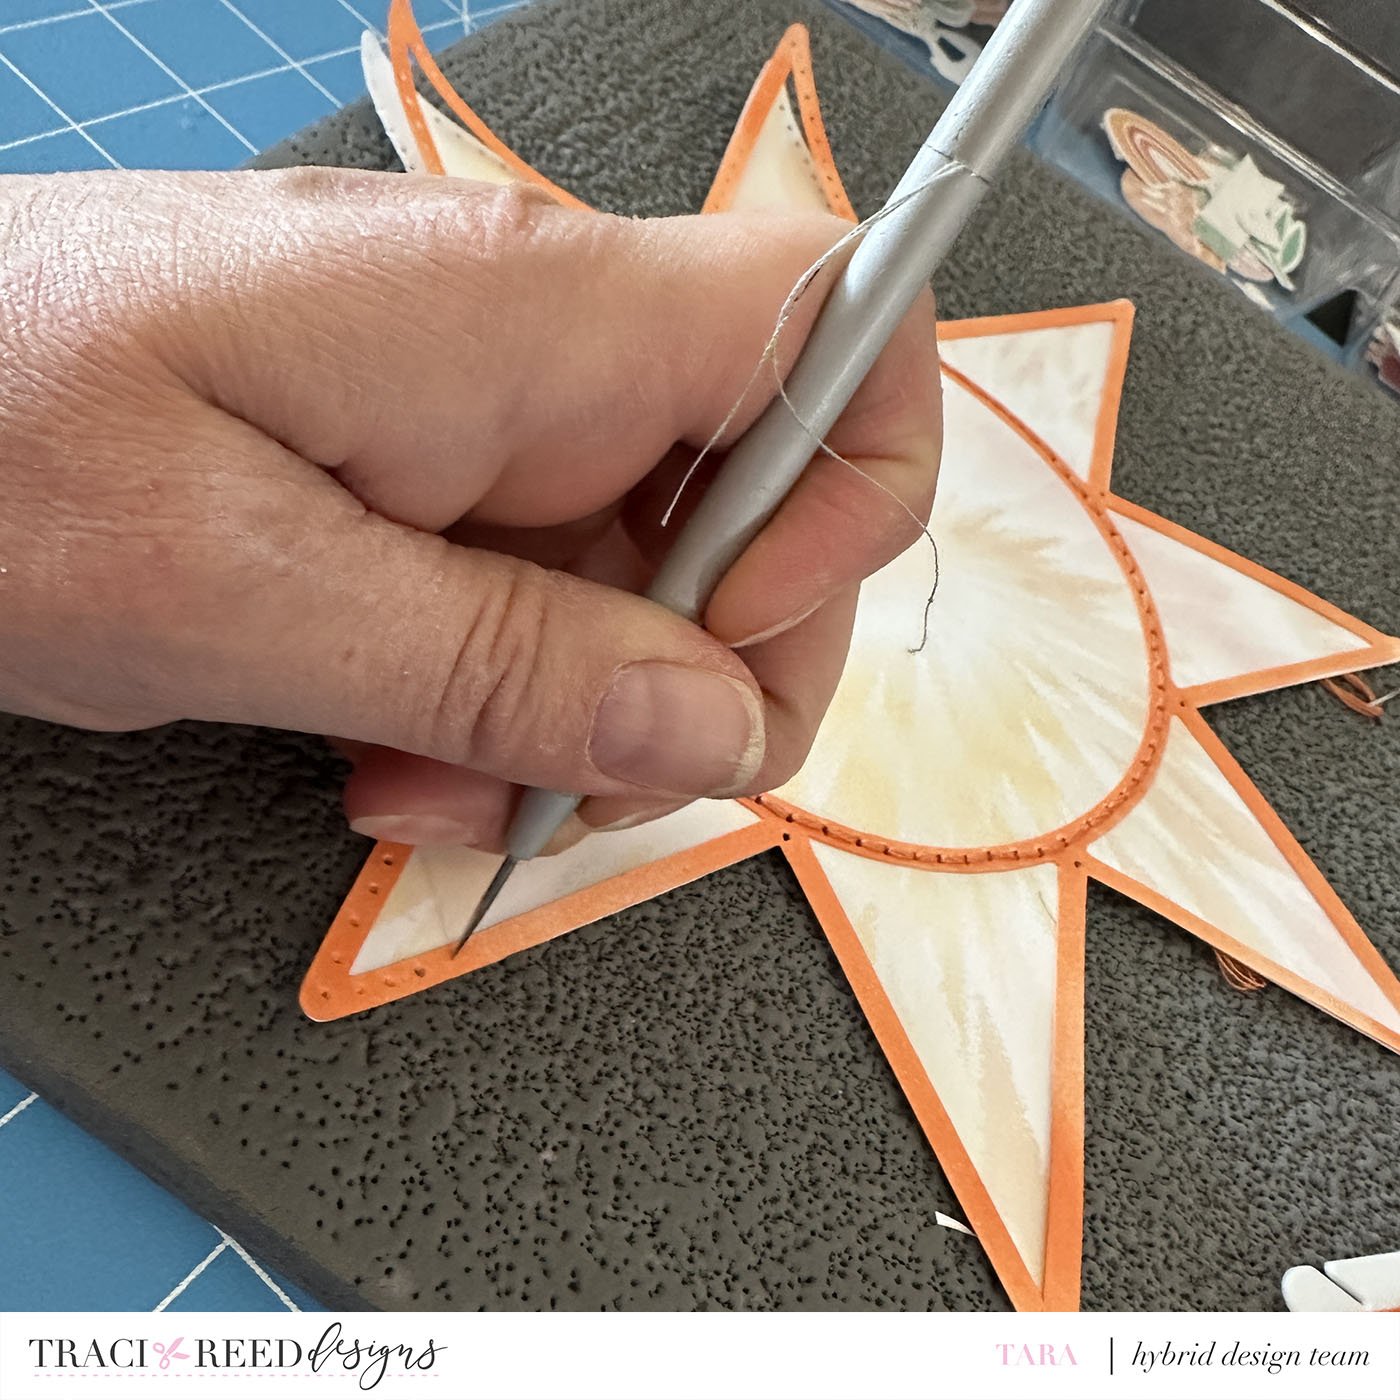
I used a DMC floss to backstitch onto my cutfile.

My next step was to print the yellow daisy pattern and use my Cameo to cut a back for my design. This is because the hand-stitching shows on the back and when you open my fold-out layout I don’t want the ugly back of my stitching to show.

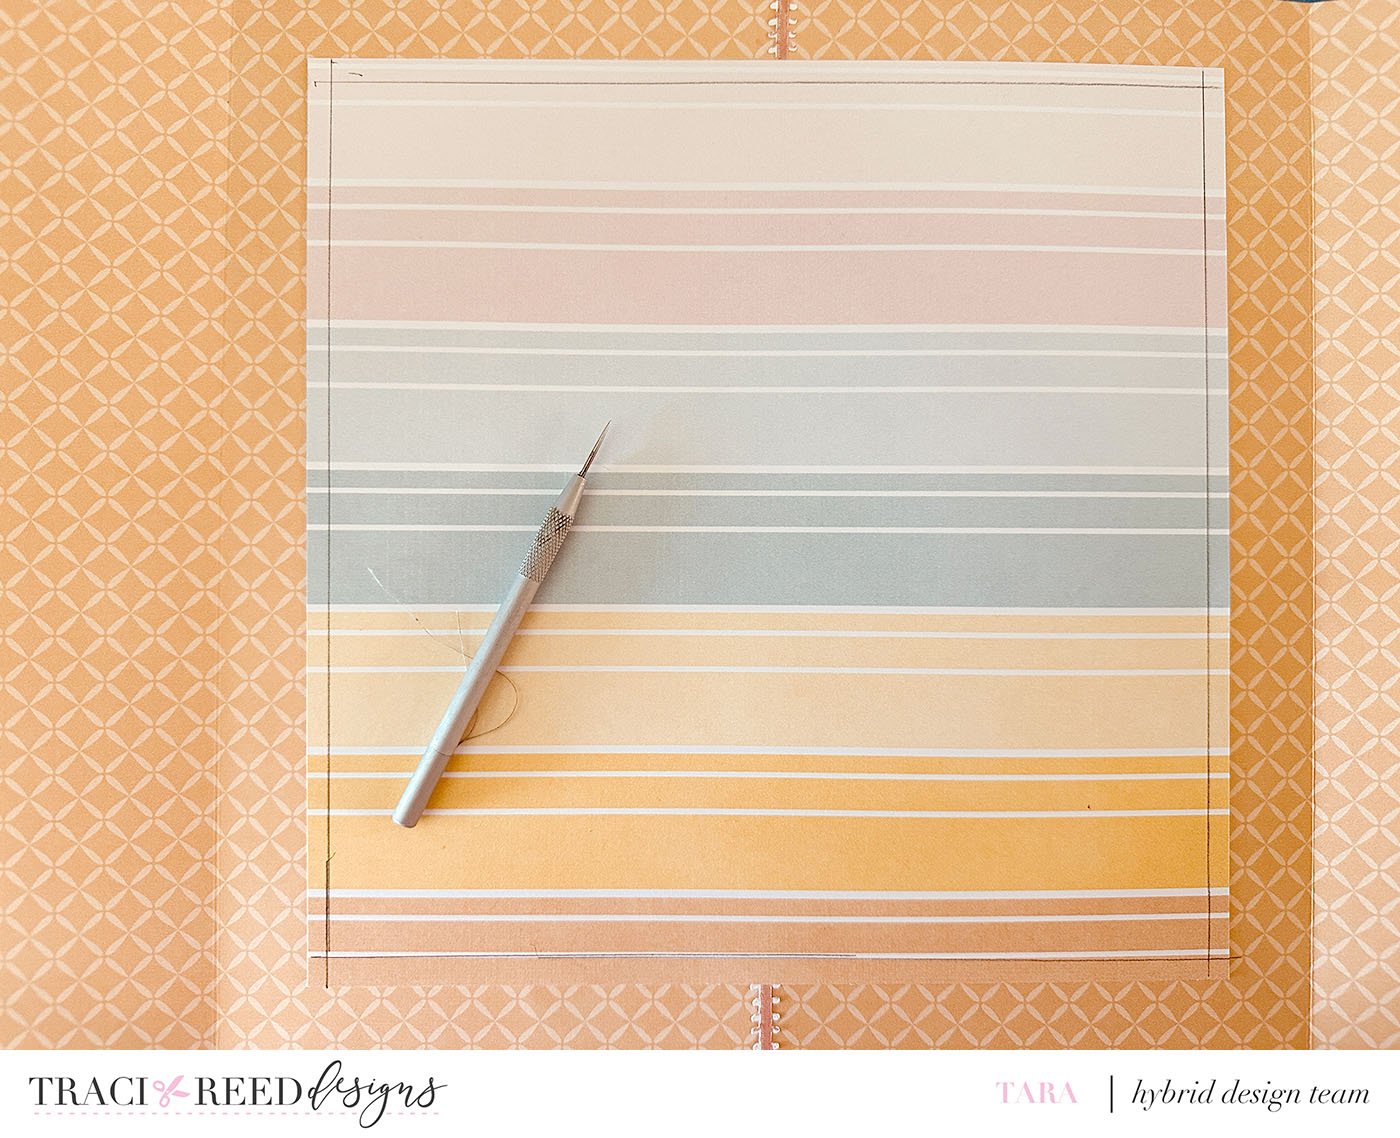
I printed the gradient stripe paper and cut it down to 1” square. I used my Omnigrid ruler to pencil in 1/4” line on the border of that striped paper. Again, with a design with angles, the first holes that you poke should be the corners and then, finish poking holes. I eyeball the placement of holes but if you measured them, they would be between 1/8-1/4” apa
Now that my cutfile is fully stitched and I have a pretty backing to cover up the stitching on the backside, I have glued it down on the left side of the fold-out layout (the floral side). I added a photo that I cut into a 4” circle with a die in the center and have played around with a few embellishments.

Here’s what the inside of the layout looks like before being fully finished.

I finished off by adding embellishments and matting the 6 photos on the inside flaps with white cardstock.


Thank you for stopping by the blog today and hanging out with me.