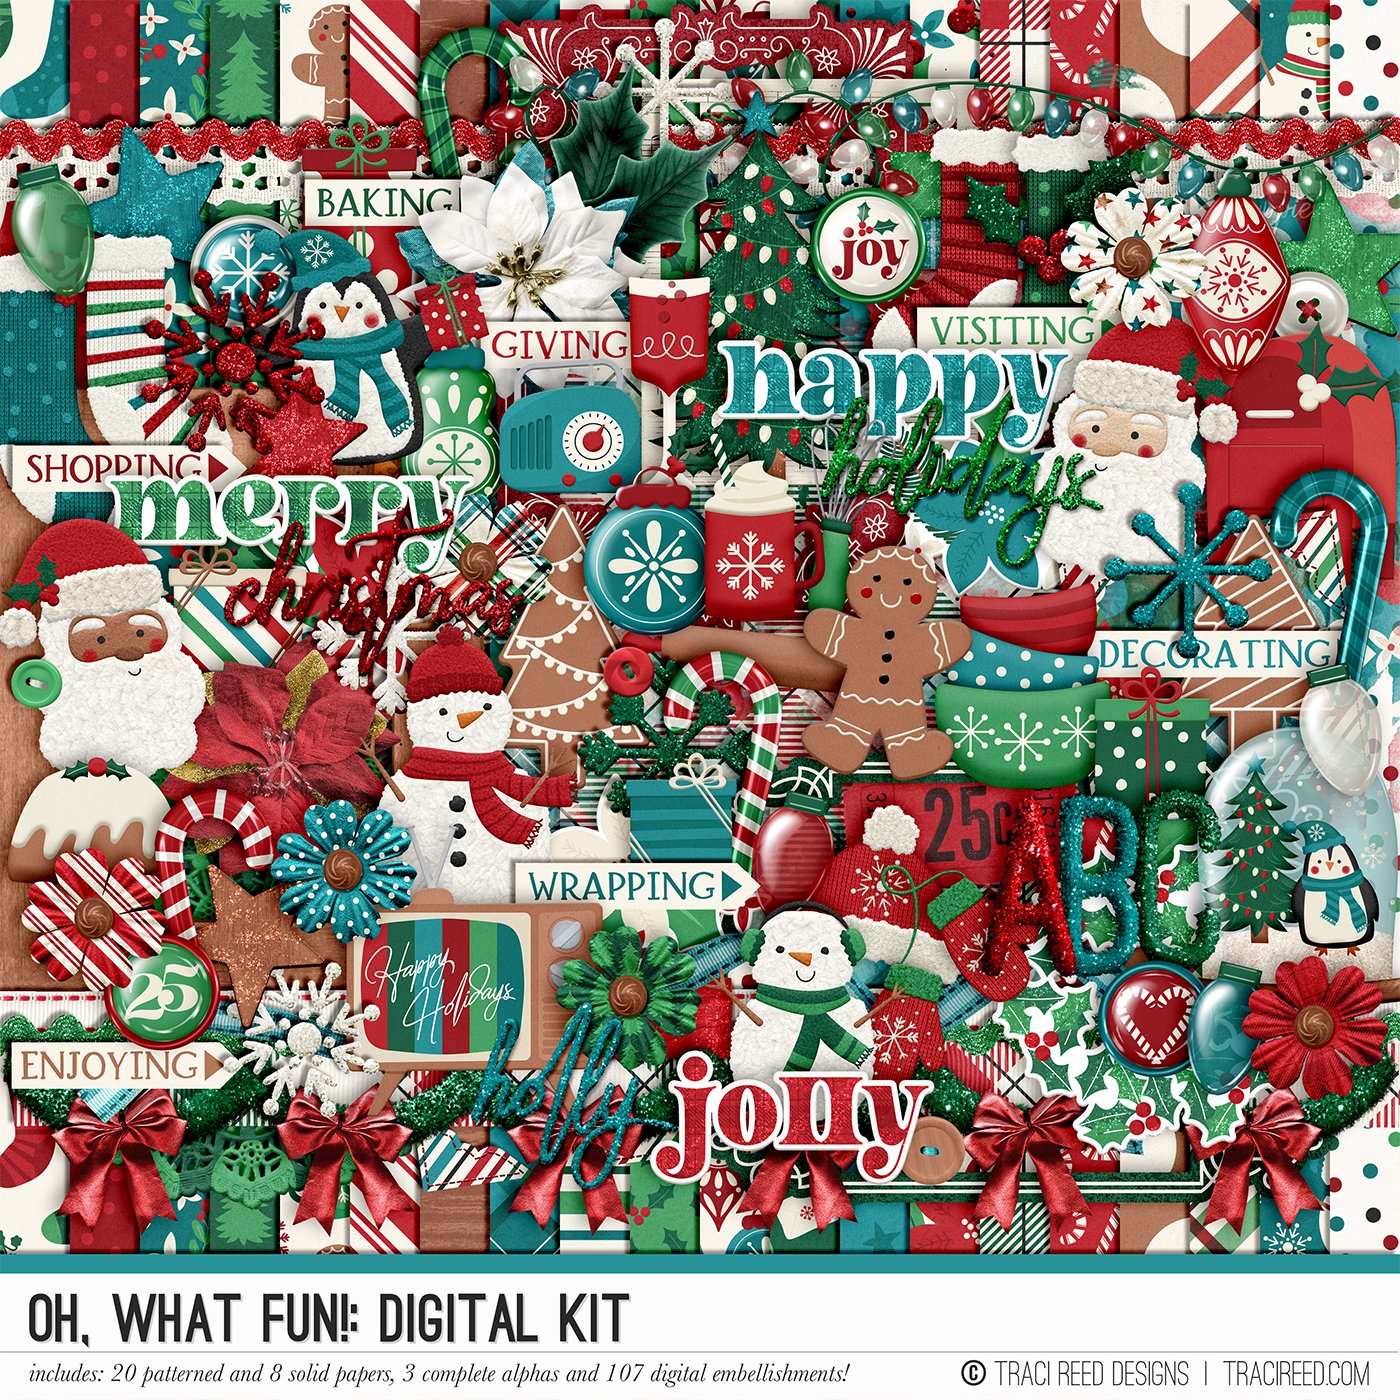
December Daily Stories with Melinda using the Oh, What Fun! Collection!
Ah, December Daily, how I love thee!!
December Daily is one of my most favourite projects to work on every year and this year was no exception! I decided to build a kit from my stash (which I love!!) and then the amazing Traci dropped the beautiful Oh What Fun! collection and I was left in a bit of a quandry!!
I knew I HAD to use this collection. I knew I had already put a kit together with an almost entirely different feel. And then I reminded that there are NO RULES in scrapbooking so decided to go with the flow a little bit and use the Oh What Fun! collection throughout my album when I felt like it just worked!
I had already shared a pocket and the Santa letters I had created here so today I am here sharing our day 1 & day 2 entries. And you can see that pocket in use!
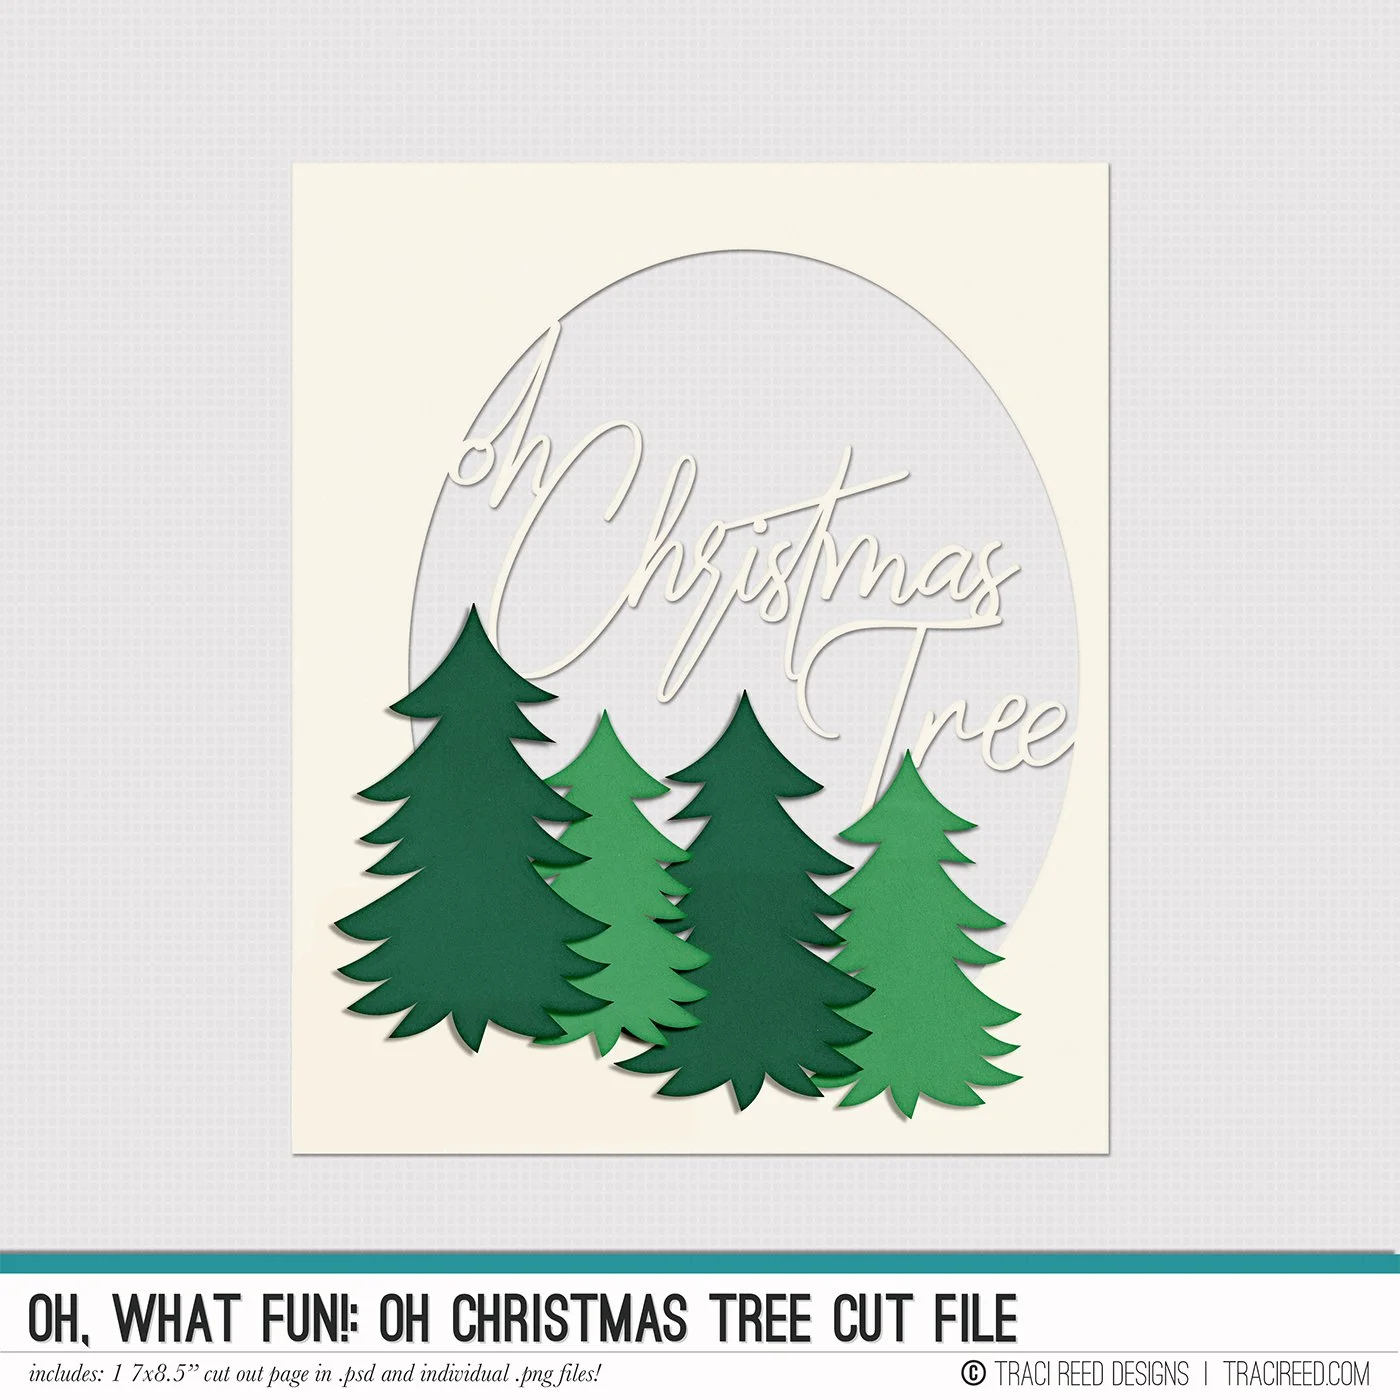
December 1st is always Christmas Tree Day in our home so when I saw this cut file I knew it was being used immediately!
Rather than use it exactly as it was designed however I decided to drop one of the pattern papers into the design and then print on acetate and oh boy!! This looks A-MAZING!!
The cut file even comes with the trees that layer over the design perfectly! And if you flip the tree file over in Silhouette Studio you can get perfectly sized pieces for the back too!!
I’ve used 2 different green pattern papers to cut those.
Step 1
Cut out your image and trace it onto the felt. You can use a disappearing fabric pen or even a pen that won’t bleed through your felt to do this. Once cut out just remember to keep the marked side inside your ornament. An alternate way is to pin your pattern to the felt and cut around the template. You will need two for each ornament you make, one for the front and one for the backside.
This sits in front of a full page photo of our tree assembled and I just love how you can see through the whole page; especially the window in the middle!
And you can see that there is enough room on the back of the page for a little bit of journalling and embellishing.
Just to finish this spread off I also added one of the ornaments stickers from one of the sticker packs to the top right of my photo.
Onto the back of my full page photo of the tree is another full page photo!
This one is my Hallmark Tinkerbell for 2024 & I just love, love, love her!! I’ve added one of the day number stickers, some beautiful florals also from the stickers and some journalling over the bottom corner of the photo.
There is a longer story to go along with my Tinkerbell that I don’t think I’ve ever included in one of my albums so that got written onto one of the Traveller’s Notebook signatures with a little more embellishment on the bottom right corner just to tie everything together.
When you turn the page we’re onto day 2! Another multi page story, starting with a Travellers Note book paper with a title, a day sticker and some journalling facing 2 4”x4” photos of my boys writing their letters to Santa.
My eldest son (almost 15!!) insisted that they write their letters to Santa RIGHT NOW so both boys did their letters then and there! There wasn’t a long story to tell so a couple of sentances on the fun label/day number tag from the collection.
And then, finishing up day 2, a 4”x4” card (cut down from a 6”x4” pattern card) with journalling on a 3”x4” journalling card paired with another 4”x4” photo.
Our elf, Pixie, makes her first appearance in our album this year as the boys decided that their letters had to go back to the North Pole with her tonight.
And of course, copies of their letters made their way into the pocket I created earlier!
The last thing I did to complete these pages was a little journalling to the outside of the pocket.
I also have a process video where I put these pages together and I hope that you enjoy!
After realising that I truly could use whatever I wanted in my 2024 album I had SO MUCH FUN creating these pages to kick off our December Daily and cannot wait to play some more!!
Melinda


