Instantly Enhance your Reading Journal Using Printables with Torey
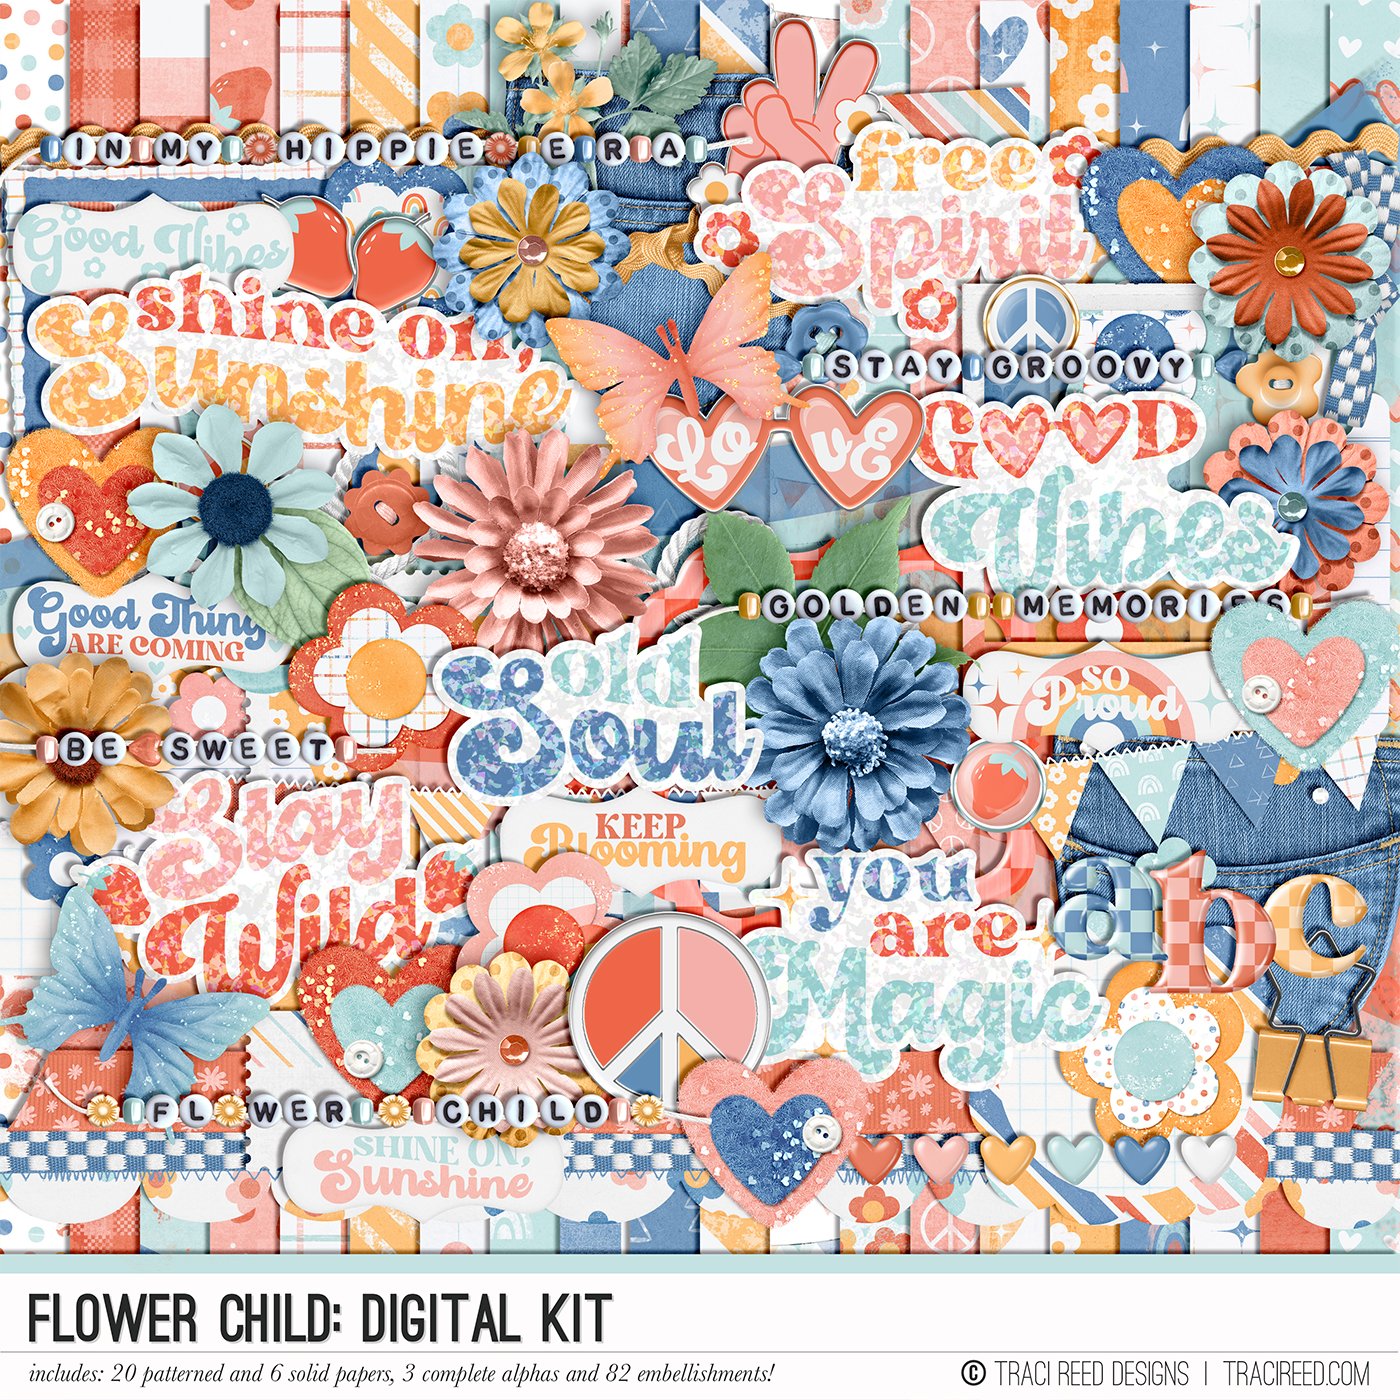
Hi Friends!! Today I wanted to share with you how I like to use printable collections to add a little spice to my journal setups. I like to set up a few of my journals in advance of a month. So today I will be sharing how I set up my Reading Journal for August 2024 using the newest collection from Traci, Flower Child!
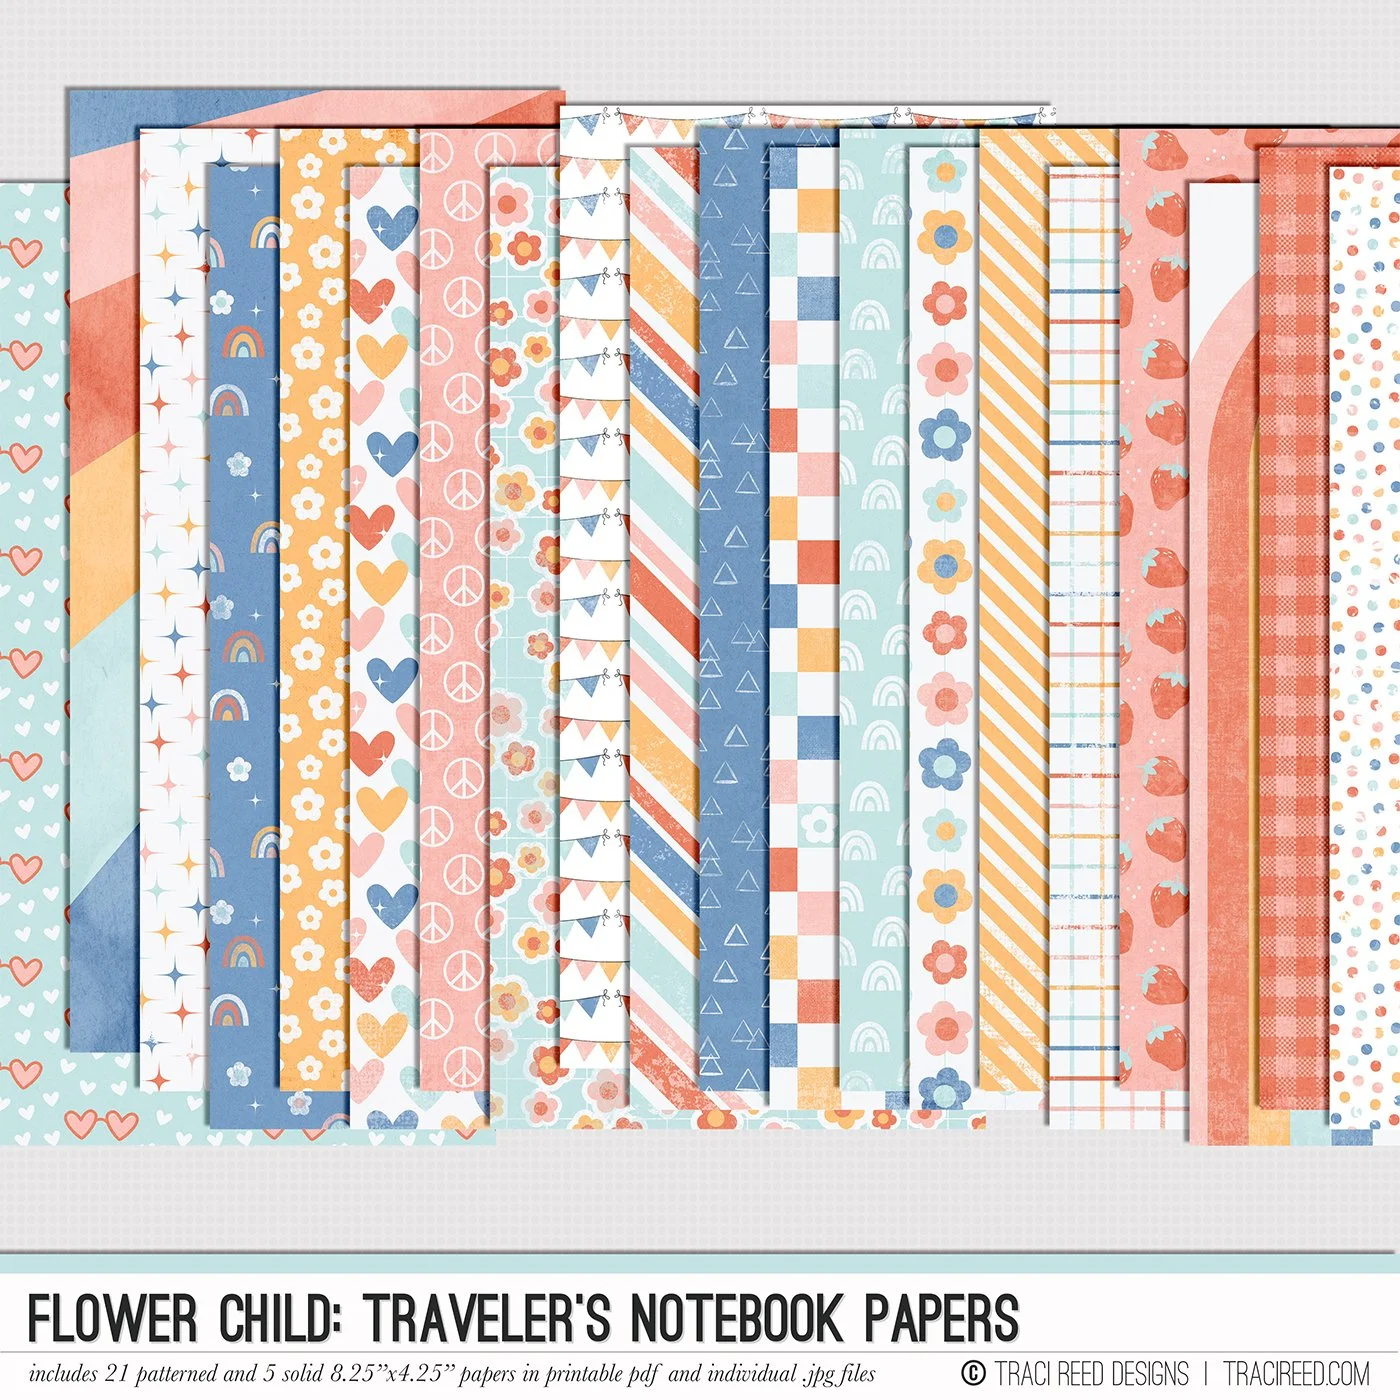
I started my process by choosing a few of the papers from the collection, a journaling card, and some stickers that I really liked together and printed them out on a few different types of papers!

You can easily use all one type of paper for a setup like this, but I decided to use a few to add some different textures and weights to pages. I printed on 65lb cardstock, standard matte sticker paper, and printable vellum!

Everyone sets up their journals differently. For mine, I like to keep track of monthly stats throughout the each month in the first half of my journal and have been placing all my book thoughts/reviews in the second half of my journal together. My monthly setup pages are always themed and consist of a cover spread, a visual time-to-read calendar, my reading log, monthly totals and my favorite book for the month - so we’ll have lots of opportunity to use up pieces from this collection!

My cover spread is purely used as a separation for the months. I decided to add a little bit of everything for my cover spread since it is mainly a decorative spread.
I started by ripping my grid sticker paper off-center and adding it to the left and right sides of my journal pages. This is a really easy way to add a big impact to any page in my opinion, I personally always love how it looks! After adding these, I wanted to add my two main pieces, which were the rainbow quote die cut and the journaling card I printed on sticker paper. I added the quote to the left side of my page and layered that with a vellum doily I cut in half and placed on either side of the rainbow. I then stuck the journaling card down on the right hand side of the page - I chose a journaling card for this element so I could place my Aug. title on it and add a list of hopeful reads for the month. Then I sprinkled a few rainbow die cuts around the page as well. To add a final touch and tie everything together, I took my pen and added small black sparkles across the spread.
Visual Time-To-Read & Reading Log

For the next two side-by-side pages we added my Visual Time-To-Read calendar and my Reading log. Since these two pages usually hold the most information for me, I usually like to keep the decor quite simple.
For my calendar page, I added a smaller triangle of the rainbow TN paper with a ripped edge and layered that on top a small piece of ripped vellum as well. On the top of this page, I just added a strip of the blue triangle paper to give the look of washi tape.
For the Reading log page, I mimicked the same decorative elements but placed them on the opposite sides of the page.
Totals & Favorite Book
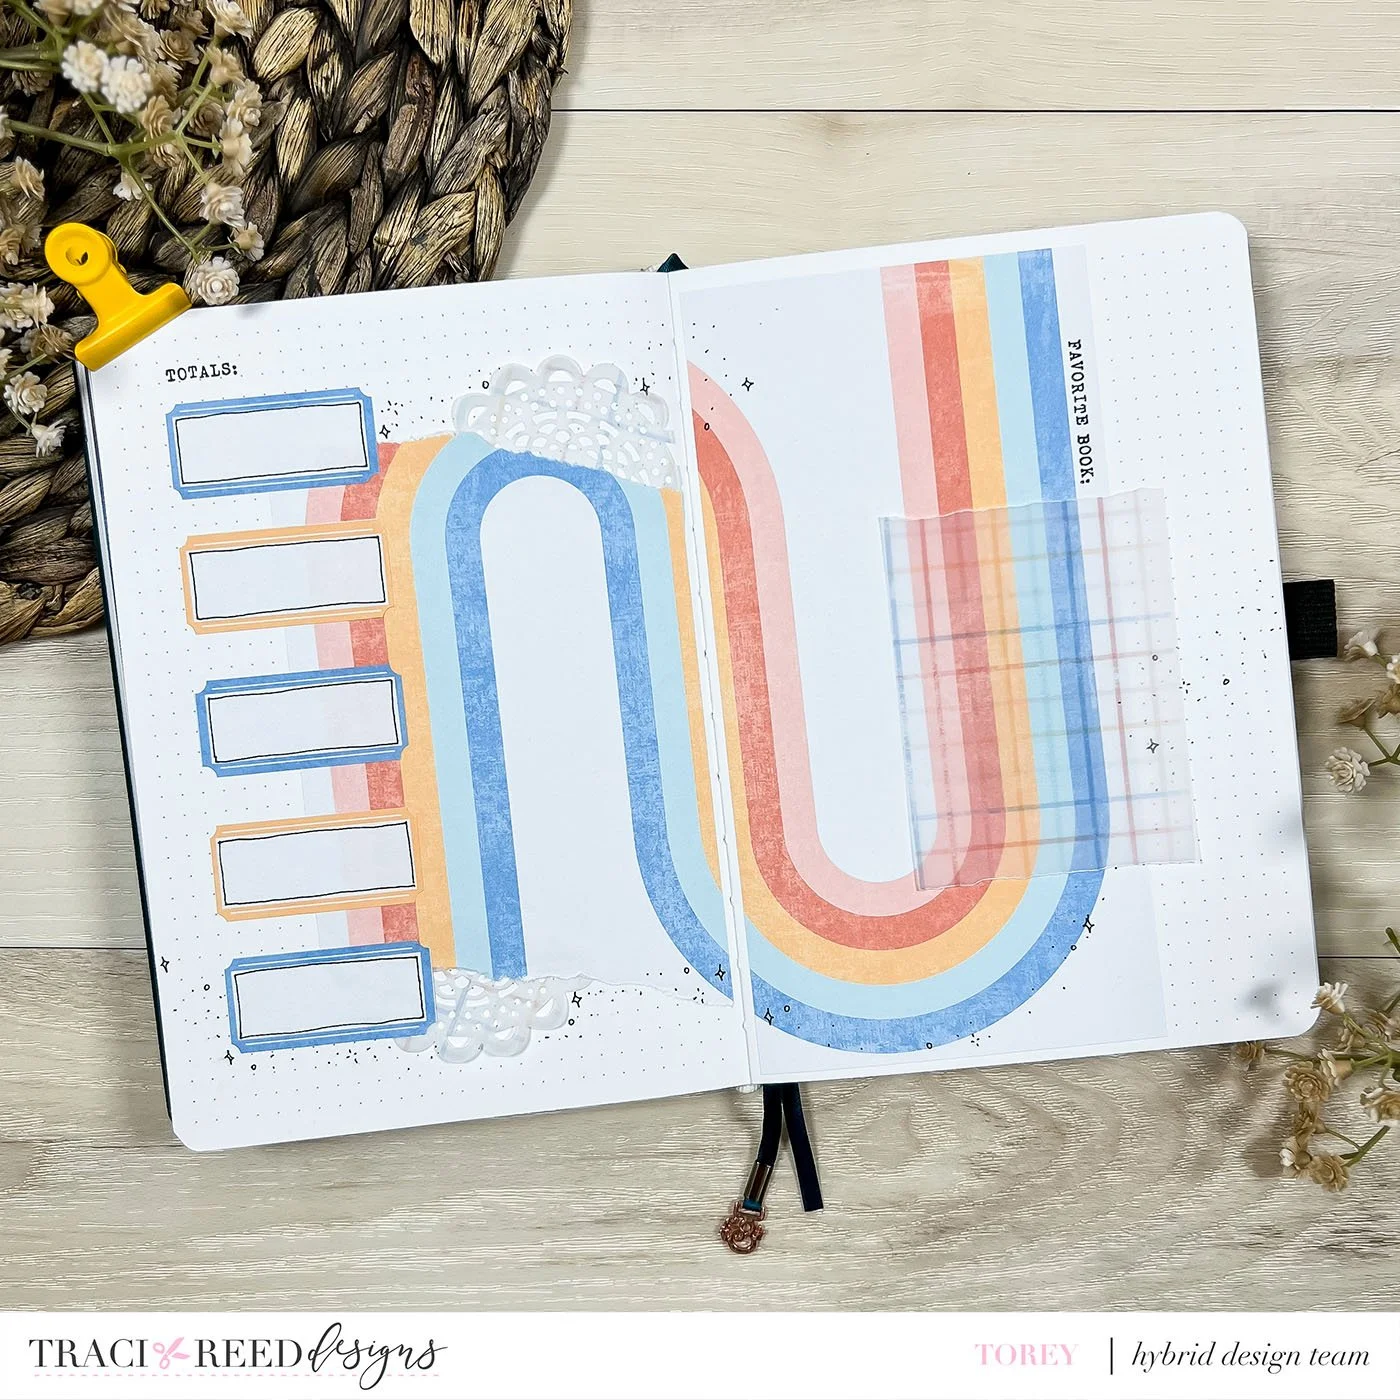
These two pages usually end up being my favorite ones to set up. They don’t hold as much information, so I get a lot more creative freedom with how I decorate and embellish these ones. Since I had printed both of the rainbow TN papers available, I decided I would work from the inside out for these spreads and place one rainbow sticker paper on each side. Since I ripped the top and bottom off one of these papers in the previous pages, I decided to use my second vellum grid doily and place it under each ripped edge. This paper ended up being on my Totals page and I also printed 5 labels from the sticker sheet on sticker paper to hold my totals for the month.
On my Favorite Book page, I also added a rectangular piece of vellum off the side of the rainbow paper (the adhesive that I used under this will be covered with my favorite book’s cover next month). To finish off these pages, I used my black pen to add a bunch of sparkles and add some black lines inside each of my totals boxes.
That’s all I have to share today! Thank you for hanging out with me here on the Traci Reed blog and I hope this setup gave you some inspiration to try printables in your own journaling ventures!
If you’d like to visually see this setup come together, I also recorded the whole process and you can find that here: