Assembling The Bookish Book Journal Two Ways!
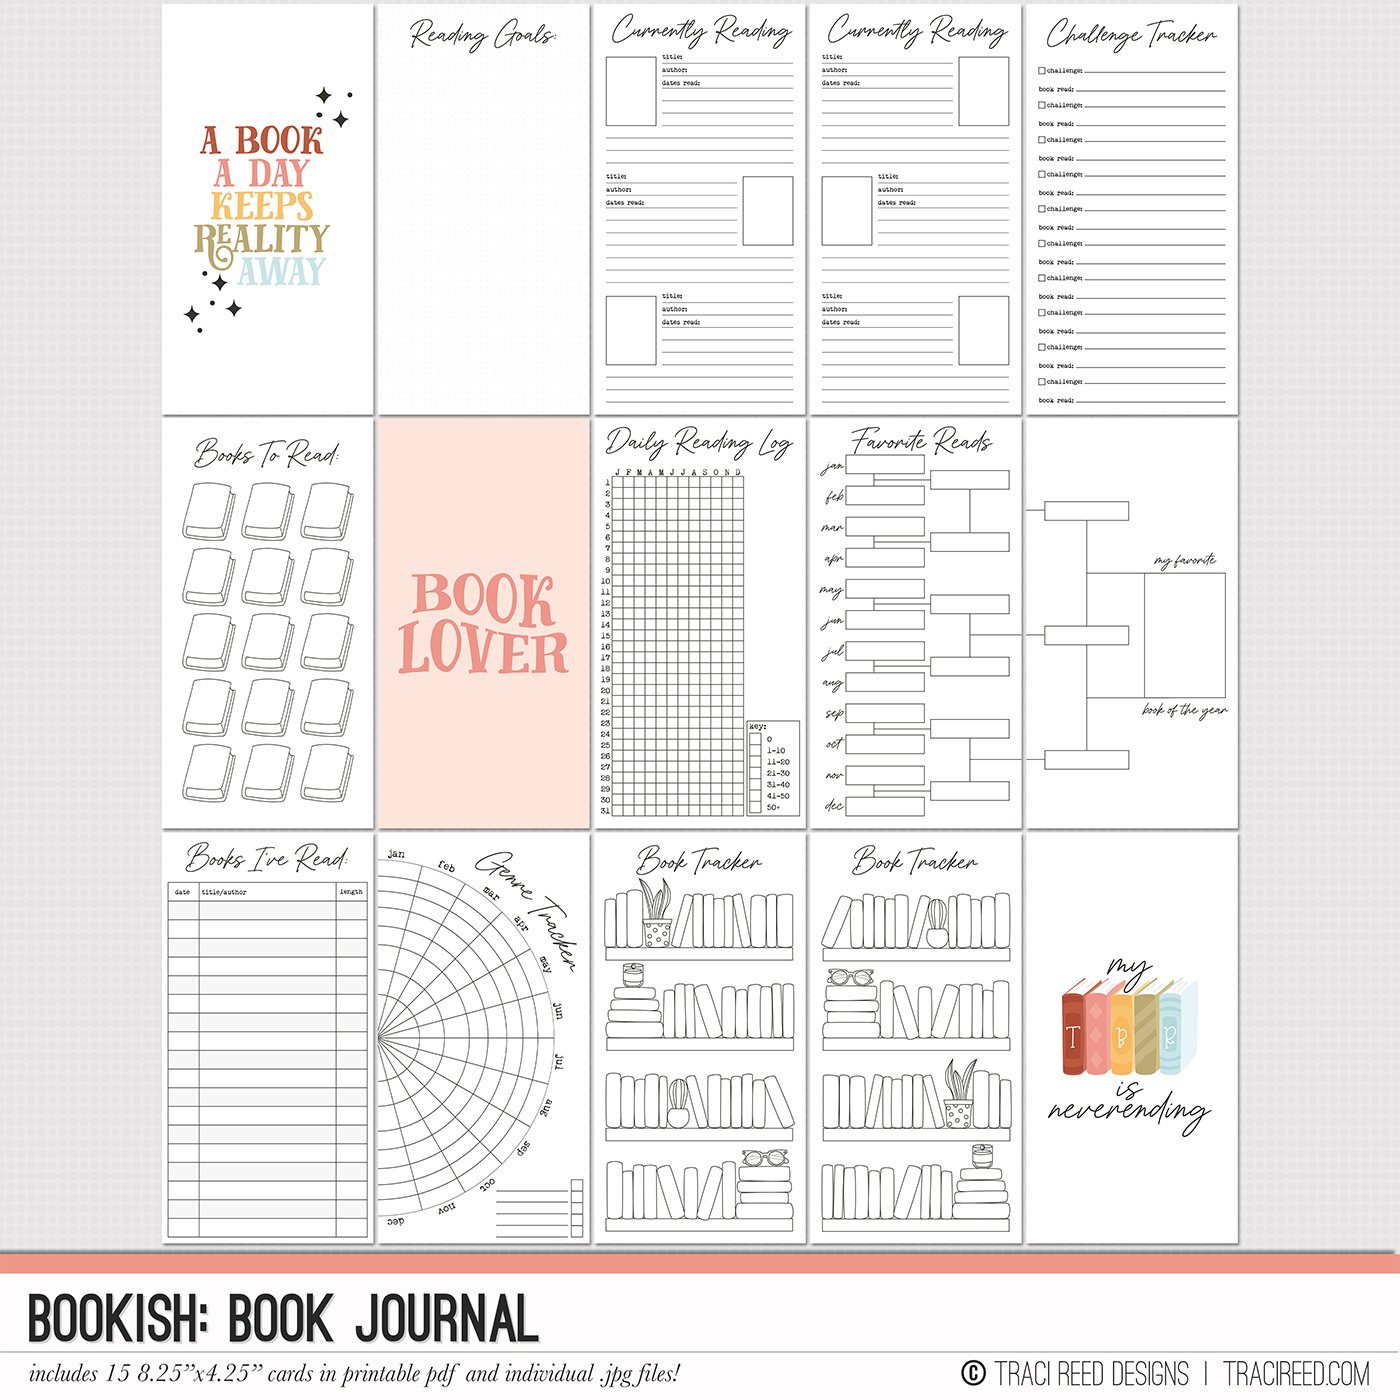
I’ve created an exciting printable book journal for the Bookish collection that you can print exactly to your specifications! Whether you want a double sided continuous print or want to pick and choose which pages to print, there’s an option for that! Below you’ll find my tips and tricks for both as well as a video walk through!
Option 1: Printing The “Book Print” PDF Double Sided
Tips:
When printing double sided, make sure you chose “short edge” as the double sided option so it prints correctly.
The PDF has enough spots for more than 100 book entries. If you don’t need this many entries in a year, you can take out up to the last 10 pages of the PDF without upsetting the printing order. Make sure that however many pages you take out, you take them out in pairs since the book prints double sided.
You’ll want to print on a high quality copy paper, but not card stock as that would make the book too thick to close. I used Xerox Bold Digital paper, but I still had some ghosting.
Do not trim the pages horizontally until the book is bound because the inside pages will stick out further than the outside pages.
The booklet has a “gutter” between the pages built-in, so you can bind the book with a long-arm stapler, stitching OR you can use a cinch or even put it on rings. I chose to use a long-arm stapler
Once the book is bound, You can trim with a guillotine trimmer all at once if your booklet is thin enough, or do like I did and trim by hand with scissors or a paper trimmer.
Option 2: Printing Individual Pages
This is ideal for those wanting to be able to add and remove any pages and/or add to the book throughout the year. Printing single-sided prevents ghosting as well
Tips:
Print one page at a time to be able to add a margin when trimming to allow for rings, discs, or the cinch
Walkthrough/Process Video
You can find the Bookish Book Journal here:


