How to Create Circle Frames In Photoshop For 3D Scrapbook Layout With Theresa!
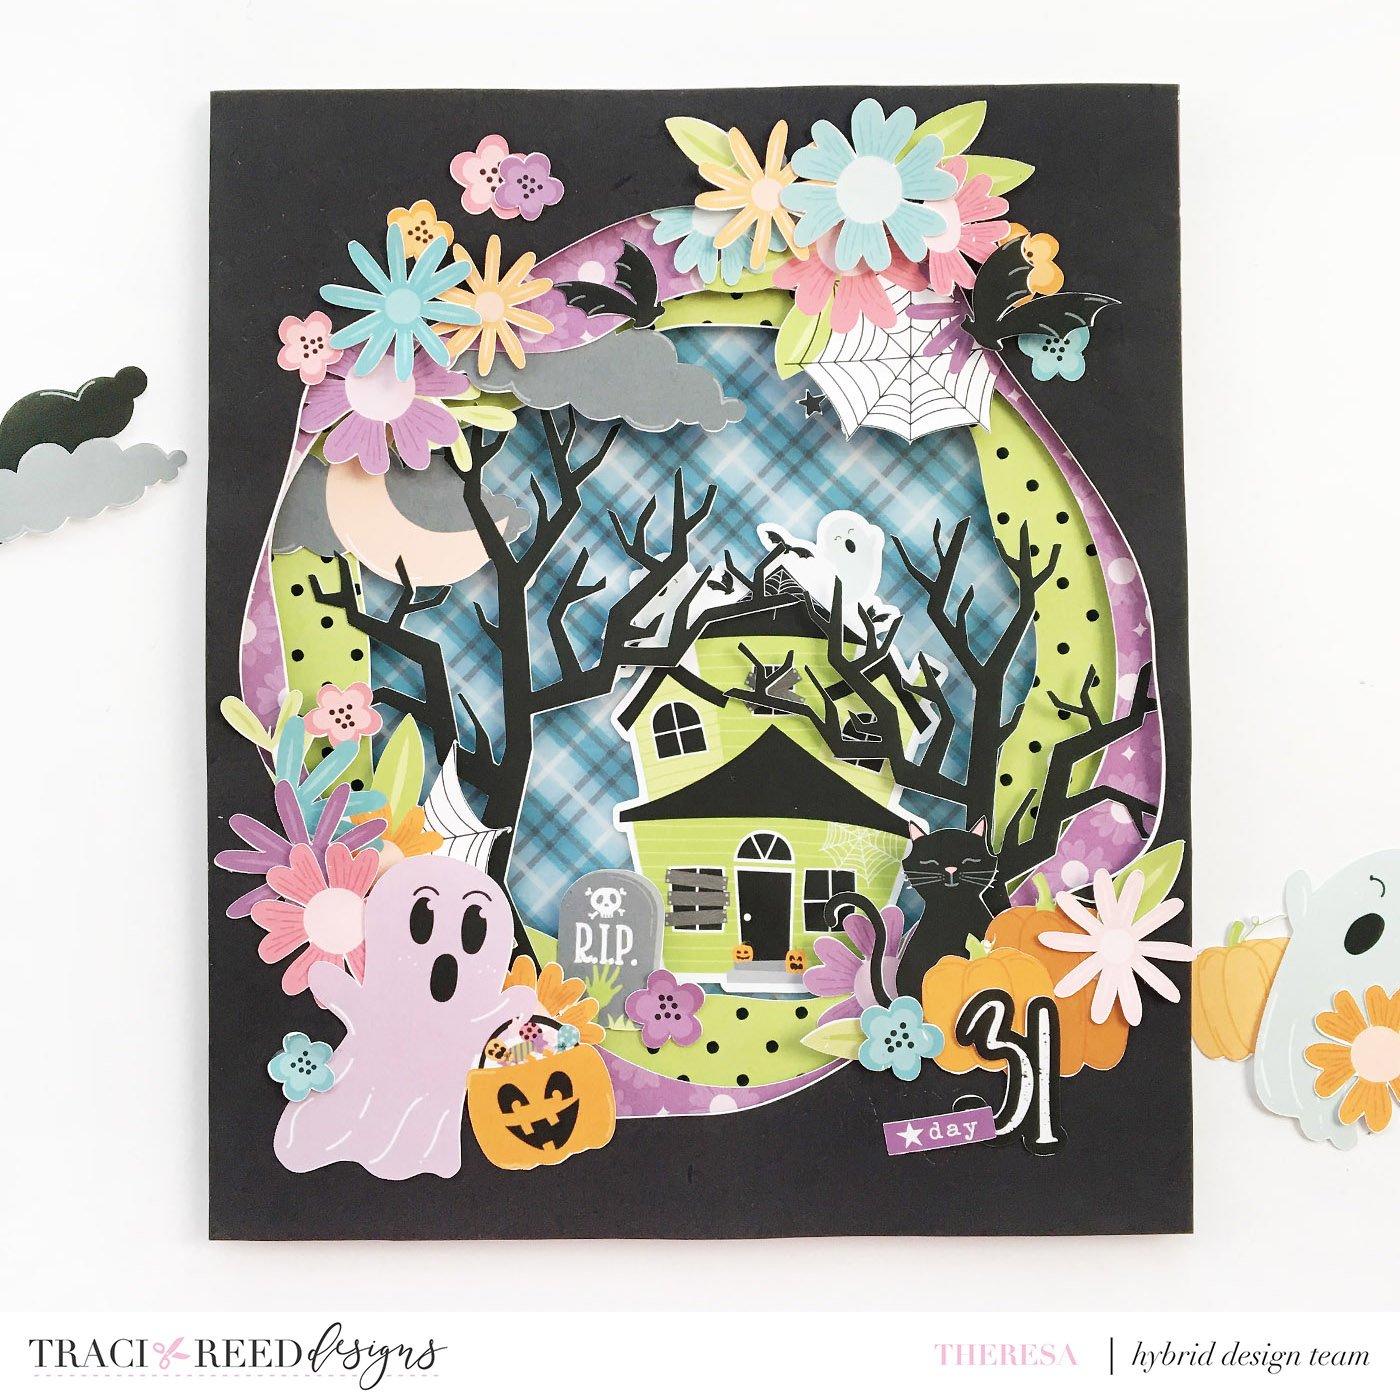
Hi friends, it’s Theresa here and today I thought I would share the details on how I used Photoshop to create these blobby circle frames for a very 3D effect scrapbook page! The Haunting collection seemed like the perfect kit to use because there were so many great story-telling elements included. This page will be perfect to include in my October Daily this year, but this would also be a totally rad gift or household décor if you slipped it into a shadow frame! Check out how it’s done.
Create the Base Pages in Photoshop
Photoshop has great shape tools and you may already be familiar with how to create circles and rectangles. I’ve created three 7x8.25” rectangles with patterned papers clipped to each one from the Haunting collection.
Create Your Circle That Will Then Become Your Blobby Circle
After you have those in place, create a new Layer and draw a circle inside. You want it to be filled in white, no stroke, and remember that each of your three circles will be smaller than the next. Also be sure to leave a little space around your top layer for the fun embellishments you’re going to add
Turn your plain circle into a curvy frame
Using the Curvature Pen Tool, click on the blue squares or any point along the edge of your circle until you see the blue square. Move that tiny square and you will see the edge of the circle begin to take on a different shape. Do that as many times and at as many points along the circle edge until you get the blobby circle you like!
Finalize the blobby frame by subtracting the circle from the rectangle
With your blobby circle all set, select both the circle and your rectangle in the Layers menu. Click on Layer > Combine Shapes > Subtract Front Shape. Now you will see your original rectangle with your blobby circle which is now blank inside the rectangle.
Clip your patterned paper and wa-la! You’re ready to print and cut!
Bring in your patterned paper on to the Layer above your rectangle and use the Clipping Tool to add the patterned paper to your rectangle, now with the blobby circle cut out. Like this!
Do that times three and they are ready to be sent to the Silhouette for printing and cutting. A few additional tips for you:
Keep your layers to a minimum – I’ve done three layers plus the vellum background – to keep the layout from being too bulky or too complex. Simple is best.
Before you begin think about the story you want your layout to tell. My layout tells a story about our main character – Pink Ghosty – and she is excited to adventure to this super cool green haunted house down the forest-y lane. So the Pink Ghosty is in the forefront, with the trees in the middle, and the house at the end. It gives you the sense of movement and what her adventure will look like!
IIn order to create that sense of movement I recommend printing your elements and stickers at staggered heights. You can pre-plan all of your elements and add them before printing and cutting, to refine the sizing if you wish.
For adhesive I have used a combination of foam tape for the layers, glue dots and tape runner for the elements and stickers, and also foam dots to help hold up the tree branches within the center of the layout.
If you’d like to see the video instructions, check it out here:
And to see the full process video of how I embellished my layout, that can be viewed here:
I hope you have a great time creating this cute 3D scrapbook layout! Add all the fun things to your layout and make something that is really cool today! Happy Halloween everyone!
~Theresa


